Planning for Success: The Walk-In Cooler Installation Process
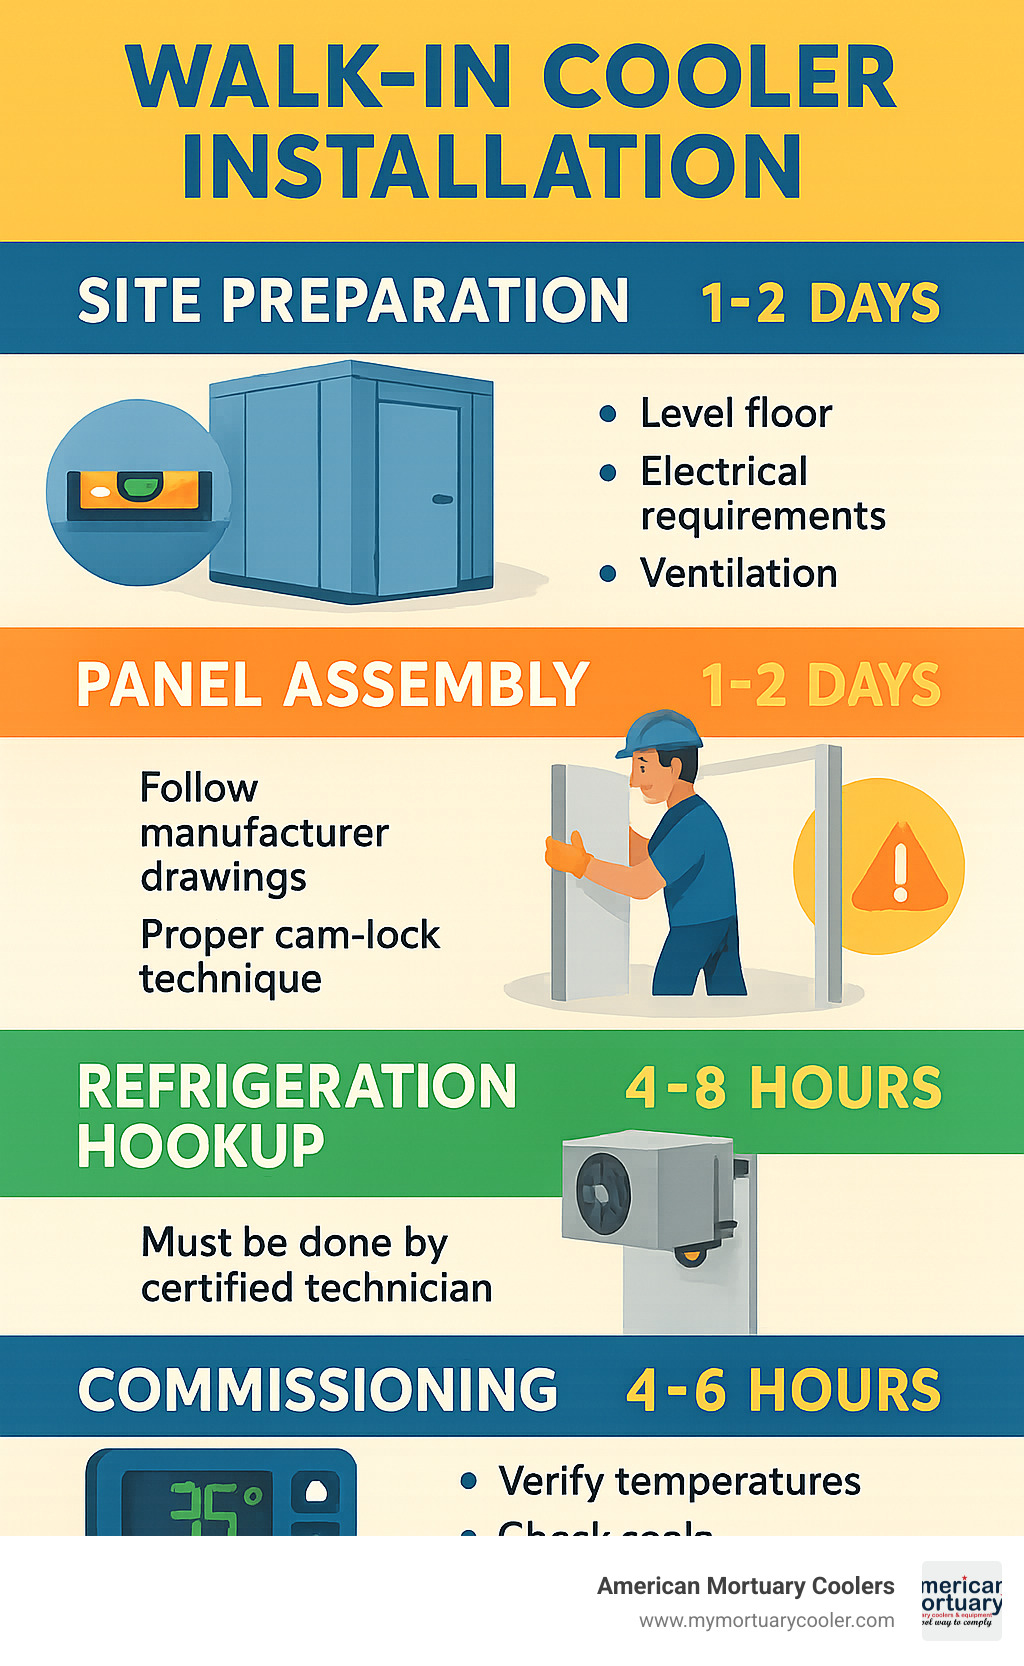
Walk in cooler installation is a complex process that typically takes 2-5 days and requires careful planning, proper tools, and precise execution. Here's what you need to know:
| Installation Phase | Time Required | Key Considerations |
|---|---|---|
| Site preparation | 1-2 days | Level floor, electrical requirements, ventilation |
| Component delivery & inspection | 4-8 hours | Document any shipping damage immediately |
| Panel assembly | 1-2 days | Follow manufacturer drawings, use proper cam-lock technique |
| Refrigeration hookup | 4-8 hours | Must be done by certified technician |
| Testing & commissioning | 4-6 hours | Verify temperatures, check seals, test alarms |
Installing a walk-in cooler represents a significant investment for any business, whether you're in foodservice, floral, or the funeral industry. The process demands attention to detail and careful planning to ensure long-term reliability and energy efficiency.
When properly installed, a quality walk-in cooler can provide decades of dependable service while maintaining precise temperature control and minimizing operating costs. However, cutting corners during installation often leads to expensive repairs, energy waste, and potential product loss down the road.
A successful walk-in cooler installation begins long before the first panel arrives at your facility. From site selection and preparation to component assembly and refrigeration system hookup, each step builds upon the last to create a sealed, efficient cold storage environment.
I'm Mortuary Cooler, with over 15 years of experience in specialized refrigeration systems including walk in cooler installation for funeral homes and medical facilities. My background in refrigeration engineering has taught me that proper installation is the foundation of a reliable, energy-efficient cooling system.
Walk in cooler installation terms explained:
Walk-In Coolers 101: Definitions, Uses & Types
Ever wondered what exactly a walk-in cooler is? Think of it as a refrigerated room you can step into, designed to maintain temperatures between 33°F and 41°F (1°C to 5°C). These cold storage solutions are workhorses across many industries, each with their own specific needs:
Foodservice businesses like restaurants and grocery stores rely on walk-ins to keep ingredients fresh and beverages cold. Your favorite restaurant's ability to serve fresh seafood mid-week? Thank their walk-in cooler!
Floral shops use them to extend the life of delicate arrangements and keep inventory vibrant longer. Those roses still looking perfect a week after Valentine's Day didn't happen by accident.
Medical facilities and laboratories store temperature-sensitive specimens and medications in these controlled environments. The vaccine you received last flu season likely spent time in a walk-in.
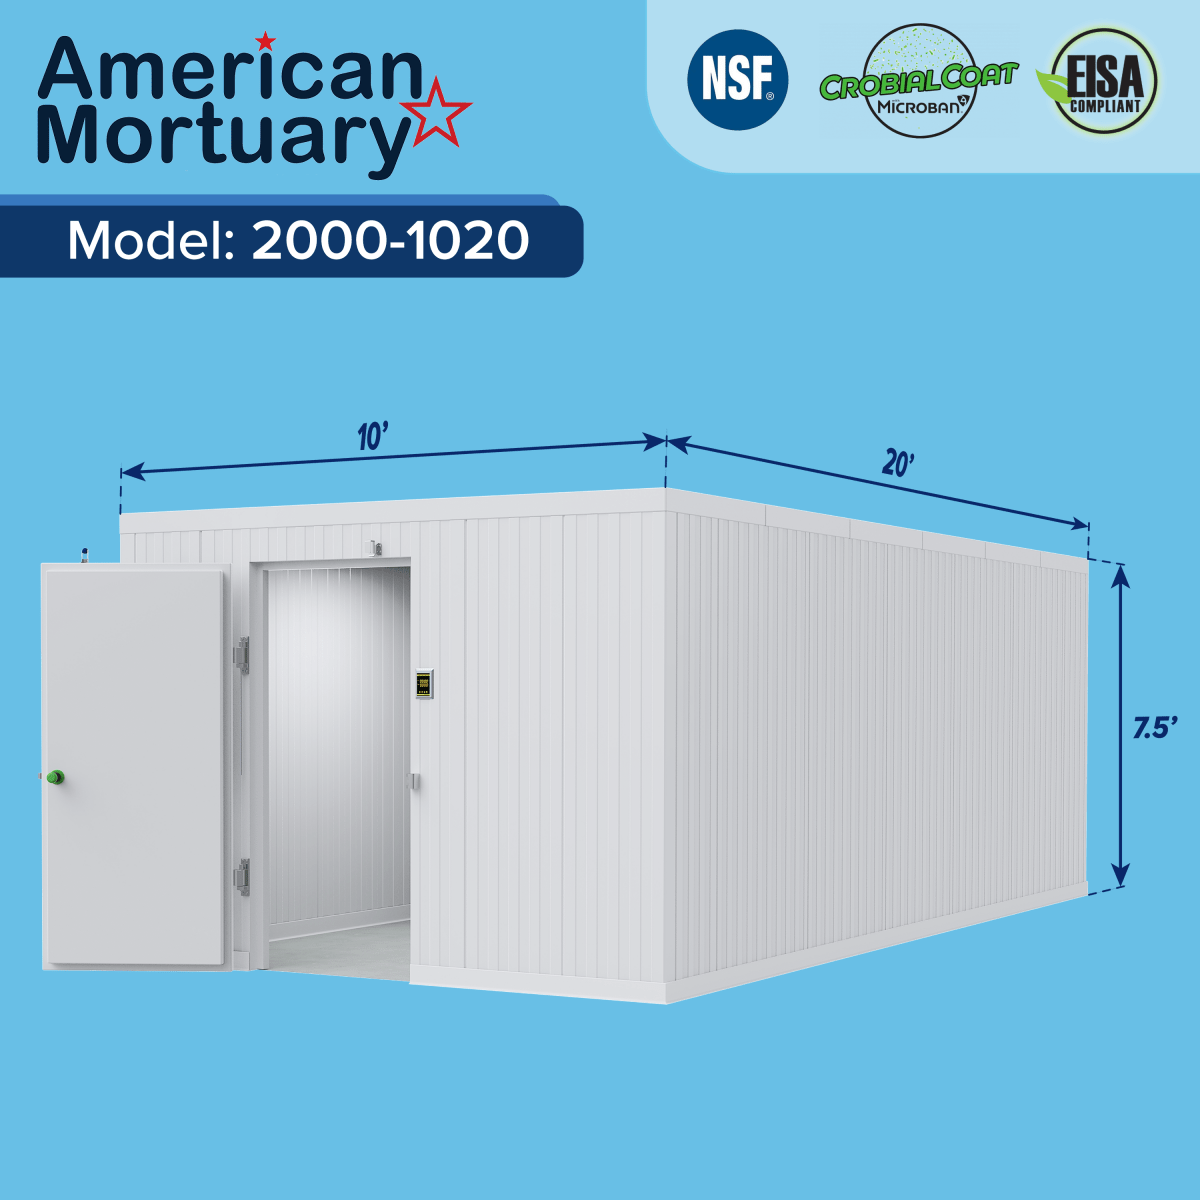
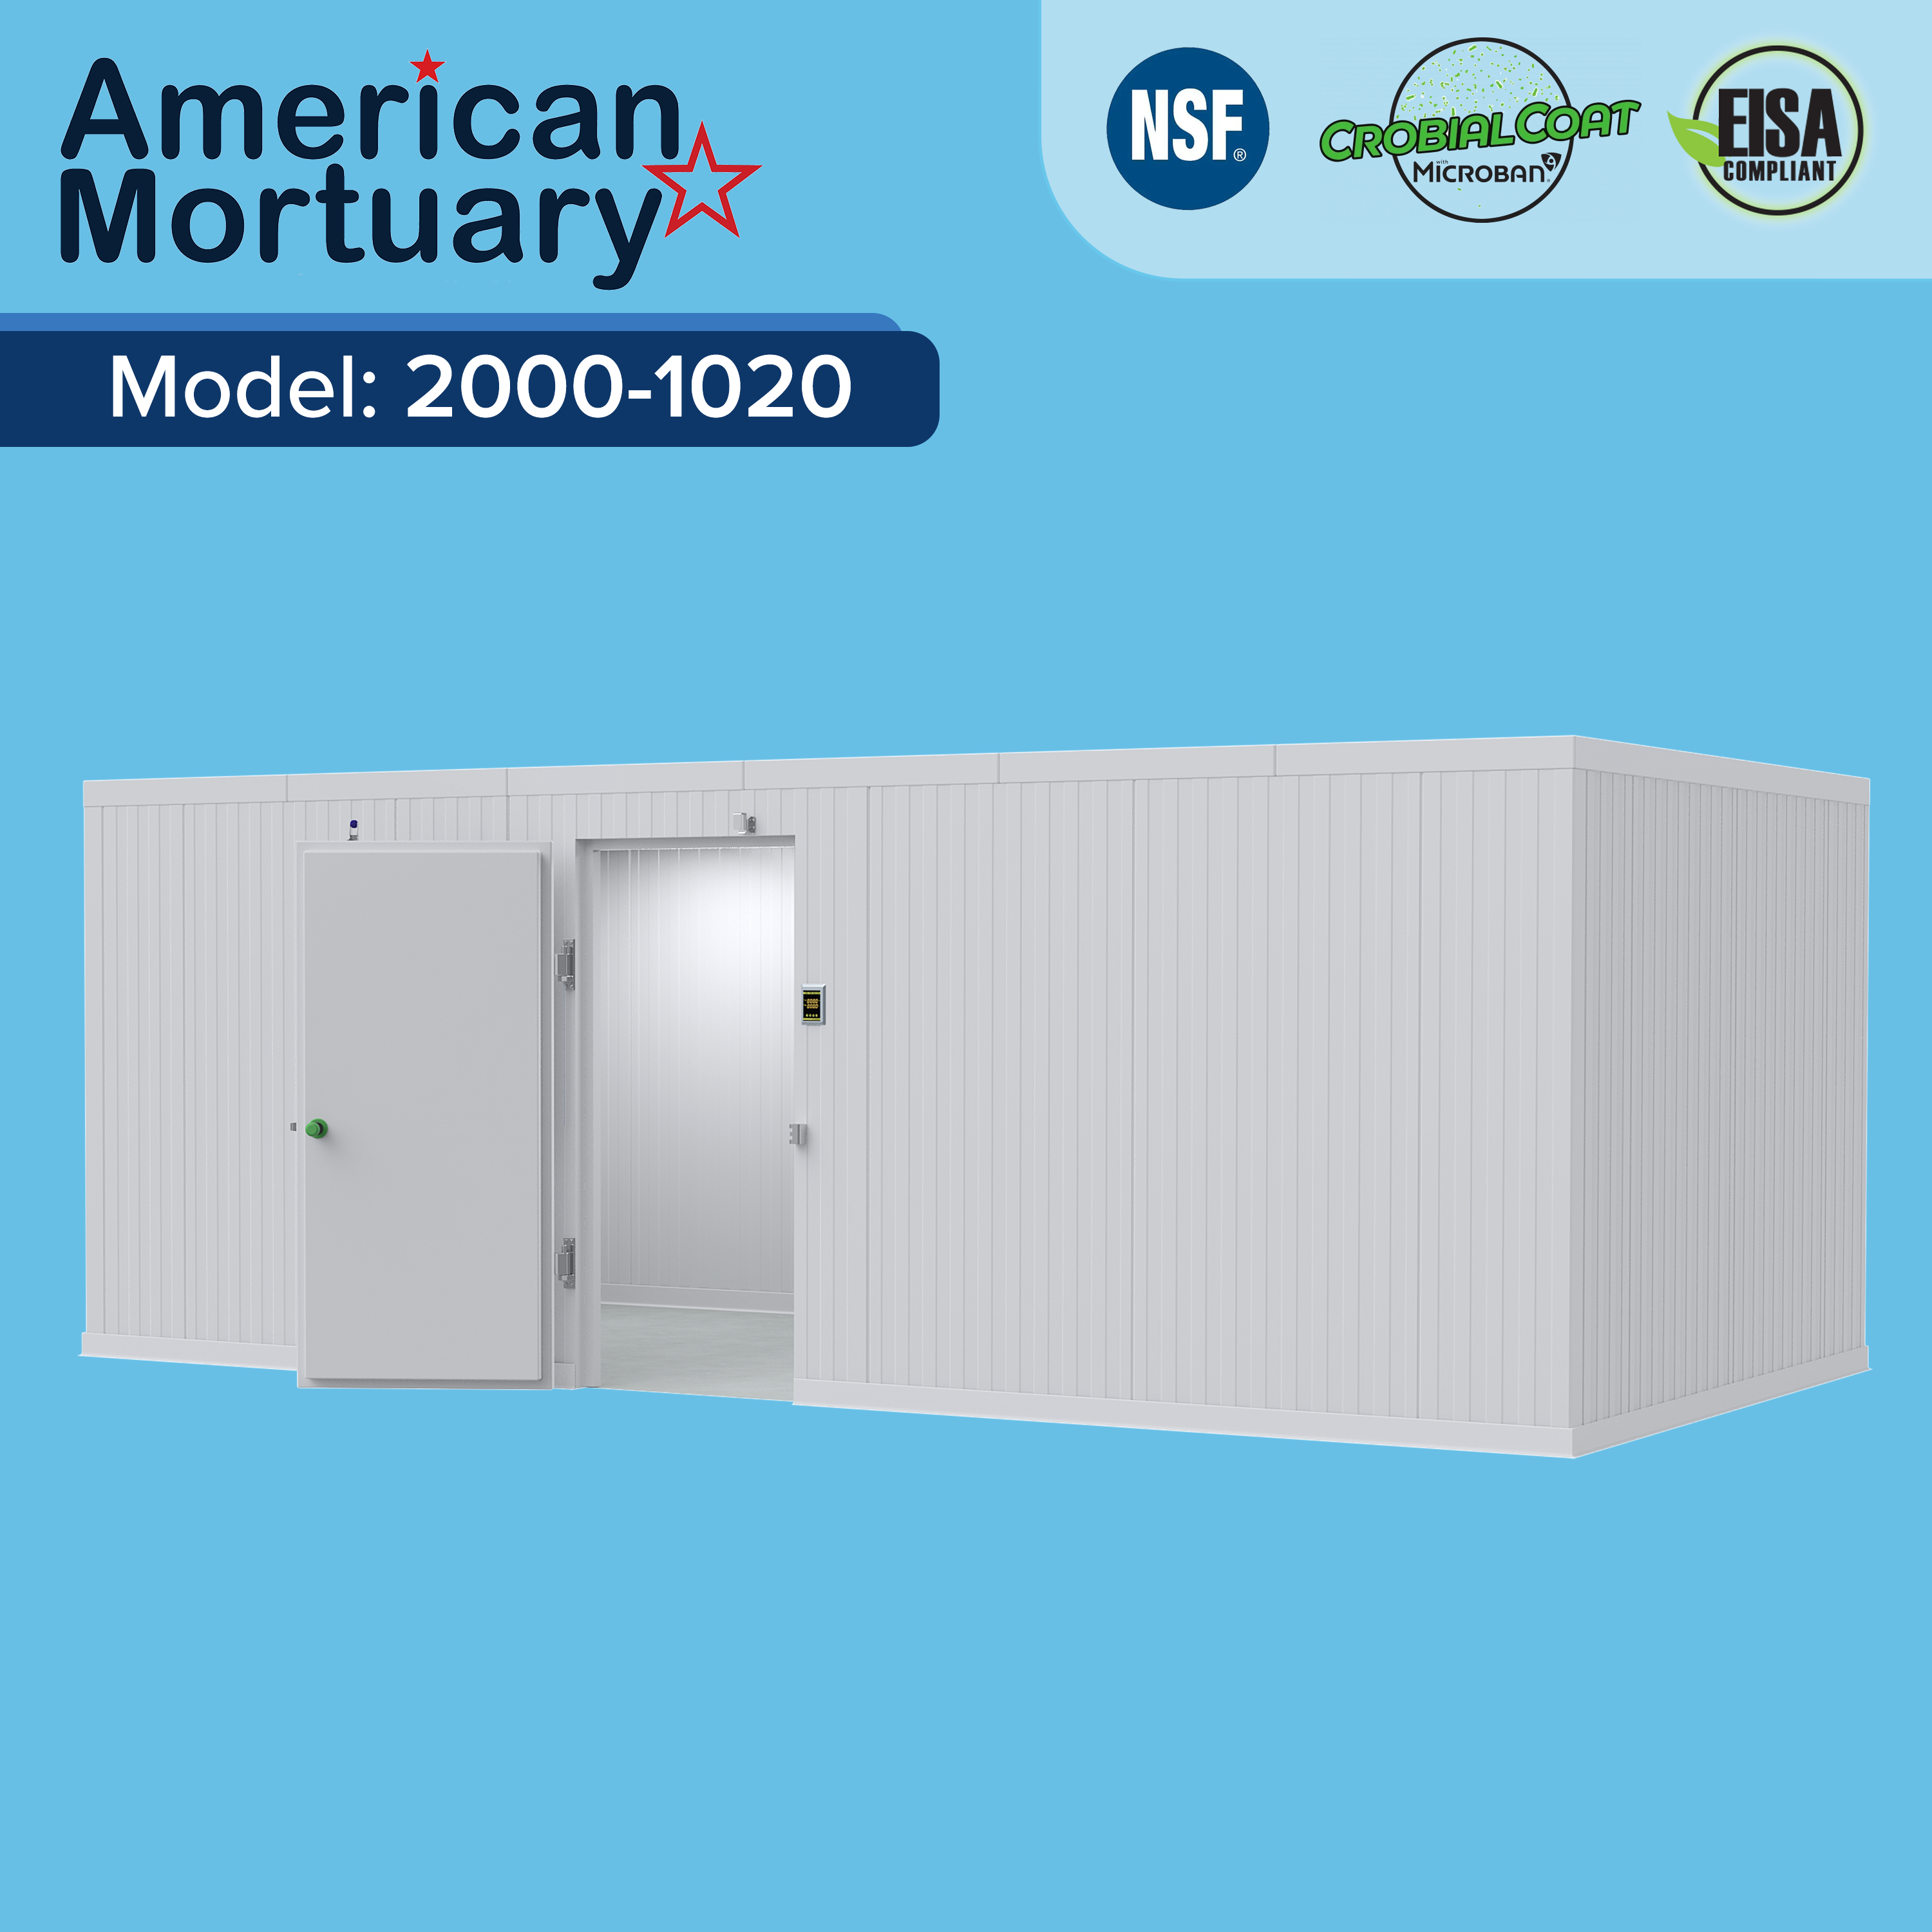
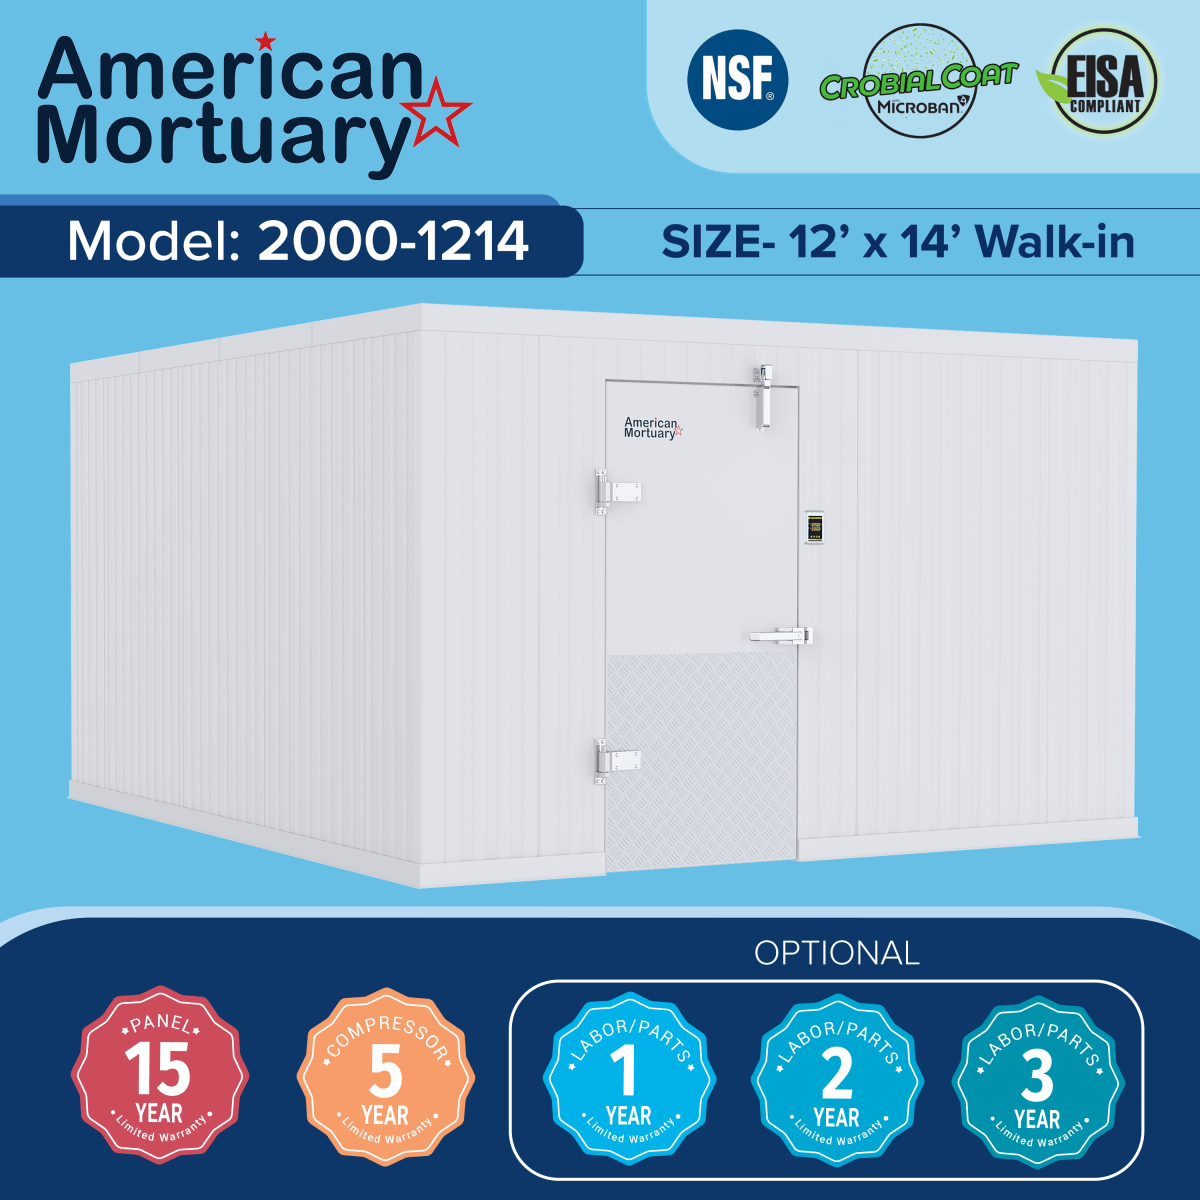
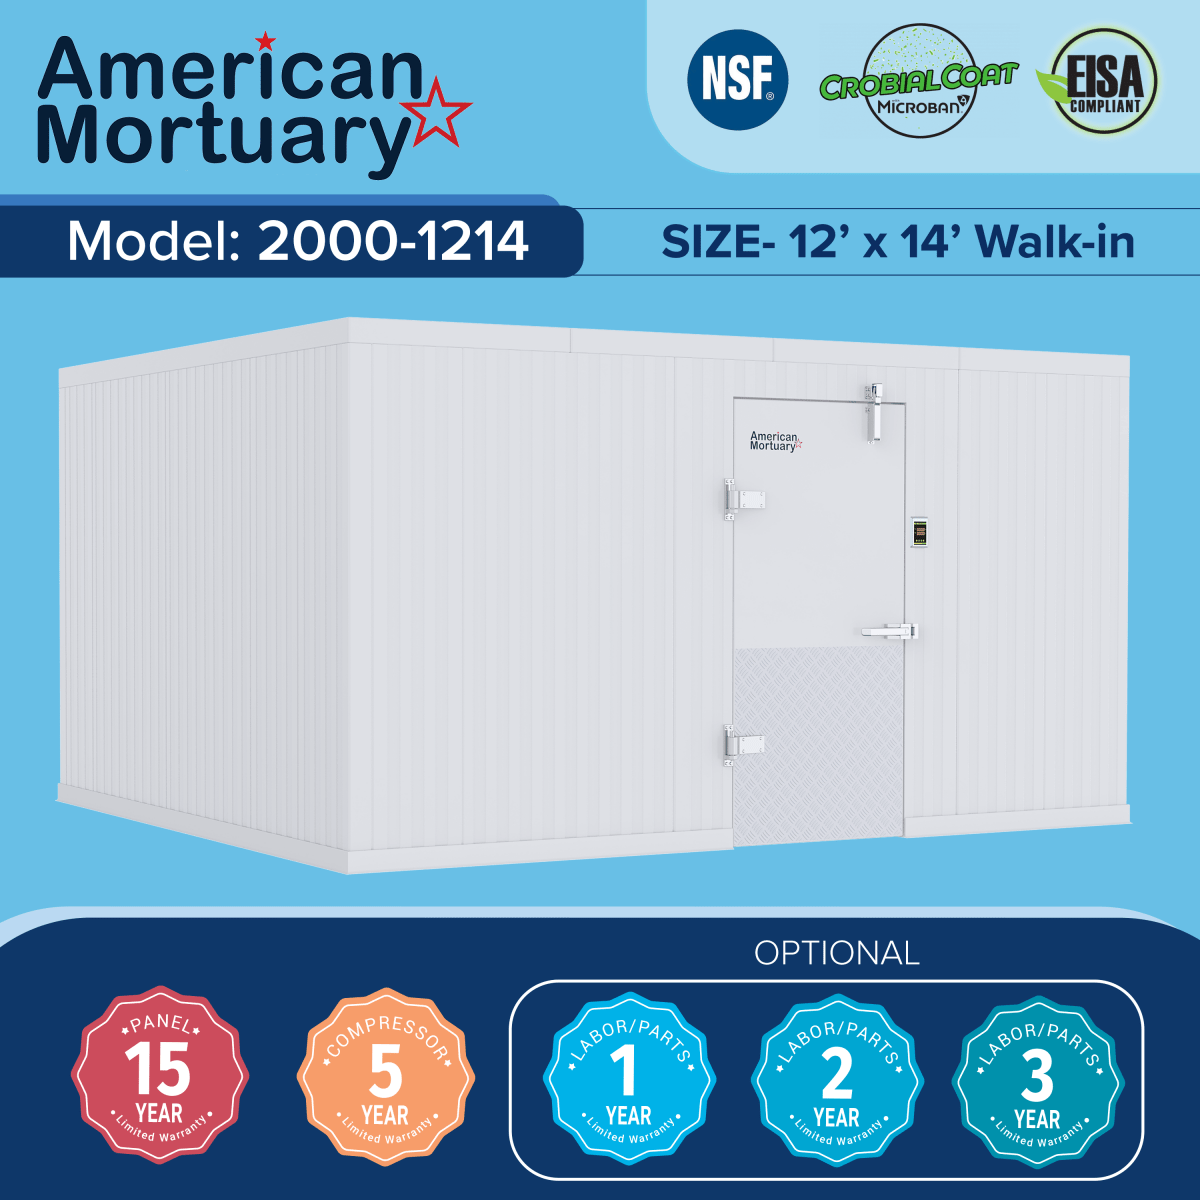
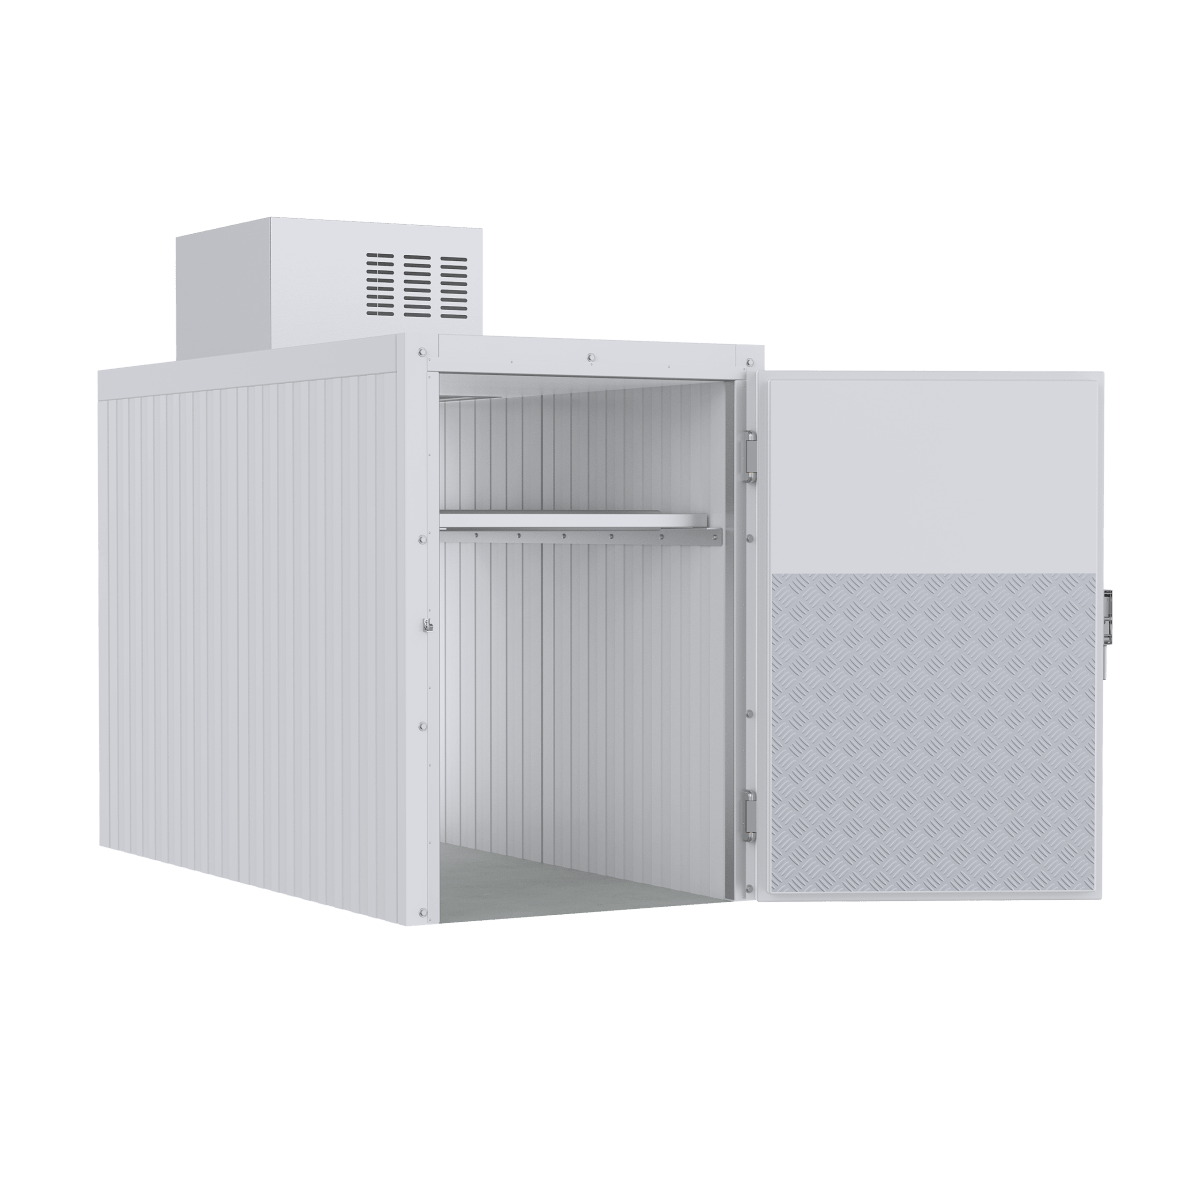
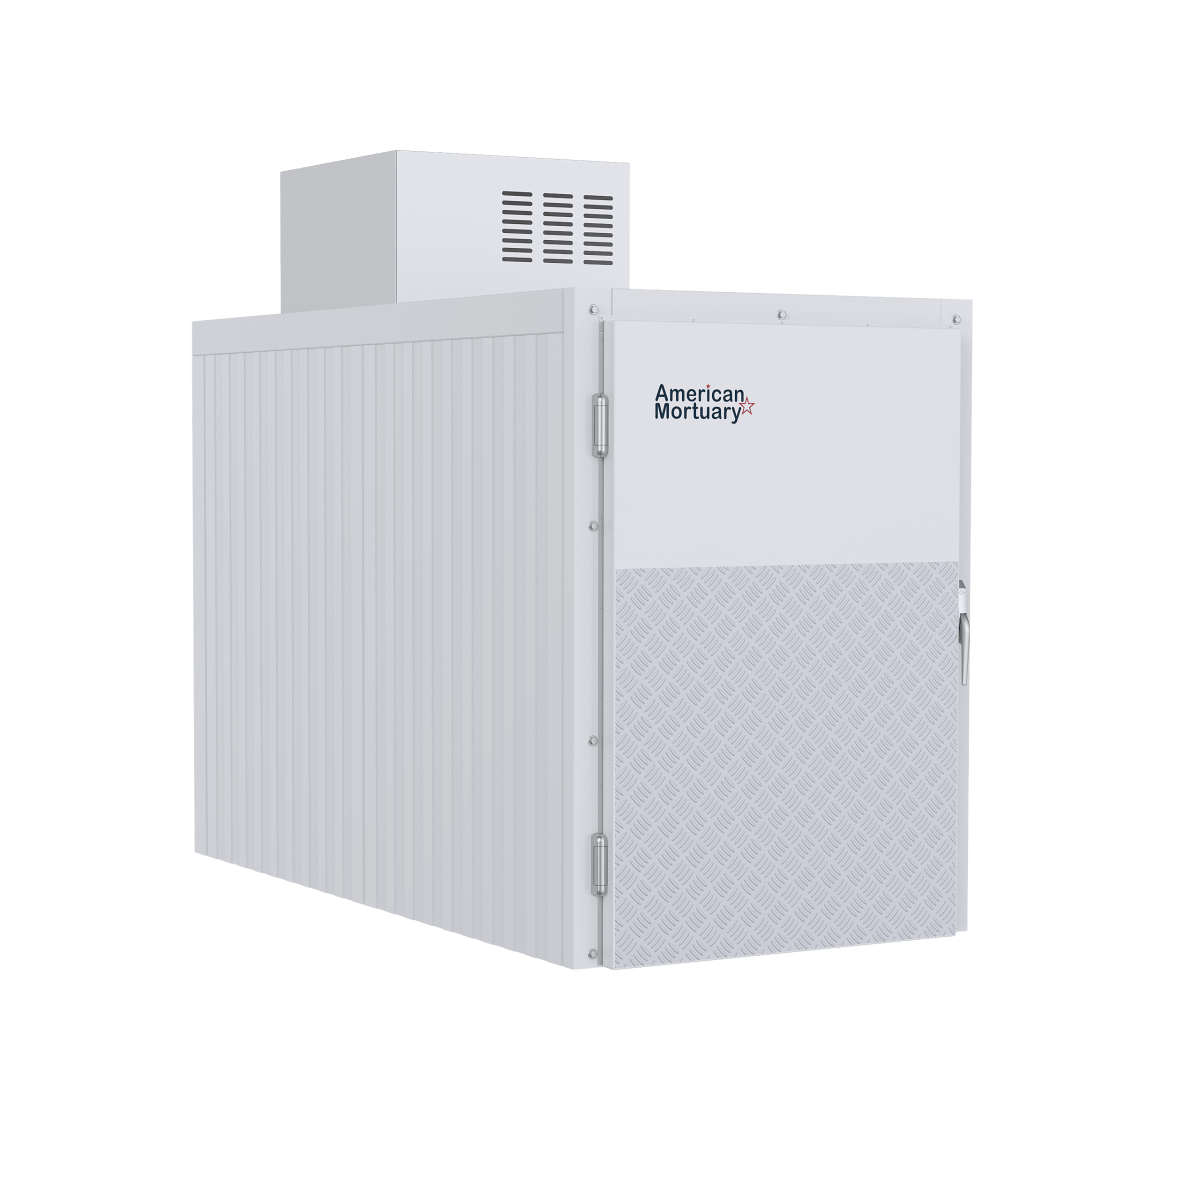
Mortuary settings require specialized walk-in coolers for dignified preservation of deceased individuals before services. This allows funeral homes to provide families time for gathering and planning.
The heart of any walk in cooler installation is its insulation. Modern units typically use either polyurethane or extruded polystyrene with R-values between 25 and 32. But here's something many don't realize – these values change over time:
Polyurethane might start at an impressive R-32 but can decrease to as low as R-8 as it ages. Extruded polystyrene tends to maintain its effectiveness better, starting at R-32 and holding around R-24 long-term. This difference can significantly impact your energy bills over years of operation.
| Feature | Prefabricated Units | Built-In Rooms |
|---|---|---|
| Installation Time | 1-3 days | 1-3 weeks |
| Initial Cost | $3,000-$9,000 (10 sq.ft) | $10,000+ |
| Expandability | Modular, can be disassembled and moved | Permanent, difficult to modify |
| Insulation | Factory-foamed panels (consistent R-value) | Site-applied spray foam (variable quality) |
| Floor Options | With or without insulated floor | Typically concrete slab with insulation beneath |
| Maintenance | Easier panel replacement | More complex repairs |
| Lifespan | 15-20 years | 20+ years with proper maintenance |
Prefabricated Units
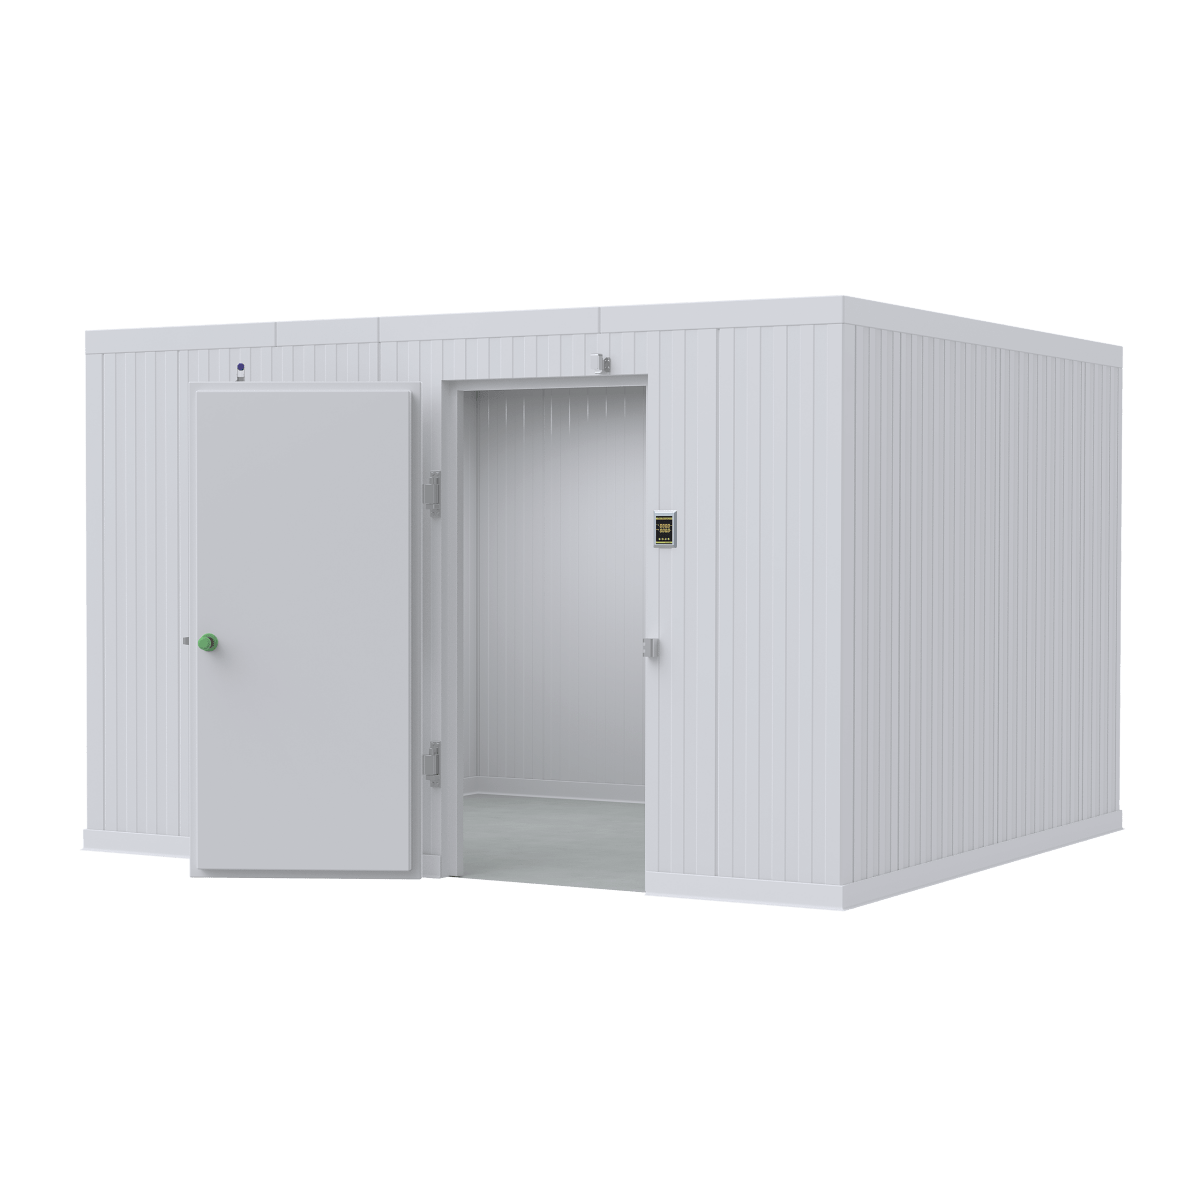
Prefabricated walk-in coolers are the popular kids of the cold storage world, and for good reason. These modular systems arrive in pieces and connect using a clever cam-lock fastening system that makes assembly relatively straightforward.
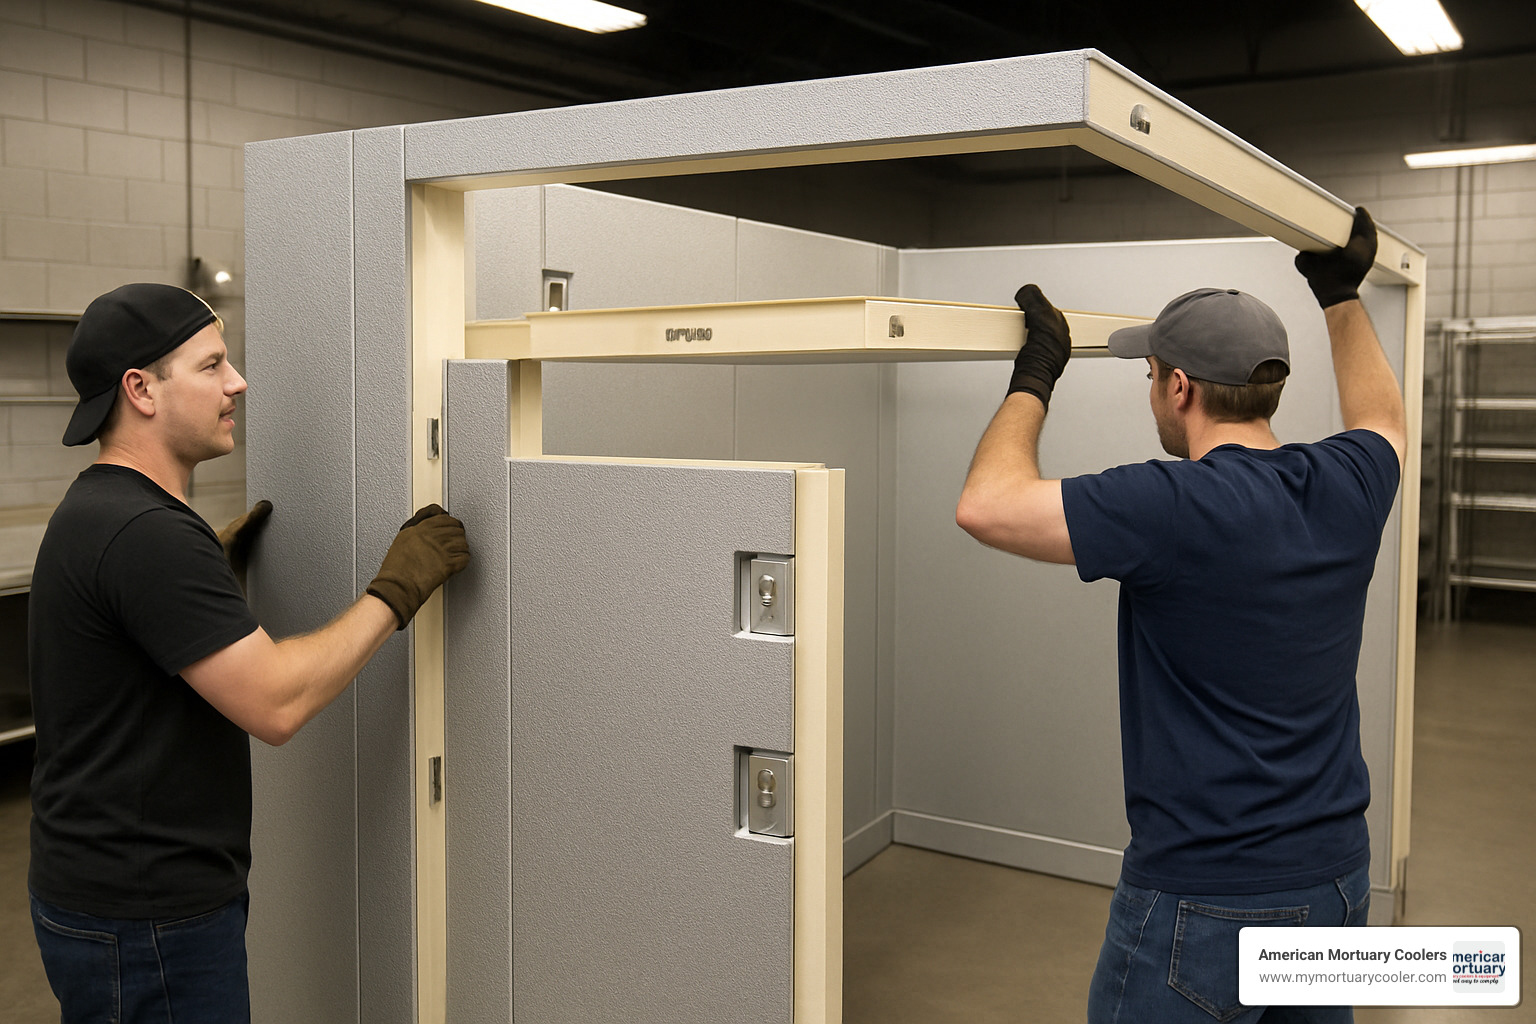
What makes prefab units so appealing? For starters, quick installation means your business doesn't have to hit pause for long – most can be up and running in 1-3 days. The factory-controlled manufacturing ensures consistent insulation quality throughout every panel. Their modular nature allows you to expand or even relocate your cooler as your business grows, and the predictable costs help avoid budget surprises.
The secret sauce is in the cam-lock system. During a recent installation at our Dallas location, one of our experienced technicians shared: "The beauty of cam-lock systems is how they draw panels together with just a quarter to half turn. Any more than that and you risk damaging the mechanism."
Most standard panels weigh around 90 pounds for a 46" × 96" section, so installation typically requires two people working together. The tongue-and-groove design helps ensure proper alignment before those important cam locks are engaged.
Want to explore your options? Check out More info about Best Walk-In Cooler Options.
Built-In/Custom Rooms
Built-in walk-in coolers are like custom suits – custom perfectly to your specific space and needs. These coolers integrate directly with your building's structure, either utilizing existing walls with added insulation or creating entirely new rooms with concrete or framed walls.
The benefits of going custom are substantial. Space optimization means you can fit a cooler into that awkward corner or oddly-shaped room that would otherwise go unused. Structural integration allows the cooler to match your building's aesthetics and handle specific load requirements. As a long-term investment, built-ins typically outlast their prefab cousins when properly maintained, and they offer higher capacity options for businesses with substantial storage needs.
Of course, this customization comes with more complex installation requirements. You'll likely need concrete work, professional spray foam application, custom door fabrication, and specialized refrigeration design.
I remember a project we completed in Chicago last year, converting an existing storage room into a walk-in cooler for a mortuary. We applied 4 inches of closed-cell spray foam to all walls, installed a proper vapor barrier, and created a custom threshold that eliminated air infiltration completely. The funeral director later told me it was not only functional but actually improved the dignified atmosphere of their facility.
While built-in coolers generally require a higher initial investment, they often provide better long-term ROI for permanent installations, especially for businesses with specialized needs or challenging spaces.
Pre-Installation Planning: Sizing, Location & Compliance
Proper planning before walk in cooler installation is critical to long-term success and can prevent costly mistakes. As Benjamin Franklin wisely noted, "By failing to prepare, you are preparing to fail" – advice particularly relevant to refrigeration projects.
Choosing the Right Size
Selecting the appropriate walk-in cooler size requires careful consideration of both current and future needs. A common mistake is underestimating required capacity, leading to overcrowding and inefficient operation.
Key sizing factors include:
- Current Storage Needs: Calculate your total cubic footage requirements based on inventory volume.
- Growth Projections: Allow for 15-25% additional space for business expansion.
- Product Turnover Rate: Higher-volume operations may need more space for loading/unloading.
- Rack Configuration: Shelving layout significantly impacts usable storage capacity.
- Accessibility Requirements: Ensure sufficient aisle width for staff and equipment movement.
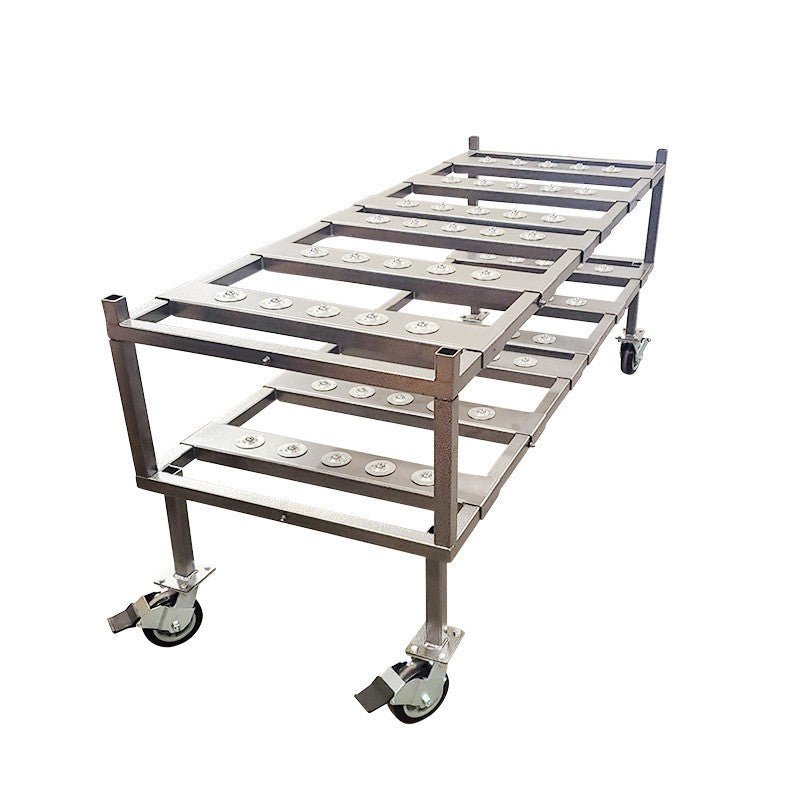
For funeral homes and mortuaries, sizing considerations are particularly important. Standard body trays require approximately 24" × 80" of floor space each, plus adequate clearance for dignified handling.
"When planning mortuary cooler sizing, we recommend a minimum of 30-36 inches between trays or racks to allow for respectful access," explains our installation specialist from our Southeast Region office.
More info about Selecting the Best Walk-In Cooler System
Indoor vs Outdoor Placement
The location of your walk-in cooler significantly impacts installation requirements, energy efficiency, and long-term maintenance costs.
Indoor Installation Considerations:
- Requires minimum 2" clearance around all sides for proper airflow
- Ceiling height must accommodate both the cooler and refrigeration unit (typically 6" minimum above)
- Floor must support the concentrated weight (600 lb/ft² standard load)
- Ventilation must handle heat rejection from condensing unit
- Noise levels from compressor operation may affect nearby work areas
Outdoor Installation Considerations:
- Requires concrete pad with proper drainage slope
- Needs weatherproofing including rain roof with 40-mil membrane
- Must account for ambient temperature extremes in refrigeration sizing
- May require additional structural support for snow loads in northern regions
- Requires weatherproof electrical connections and GFCI protection
- Typically needs tapered foam insulation (¼" to 4") with vapor barrier
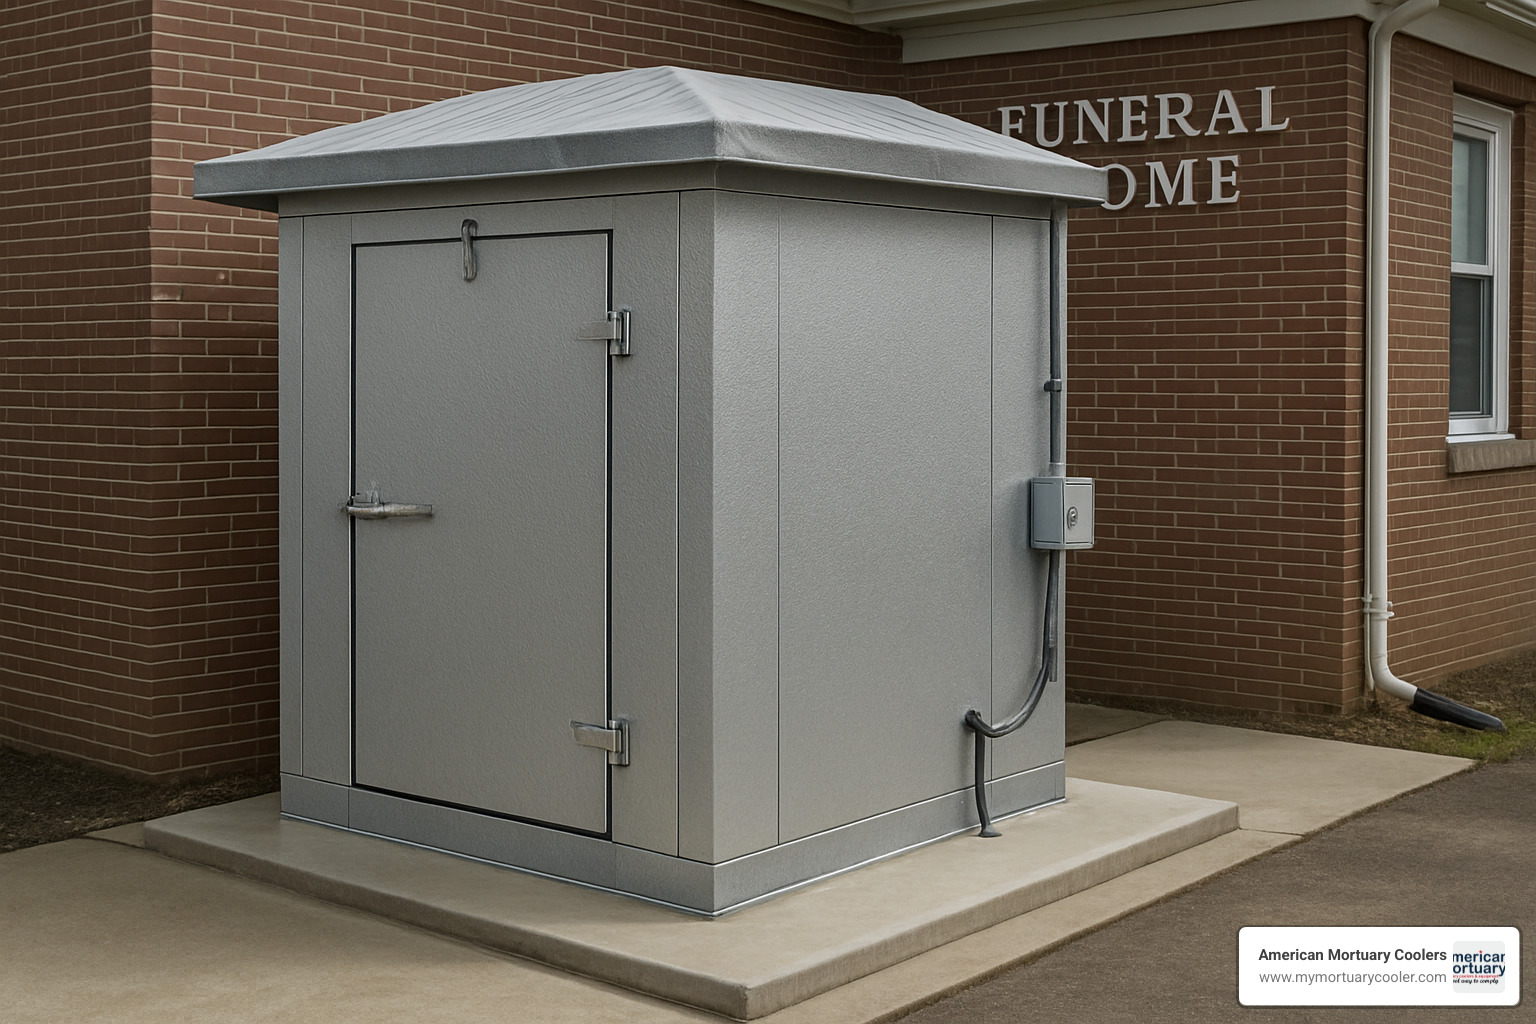
A recent installation at our Pittsburgh location demonstrated the importance of proper outdoor preparation. The client initially planned to place the unit on an existing concrete pad, but our site assessment revealed inadequate slope for drainage. By addressing this with a properly sloped new pad before installation, we prevented potential water intrusion and foundation issues.
Electrical & Mechanical Requirements
Proper electrical and mechanical planning is essential for safe, efficient walk in cooler installation. Inadequate electrical service is one of the most common causes of system failure and poor performance.
Electrical Requirements:
- Dedicated circuits for:
- Condensing unit (typically 208V or 230V)
- Evaporator fans and defrost (may be separate circuits)
- Lighting (120V with pilot-light switch)
- Proper wire sizing based on:
- Minimum Circuit Ampacity (MCA)
- Maximum Overcurrent Protection (MOP)
- Distance from panel (voltage drop considerations)
- GFCI protection for all outdoor connections and heater elements
- Disconnect switches accessible for maintenance
Mechanical Considerations:
- Condensate drain lines with proper slope (¼" per foot minimum)
- Drain line heaters for freezer applications
- P-trap installation for drain systems
- Adequate ventilation for heat dissipation
- Refrigerant line routing and protection
- Pressure relief ports for freezer applications
A typical 10 sq.ft. walk-in cooler might require:
- 20A circuit for condensing unit
- 15A circuit for evaporator fans/heaters
- 15A circuit for lighting
- Total electrical load: approximately 6-9 amps running current
As one electrical contractor noted during a recent installation: "I find it odd when the evaporator fan is bigger than the compressor, but that's not uncommon in well-designed systems focusing on air circulation."
All electrical work must comply with National Electrical Code (NEC) requirements and be performed by licensed professionals to maintain warranty coverage and ensure safety.
Site Prep & Essential Tools Checklist
Let's face it – even the fanciest walk-in cooler will give you headaches if you set it up on a wobbly floor or without enough breathing room. Walk in cooler installation success starts with proper preparation, much like baking a cake – get the foundation right, and everything else follows smoothly.
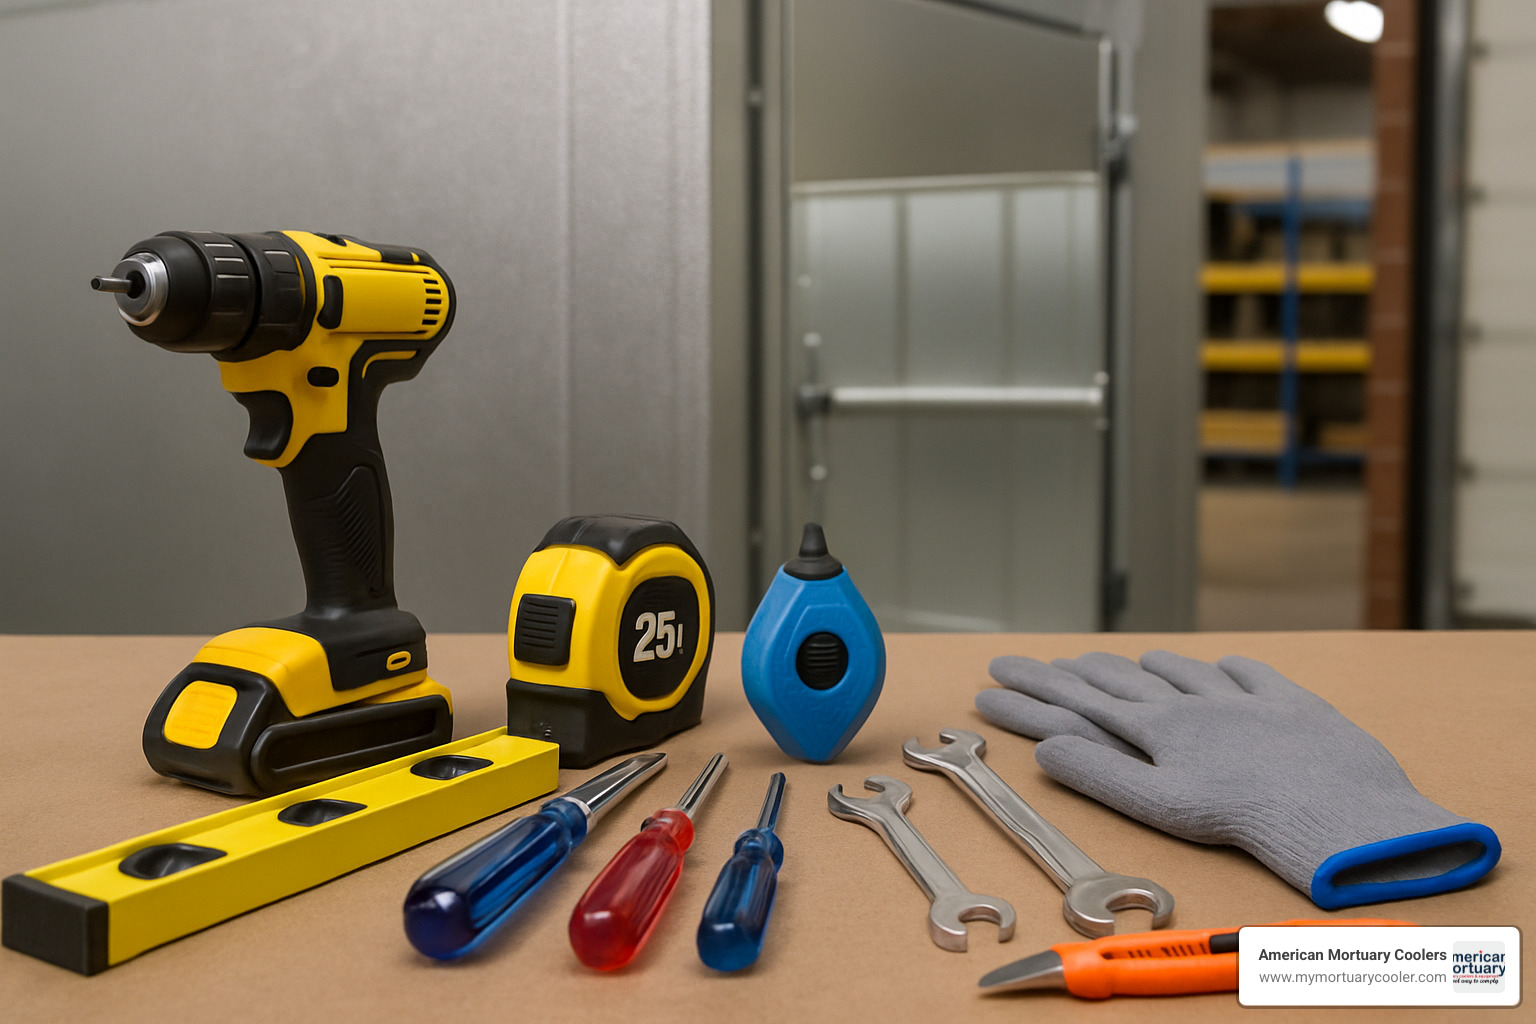
Before you even think about assembling those first panels, you'll want to ensure your floor is level within 3/16" per 10' span. Uneven surfaces aren't just annoying – they can actually compromise your cooler's seal and efficiency. For floors that resemble a mini roller coaster, liquid leveling compound will become your best friend.
Marking your layout with chalk lines might seem old-school, but it's a time-tested method to ensure your cooler sits exactly where it should. Pro tip: measure those diagonals – if they're equal, you've got perfect square corners. Your future self will thank you for this attention to detail.
Moisture is the enemy of any refrigeration system, which is why applying a polyethylene vapor barrier (at least 4 mil thick) is non-negotiable for ground-contact installations. Think of it as an insurance policy against future problems.
Planning for proper ventilation around your unit isn't just recommended – it's essential for optimal performance. Indoor installations need at least 2" clearance on all sides and 6" above for refrigeration units. Your cooler needs to breathe just like we do!
"I've seen perfectly good units fail prematurely simply because someone tried to cram them into too tight a space," shared one of our installation veterans. "That 2-inch clearance recommendation isn't just a suggestion – it's based on years of field experience."
Receiving & Staging Components
When your walk-in cooler arrives, typically "knocked down" on pallets, resist the urge to rush through the receiving process. This moment sets the tone for your entire installation.
First, play detective with your bill of lading – make sure everything you ordered actually arrived. Before that delivery driver pulls away, thoroughly inspect for any damage and document it with photos. I've seen too many customers regret not taking this step when they later find dented panels or broken components.
Document any issues right on the freight bill before the driver leaves. This simple act can save you days of frustrating back-and-forth with shipping companies later on.
Once everything checks out, organize your panels by type – they're typically marked with letters (C for ceiling, W for wall, F for floor) that correspond to your installation drawing. Think of it as sorting puzzle pieces before you start assembling.
If you're not installing immediately, store panels flat in a clean, dry area away from construction traffic. These panels deserve respect – they should always be carried flat by at least two people to protect their edges and cam locks from damage.
Safety & Energy Efficiency Prep
Safety and energy efficiency go together like peanut butter and jelly during walk in cooler installation. Let's tackle both to ensure your installation is both safe and smart.
Before anyone lifts a finger, clear your workspace of debris and obstacles – tripping over a stray 2×4 while carrying an insulated panel is a recipe for disaster. Equip your team with proper gloves, safety glasses, and appropriate footwear. Those panels typically weigh about 90 pounds each, so establish clear lifting protocols to protect everyone's backs.
Always verify your tools are in good working condition before starting. A faulty drill or worn cam wrench can turn a smooth installation into an all-day ordeal.
On the energy efficiency front, planning for continuous insulation without thermal bridges will dramatically impact your long-term operating costs. Position doors thoughtfully – away from heat sources and high-traffic areas when possible – and prepare for energy-efficient LED lighting installation.
Don't overlook vinyl strip curtains for frequently used doorways. They might seem like a small detail, but they significantly reduce air exchange every time someone enters or exits.
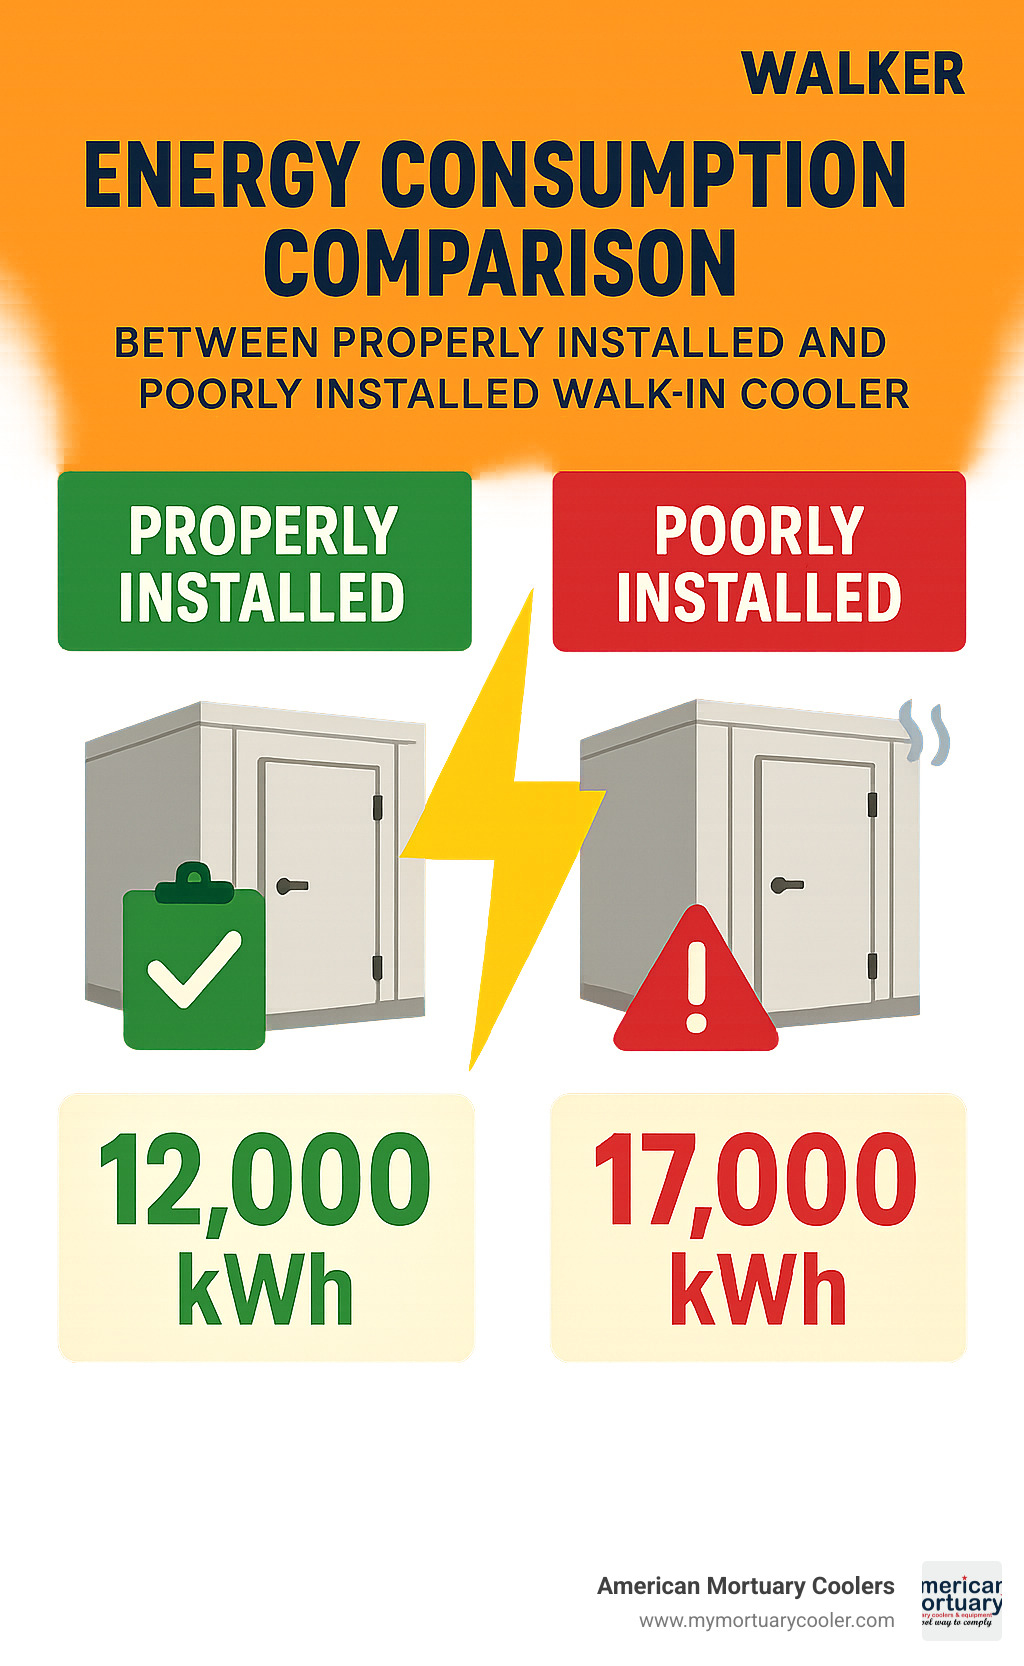
The numbers don't lie – a typical commercial walk-in refrigerator consumes around 17,000 kilowatt-hours annually. But here's the good news: with proper installation and attention to energy efficiency details, you can slash that consumption by 15-30%. That's not just good for the planet; it's great for your bottom line.
"The difference between a rushed installation and a methodical one often shows up on your utility bills for years to come," notes our installation manager from Tennessee. "The extra hour spent ensuring perfect seals and proper insulation pays dividends every month."
Step-by-Step Walk in Cooler Installation Process
The actual assembly of a walk-in cooler follows a logical sequence that must be carefully followed to ensure structural integrity and proper sealing. While specific steps may vary slightly between manufacturers, the general process remains consistent.
Receive, Inspect & Inventory Components
Before beginning assembly, a thorough inventory of all components is essential:
Unpack Documentation: Locate the installation manual, drawings, and parts list.
Verify Panel Count: Check that all panels listed on the packing slip are present.
Locate Hardware Kit: Find the package containing cam wrench, vinyl caps, door threshold, and other small components.
Inspect Each Panel: Look for any damage not visible during initial delivery inspection.
Review Assembly Drawing: Familiarize yourself with the panel numbering system and layout.
Stage Components: Arrange panels in sequence according to the installation order.
"The moment we open a shipment, we lay out all components and check them against the drawing," explains our installation team leader. "This simple step has saved countless hours of frustration and prevented installation delays."
Floor & Screed Preparation
The foundation of your walk-in cooler installation begins with either floor panel assembly or screed track installation for floorless units.
For Units With Insulated Floors:
Apply Vapor Barrier: Lay polyethylene sheeting over the concrete slab to prevent moisture migration.
Position Floor Panels: Place the first corner floor panel according to the drawing.
Align Edges: Ensure the male/female edges are properly aligned before joining.
Engage Cam Locks: Insert the hex wrench and turn ¼ turn to engage, then ½ turn to lock panels together. Never force beyond the solid stop.
Complete Floor Assembly: Continue adding floor panels according to the layout, ensuring edges remain flush.
For Floorless Units:
Mark Layout: Use chalk lines to mark the exact footprint of the cooler.
Install Screed Track: Position vinyl or metal screed track slightly offset from the outline.
Apply Silicone Beads: Place three parallel beads of NSF-approved silicone caulk under the screed track.
Secure Track: Attach screed to the floor using appropriate fasteners (typically 4 per 8' section).
Check Square: Measure diagonals to ensure the layout is perfectly square before proceeding.
Panel, Door & Cam-Lock Assembly – Core walk in cooler installation
The assembly of wall panels, doors, and ceiling components forms the core of the walk in cooler installation process.
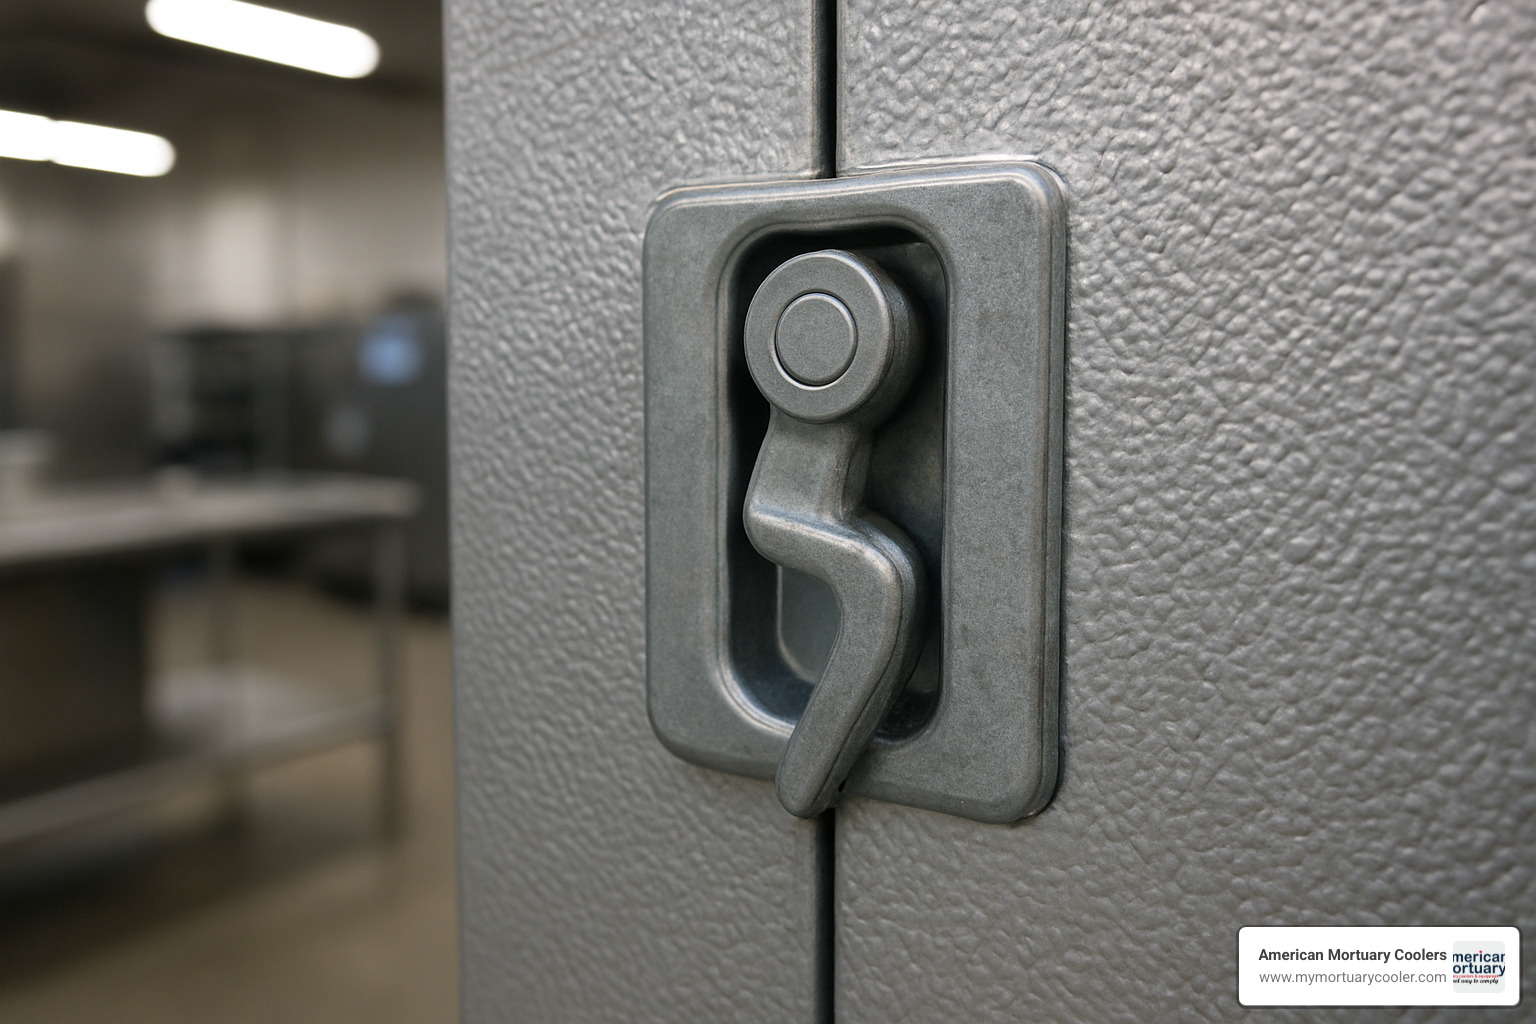
Wall Panel Assembly:
Start With Corners: Begin with a corner panel, placing it into the floor track or on top of floor panels.
Add Adjacent Panels: Work in one direction around the perimeter, joining panels with cam locks.
Proper Cam Lock Technique: Insert hex wrench into cam lock, turn ¼ turn to engage the pin, then complete a ½ turn to lock panels tightly. The total cam lock movement should be about 1½".
Check Alignment: Verify top edges are flush before fully tightening cam locks.
Install Door Panel: Position the door panel according to the drawing, ensuring it's plumb and level.
Threshold Bar Installation: For units with floors, install the threshold bar before setting the door panel. This bar anchors the door threshold to the floor panel.
Door Installation and Adjustment:
Check Door Reveal: Ensure even gaps (typically 3/16") around the entire door.
Adjust Door Position: If necessary, shim the door frame to achieve proper alignment.
Verify Operation: Test door opening, closing, and latching before proceeding.
Install Hold-Down Bar: Secure the threshold to the threshold bar using self-tapping screws.
Check Gaskets: Verify door gaskets make full contact with the frame when closed.
Ceiling Panel Installation:
Prepare Support: For spans over 14', install ceiling support systems before ceiling panels.
Position First Panel: Align the first ceiling panel with wall panels.
Engage Cam Locks: Connect ceiling to walls using the same cam-lock technique.
Complete Ceiling Assembly: Continue adding ceiling panels according to the layout drawing.
Install Support Brackets: For suspended ceilings, attach support brackets to structural members.
Scientific research on cam wrench has shown that proper torque application is critical – too little leaves gaps, while too much can damage the mechanism.
Refrigeration, Electrical & Controls – Final walk in cooler installation steps
The installation of refrigeration equipment, electrical systems, and control components represents the most technical aspect of walk in cooler installation and typically requires certified professionals.
Refrigeration Installation:
Mount Condensing Unit: Install on saddle mount, side mount, or top mount according to design.
Position Evaporator Coil: Mount inside the cooler at the specified location.
Run Refrigerant Lines: Install copper lines between components, following proper practices for bending and supporting.
Braze Connections: Using proper technique and nitrogen purge to prevent oxidation.
Pressure Test: Test system for leaks using nitrogen and appropriate pressure.
Evacuate System: Pull vacuum to remove moisture and non-condensables.
Charge System: Add the specified refrigerant charge per manufacturer instructions.
Electrical Connections:
Disconnect Power: Ensure all circuits are de-energized before beginning work.
Install Conduit: Run separate conduits for high-voltage and control wiring.
Connect Components: Wire condensing unit, evaporator fans, defrost heaters, and controls.
Install Lighting: Mount vapor-proof LED fixtures and connect to the lighting circuit.
Mount Controls: Install thermostats, defrost timers, and other control components.
Seal Penetrations: Caulk all conduit openings with NSF-approved silicone to prevent moisture ingress.
"The most common electrical mistake we see is mixing motor loads with resistive loads on the same circuit," notes our electrical specialist. "We always run separate circuits for the condenser, evaporator components, and lighting to prevent interference and ensure proper operation."
Seal, Test & Commission
The final phase of walk in cooler installation involves sealing, testing, and commissioning the system to ensure proper operation.
Sealing and Finishing:
Install Vinyl Caps: Insert caps into cam lock holes for a finished appearance and to prevent air infiltration.
Apply Interior Caulk: While optional, caulking all interior joints with NSF-approved silicone provides an additional air and moisture barrier.
Install Trim Pieces: Add corner trim, cove base, and other finishing components as specified.
Check Door Operation: Make final adjustments to door position, sweep gaskets, and closing tension.
System Testing:
Initial Startup: Power up the system and verify proper operation of all components.
Temperature Pull-Down: Monitor the time required to reach the set point temperature.
Defrost Cycle Check: Verify defrost initiation, termination, and drain pan heating if applicable.
Control Operation: Test thermostat, alarms, and safety controls.
Door Seal Verification: Check for cold air leakage around door gaskets.
Final Commissioning:
Set Control Parameters: Program defrost cycles, temperature set points, and alarm thresholds.
Energy Monitoring: Establish baseline power consumption for future reference.
Complete Documentation: Record all serial numbers, settings, and test results.
Register Warranty: Submit required documentation to activate manufacturer warranties.
Client Training: Provide basic operation and maintenance instruction to the end user.
A properly commissioned walk-in cooler should reach and maintain its set point temperature within 4-6 hours of startup, with temperature variation of no more than ±2°F throughout the interior space.
Costs, Mistakes & FAQs
Let’s talk honestly about the costs of walk in cooler installation. Most folks are surprised at how much the numbers can swing, but knowing what to expect helps you avoid budget surprises and buyer’s remorse.
For a basic 10 sq.ft. walk-in cooler, the numbers generally shake out like this:
- The equipment itself (the panels, door, and basic hardware) usually runs between $1,000 and $5,000.
- Professional installation labor adds about $2,000 to $4,000.
- Electrical work can tack on another $500 to $1,500 (it all depends on how much your existing setup needs to be modified).
- Refrigeration components—think compressor, evaporator, and controls—can set you back about $1,500 to $3,000.
- Don’t forget about permits and inspections, which generally cost $200 to $800 depending on your city or state.
- Site preparation (leveling the floor, concrete work, drainage) can range from $300 to $2,000.
Add it all up, and you’re looking at a total cost of about $3,000 to $9,000 for a complete 10 sq.ft. walk-in cooler installation. Of course, costs go up if you’re in a high-demand city like New York or Los Angeles. In NYC, for example, average installation lands closer to $9,638 for the same size unit.
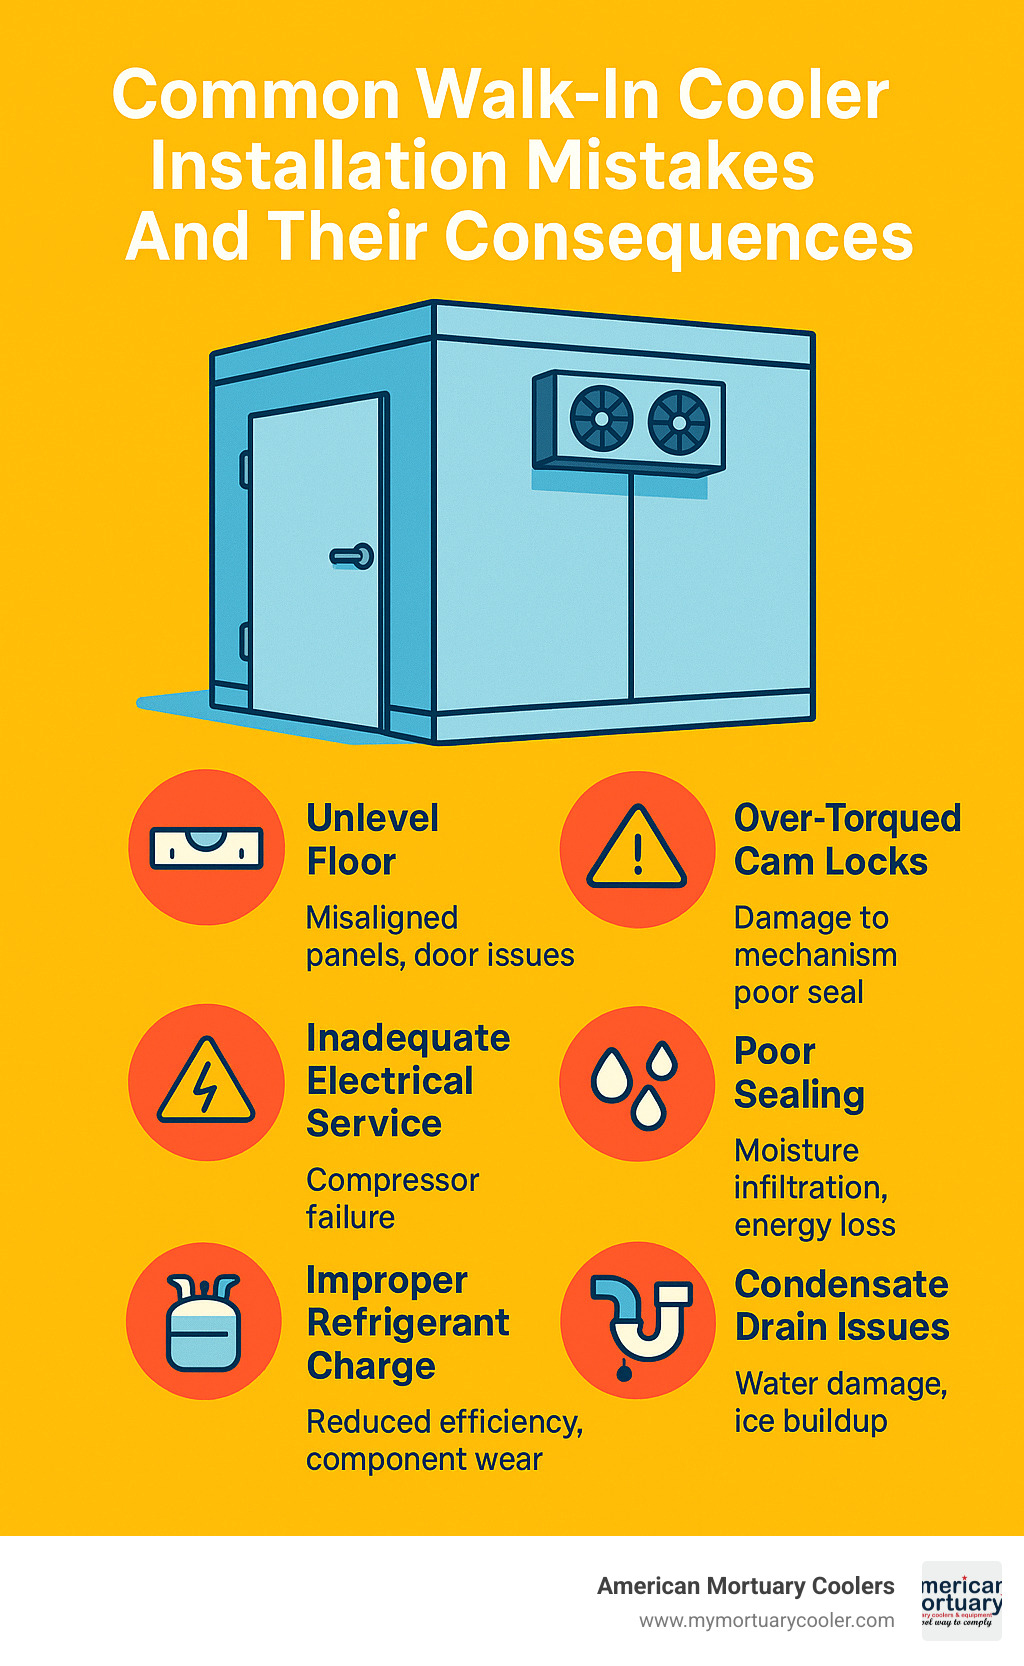
It’s easy to think the hardest part is over once you’ve ordered your cooler, but installation is where things can go sideways if you’re not careful. Here are some of the most common—and costly—mistakes we see:
Unlevel floors are the number one culprit. If your floor isn’t level, panels won’t line up right. This leads to doors that don’t close properly, air gaps, and headaches all around.
Over-torqued cam locks are another issue. These locks are designed for a snug fit, but crank them too hard and you’ll strip the mechanism—spoiling that perfect seal you need for efficiency.
Inadequate electrical service can quietly sabotage your system. If wiring is too thin or circuits are overloaded, compressors fail and warranties go out the window.
Poor sealing of corners and penetrations lets warm, humid air sneak in, causing moisture problems and driving up energy bills.
Improper refrigerant charge makes your cooler work overtime, hurting both efficiency and lifespan.
Condensate drain issues (like poorly sloped or uninsulated lines) may lead to annoying ice build-up or water damage around your cooler.
Our technical director says it best: “Floor prep is the step people most often rush. But if your floor isn’t right, you’ll be chasing problems you can’t fix with a screwdriver.” A little extra effort here makes all the difference.
Frequently Asked Questions about Walk-In Cooler Installation
How long does a typical walk-in cooler installation take?
Most standard prefab walk-ins take 2 to 5 days from start to finish. That usually means a day or two for site work, another day or two for assembling panels, then a final day for hooking up refrigeration and running tests. Bigger or custom jobs take longer.
Can I install a walk-in cooler myself, or should I hire a professional?
If you’re handy and good at following instructions, you may be able to assemble the panels yourself. But for anything involving refrigeration or electrical, always call a certified pro. DIY mistakes can void your warranty, run afoul of local codes, and cause expensive breakdowns. For commercial uses, professional installation isn’t just wise—it’s often required.
What permits are typically required for walk-in cooler installation?
Permit needs vary, but you’ll almost always need: a building permit (for any structural changes), an electrical permit (for new wiring), and a mechanical permit (for the refrigeration system). If you’re using the cooler for food, the health department might want a look. Environmental permits can also come up if refrigerants are involved. When in doubt, call your local office before you start.
How much clearance is required around a walk-in cooler?
You need at least 2 inches of clearance around the sides for airflow, and a minimum of 6 inches above for indoor units with top-mounted refrigeration. Outdoor units may need more space—always check your manufacturer’s specs.
Can a walk-in cooler be installed outdoors?
Absolutely, as long as you’re prepared. That means a concrete pad with proper drainage, a rain roof, weatherproof electrical, and a refrigeration system sized for outdoor temperatures. Expect to pay about 15–30% more for these extras compared to an indoor setup.
What is the minimum ceiling height needed for a walk-in cooler?
Take your cooler’s interior height (usually 7'6"), add the thickness of the roof, and then at least 6 inches of clearance above for ventilation and equipment. So, plan for a minimum ceiling height of 8'6" for most standard installations.
How do I know if my floor can support a walk-in cooler?
For most ground floors, you’re fine—a typical walk-in cooler needs to support about 600 lb/ft². But if you’re installing on a second floor or a questionable surface, it’s worth consulting a structural engineer. Don’t overlook point loads caused by heavy carts or racks, which can put thousands of pounds on a small patch of floor.
Still have questions about walk in cooler installation? At American Mortuary Coolers, we’ve seen it all—and we’re always happy to help you plan the right solution for your space and budget.
Conclusion
Getting walk in cooler installation right isn’t just about following a checklist—it’s about making a smart investment in your business’s future. When every step is done properly, from careful planning to final testing, your cooler will reward you with years (if not decades!) of reliable service and energy savings.
One thing this guide can’t stress enough is that thorough preparation is the true foundation. Picking the right size, double-checking your site, and making sure you’re up to code all set the stage for success. Using quality, manufacturer-approved components and following assembly instructions to the letter keeps your warranty safe and your mind at ease.
Some parts of installation can feel like a fun puzzle for the handy among us, but when it comes to refrigeration and electrical work, it pays (literally!) to call in certified pros. Not only does this keep you on the right side of local codes, it also ensures your cooler works as efficiently as possible right from the start.
Don’t overlook the details—proper cam-lock engagement, careful panel alignment, and thorough sealing make all the difference for efficiency and performance. And remember, skipping the final testing and commissioning can lead to headaches down the road. A little extra time here ensures your cooler is actually cooling as it should, with all systems working together.
At American Mortuary Coolers, we know a one-size-fits-all approach just doesn’t cut it—especially in the funeral and medical industries. That’s why we offer custom solutions, built tough and delivered directly across the lower 48. Whether you need a standard walk-in or something custom for unique needs, our team is here to help every step of the way, from planning to installation support.
Taking the time—and care—for proper walk in cooler installation pays off with lower energy bills, fewer repairs, and peace of mind for years to come. If you’re in the funeral industry and want a cooler that truly fits your needs, find how our custom mortuary refrigeration options can make a difference.
More info about our premier walk-in body refrigerators
If you have questions, need guidance, or are ready to start your project, don’t hesitate to reach out. Here’s to your next walk-in cooler being installed right—and running strong!


