The Complete Guide to Walk-In Cooler Design: How It Works
Walk in cooler design is the process of planning, sizing, and specifying refrigerated storage rooms that maintain temperatures between 35°F and 55°F for preserving perishable items. For those looking for a quick overview of walk-in cooler design, here are the essential components:
| Component | Function | Considerations |
|---|---|---|
| Insulated Panels | Create sealed environment | 3.5"-5" polyurethane/polyisocyanurate (R-value 25+) |
| Refrigeration System | Removes heat from interior | 1.5-3 HP based on cooler size and usage |
| Door System | Provides access while maintaining seal | Self-closing, 36"-60" width options |
| Floor | Supports weight and insulates | Floor vs. floorless options (concrete slab) |
| Controls | Maintains target temperature | Digital controllers, humidity management |
A properly designed walk-in cooler can reduce energy costs by up to 42% compared to traditional refrigeration systems, while maintaining ideal preservation conditions for food, beverages, pharmaceuticals, or mortuary needs.
The basic principle behind all walk-in coolers is simple: a refrigeration system removes heat from an insulated space. The effectiveness of this process depends on several factors including insulation quality, door seals, and proper sizing of the refrigeration system.
I'm Mortuary Cooler, a national-level supplier of mortuary coolers with experience in walk in cooler design for funeral homes and other specialized applications. My background includes designing custom walk-in solutions that balance efficiency, compliance, and budget considerations for clients nationwide.
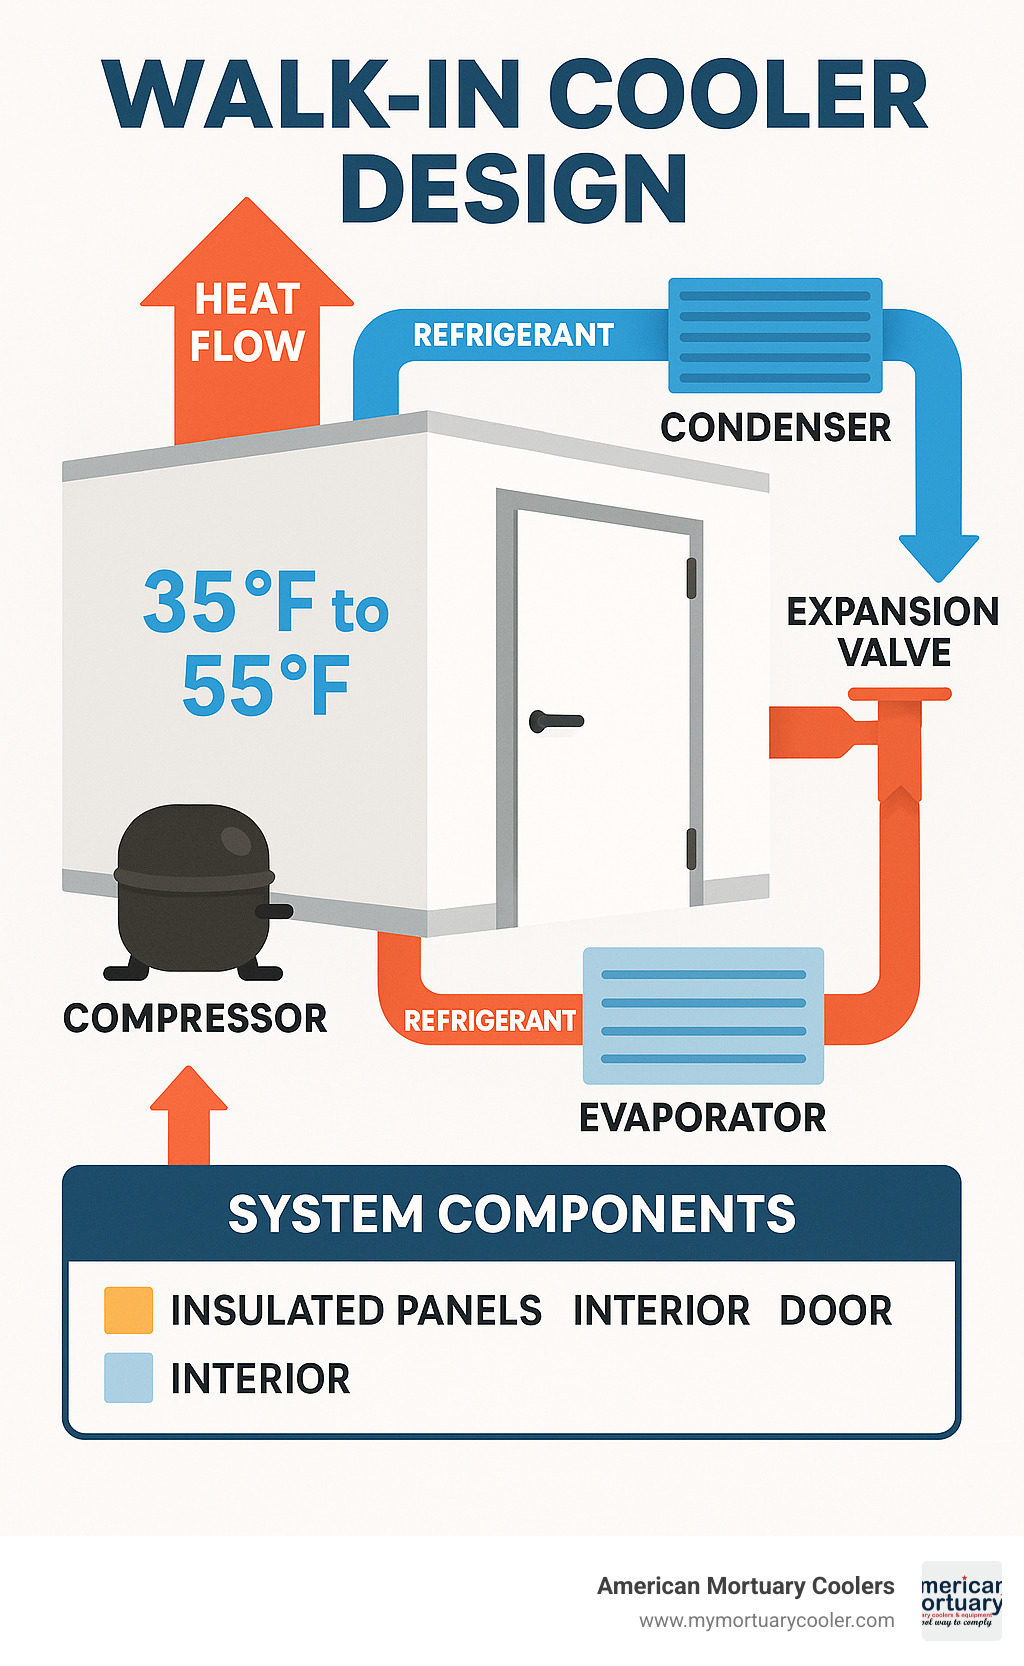
Glossary for walk in cooler design:
5 Simple Steps to Walk-In Cooler Design
Creating your perfect walk in cooler design doesn't need to feel overwhelming. Whether you're planning for a restaurant, brewery, flower shop, or mortuary, the fundamentals remain the same. At American Mortuary Coolers, we've distilled this process into five clear steps that ensure your cooling solution meets your specific needs while maximizing both efficiency and longevity.
Let me guide you through our proven roadmap for designing the ideal walk-in cooler:
Step 1: Assess Storage Needs & Space Layout
The foundation of effective walk in cooler design starts with honestly evaluating your storage requirements and available space. This crucial first step helps you avoid the two most costly mistakes we see: building too small (requiring expensive expansion later) or too large (wasting energy cooling empty space).
Start by calculating your peak storage volume—the maximum amount of product you'll need to store during your busiest periods. For mortuaries, this means thinking about seasonal fluctuations and potential emergency situations that might require additional capacity.
Always plan for growth in your business. We typically recommend sizing your cooler for at least 2-3 years of anticipated expansion. If you currently need 100 cubic feet but expect 30% growth within two years, aim for at least 130 cubic feet to avoid outgrowing your cooler too quickly.
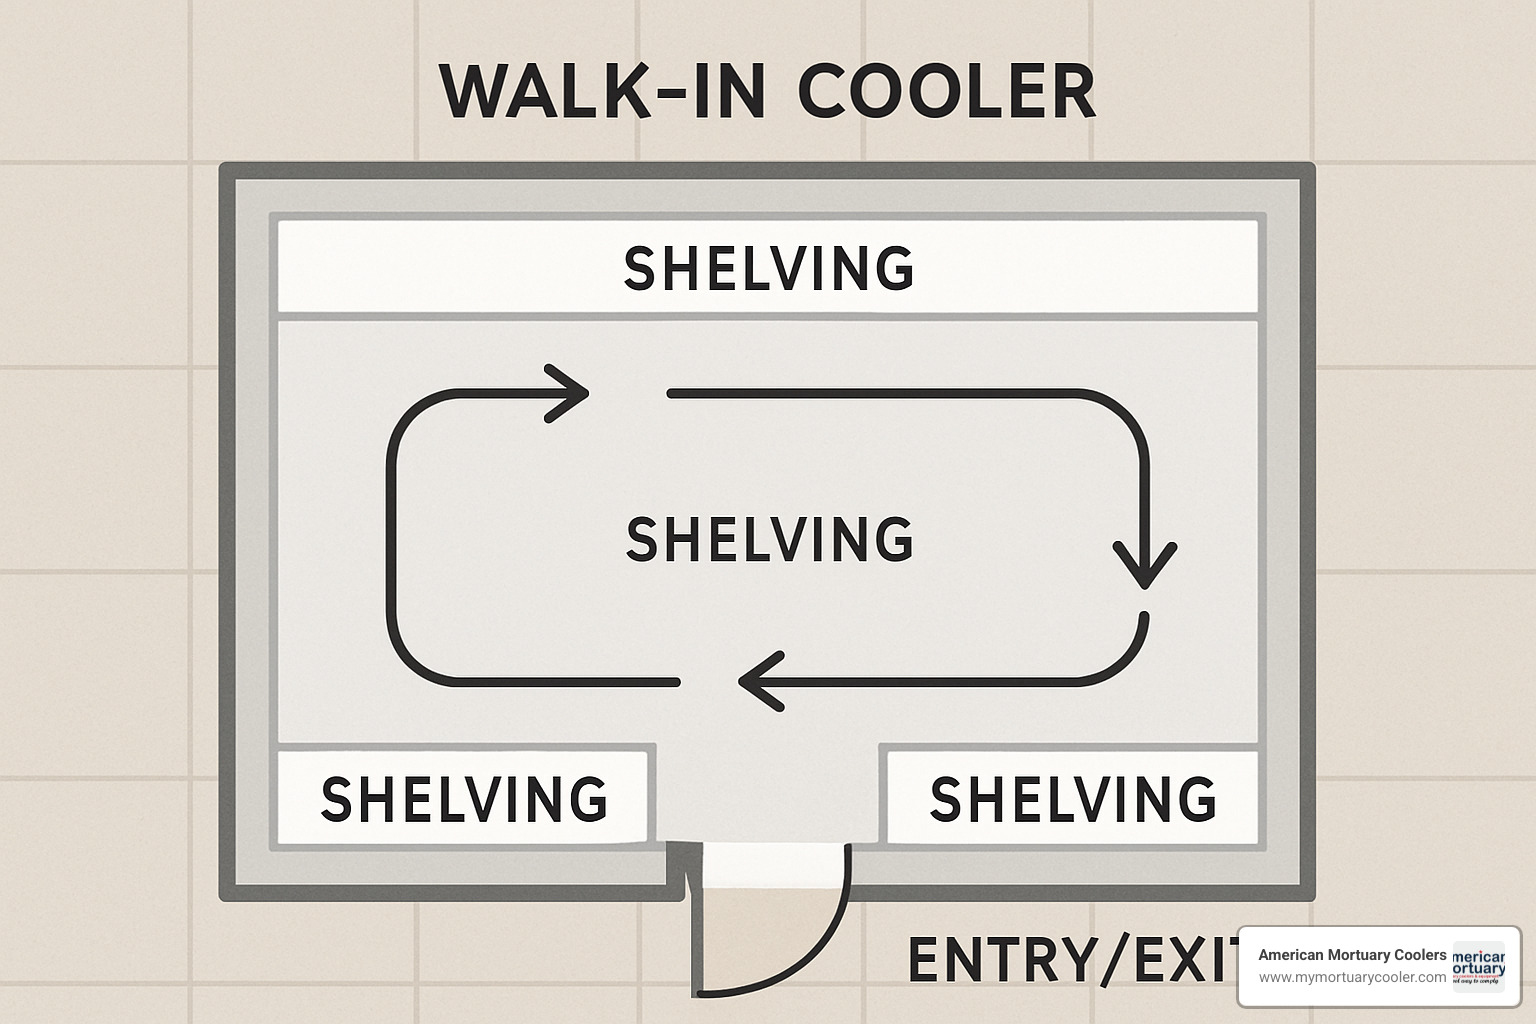
Consider your traffic patterns carefully. How often will staff access the cooler, and how many people might enter simultaneously? High-traffic coolers benefit from thoughtful door placement or strip curtains to minimize temperature fluctuations when the door opens.
The indoor versus outdoor placement decision affects several aspects of your design. Indoor installations save on insulation costs but consume valuable floor space. Outdoor units free up your interior space but require weather-resistant construction and potentially stronger refrigeration to handle outdoor temperatures.
Pro Tip: For a quick sizing estimate, multiply your daily production volume (in cubic feet) by 3 days of storage, then by your growth factor (1.2-1.5). Divide by your usable height to find your required floor area in square feet. Then add about 15-20% for comfortable movement space inside the cooler.
For mortuaries specifically, we recommend a minimum of 24 square feet of floor space per body, with adequate clearance for carts and staff movement.
Step 2: Choose the Box—Panels, Doors & Floors
With your size and location determined, it's time to select the components that create your insulated environment. The "box" consists of insulated panels, doors, and potentially a floor system—all working together to maintain temperature while minimizing energy use.
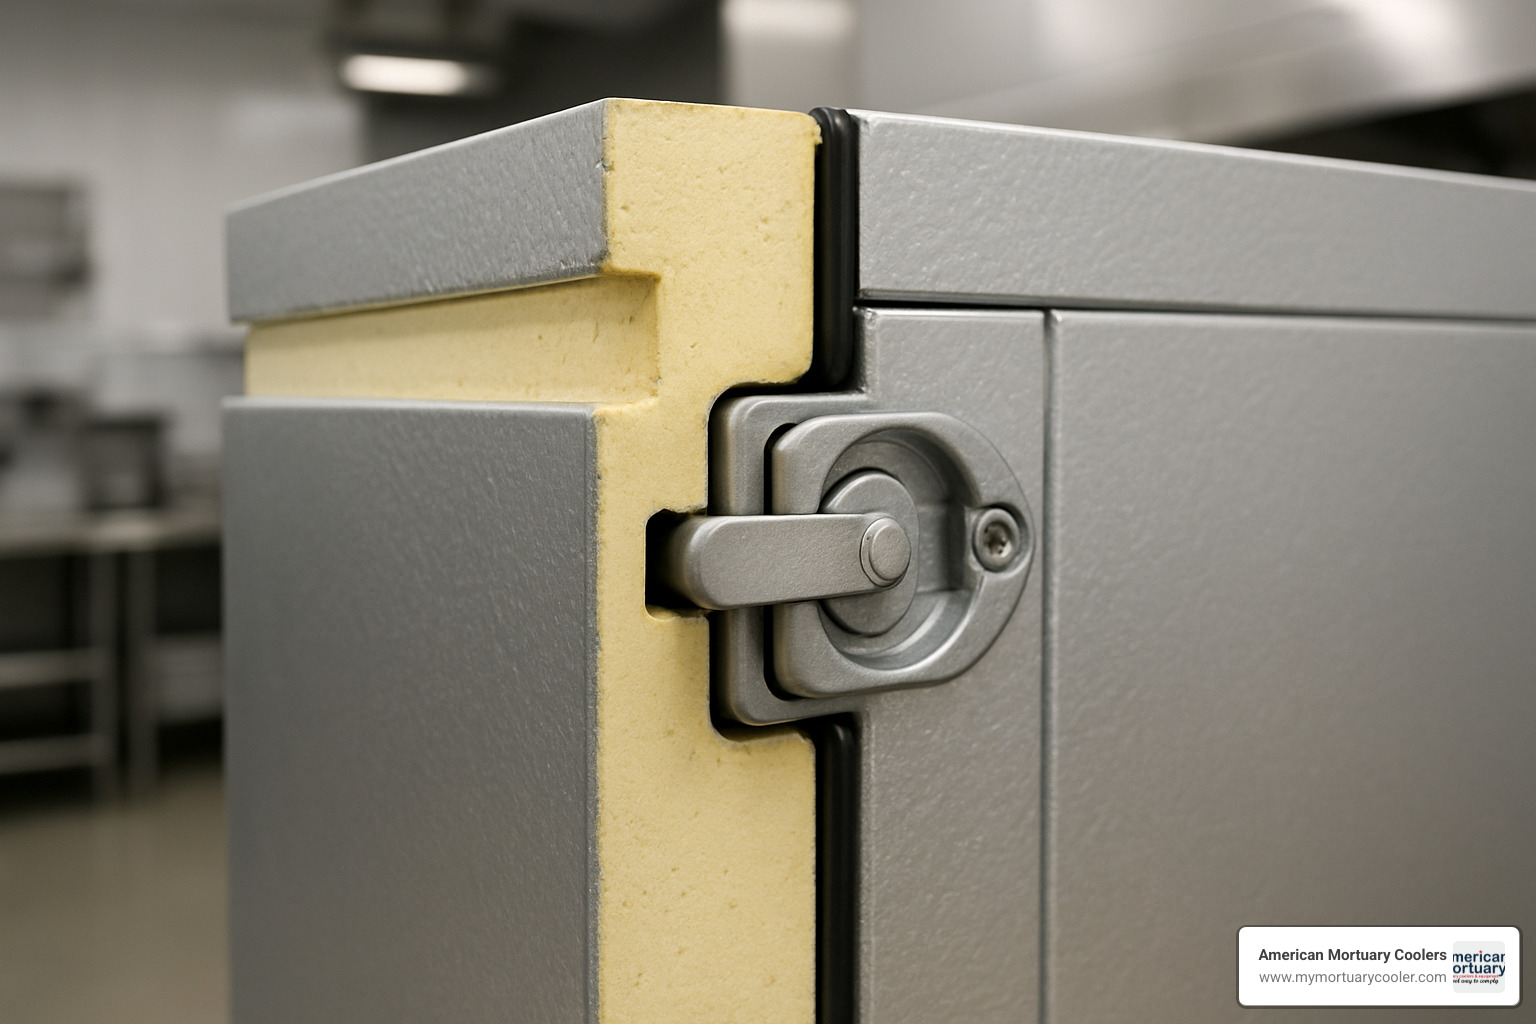
The heart of your walk in cooler design is the insulated panels. These typically feature metal skins (aluminum or steel) with an insulation core. Polyurethane panels offer approximately R-7 per inch, giving you R-25 to R-35 total insulation value for standard 3.5"-5" panels. These represent the most common choice and generally offer the best value for most applications.
For situations requiring improved fire resistance, polyisocyanurate (polyiso) panels provide slightly higher R-values and better fire ratings. Standard 4" panels work well for most applications, but 5" panels deliver better energy efficiency in hot climates or for coolers that will experience frequent door openings.
Modern walk-in panels connect using cam-lock systems that pull panels tightly together for an airtight seal. The tongue-and-groove design with gaskets ensures proper alignment, while the cam-lock mechanisms allow for tool-assisted assembly and potential future disassembly if needed. Double-barreled gaskets prevent air and moisture from infiltrating your cooler.
Doors represent the most vulnerable point in your walk in cooler design since they open frequently and experience the most wear. Standard sizes range from 36" × 78" to 60" × 84" (width × height). Always choose self-closing hinges and positive-seal gaskets to maintain your temperature. Optional features like kickplates, windows, and strip curtains can improve functionality. Door placement should minimize disruption to traffic flow and cold air loss.
For flooring, you have two primary options. Insulated floor panels provide a complete thermal envelope and can be installed on any level surface. These typically add 20-30% to the cost but improve energy efficiency by about 15%. Alternatively, a floorless design on insulated concrete uses a vinyl screed (cove base) to seal wall panels to an insulated concrete slab. This option works particularly well when heavy carts or equipment will regularly move in and out.
Step 3: Perform Precise Walk In Cooler Design Calculations
The difference between an adequate cooler and an excellent one often comes down to the precision of your calculations. Proper sizing of the refrigeration system depends on accurate heat load calculations that account for all sources of heat entering your cooler.
You'll need to calculate heat gain from several sources. First, conduction refers to heat transfer through walls, ceiling, and floor. Calculate this based on surface area, insulation R-value, and temperature differential using this formula: Area (sq ft) × 24 hrs ÷ R-value × Temperature difference (°F) = BTU/day.
Infiltration accounts for heat entering when doors are opened, based on door size, frequency of opening, and duration. This can represent 15-30% of your total cooling load for busy coolers.
The product load measures heat given off by warm products being cooled and is calculated based on product mass, specific heat, and temperature change. This factor becomes especially critical for operations with high product turnover.
Don't forget internal loads from lights, people, and equipment inside the cooler. Each person adds approximately 250 BTU/hr, while LED lighting significantly reduces this component compared to older lighting technologies.
Finally, add a safety factor of typically 10-15% to account for unforeseen variables. This buffer ensures your system won't be underpowered during extreme conditions.
When comparing floor options, consider these R-values carefully. A 4" insulated floor panel provides R-25 to R-32 and offers the most efficient solution for general storage with standard traffic. A 2" XPS under concrete delivers R-10 with moderate efficiency, making it suitable for heavy equipment and high traffic situations. Uninsulated concrete provides only R-1 to R-2 and is generally not recommended for energy-efficient designs.
Your location significantly impacts refrigeration requirements. A walk-in cooler in Dallas, TX needs substantially more cooling capacity than an identical unit in Chicago, IL due to ambient temperature differences. At American Mortuary Coolers, we factor in your specific location's climate data when designing cooling systems for our clients across the country.
For more detailed information about pricing and features, check out our guide on Walk-In Cooler Features and Prices. We can also provide detailed door, electrical, and refrigeration drawings to help visualize your complete system.
Step 4: Select Efficient Refrigeration & Smart Controls
With your heat load calculations complete, you can now select the appropriate refrigeration system. This is where the science of walk in cooler design meets practical application in your specific facility.
You have several refrigeration system types to consider. Self-contained systems have the refrigeration unit pre-charged and mounted directly on the cooler. These offer easier installation and lower initial cost, but they release heat into the surrounding space and may be noisier than other options.
Remote systems install the condensing unit away from the cooler, typically outdoors. These provide quieter operation and don't add heat to indoor spaces, though they involve more complex installation and higher initial costs.
For smaller applications or budget constraints, a CoolBot alternative pairs a CoolBot controller with a standard air conditioner to provide cooling at significantly lower cost. This approach can save up to 72% on upfront costs compared to traditional systems and uses up to 42% less energy in some applications.
Most walk-in coolers for commercial applications require 1.5 to 3 horsepower refrigeration systems, 15-30 amps electrical service, and 208-230 volts, 3-phase power (though single-phase options exist for smaller units).
The Department of Energy's 2019 regulations eliminated certain condenser types and raised efficiency standards. All new walk-in coolers must comply with these updated requirements, which we factor into all our designs.
Maintaining proper humidity is crucial, especially for mortuaries where excessive dryness can accelerate tissue dehydration. We typically target 60-80% relative humidity for most applications, sometimes using dedicated humidity control systems for specialized needs. Oversized evaporator coils can help maintain higher humidity levels when required.
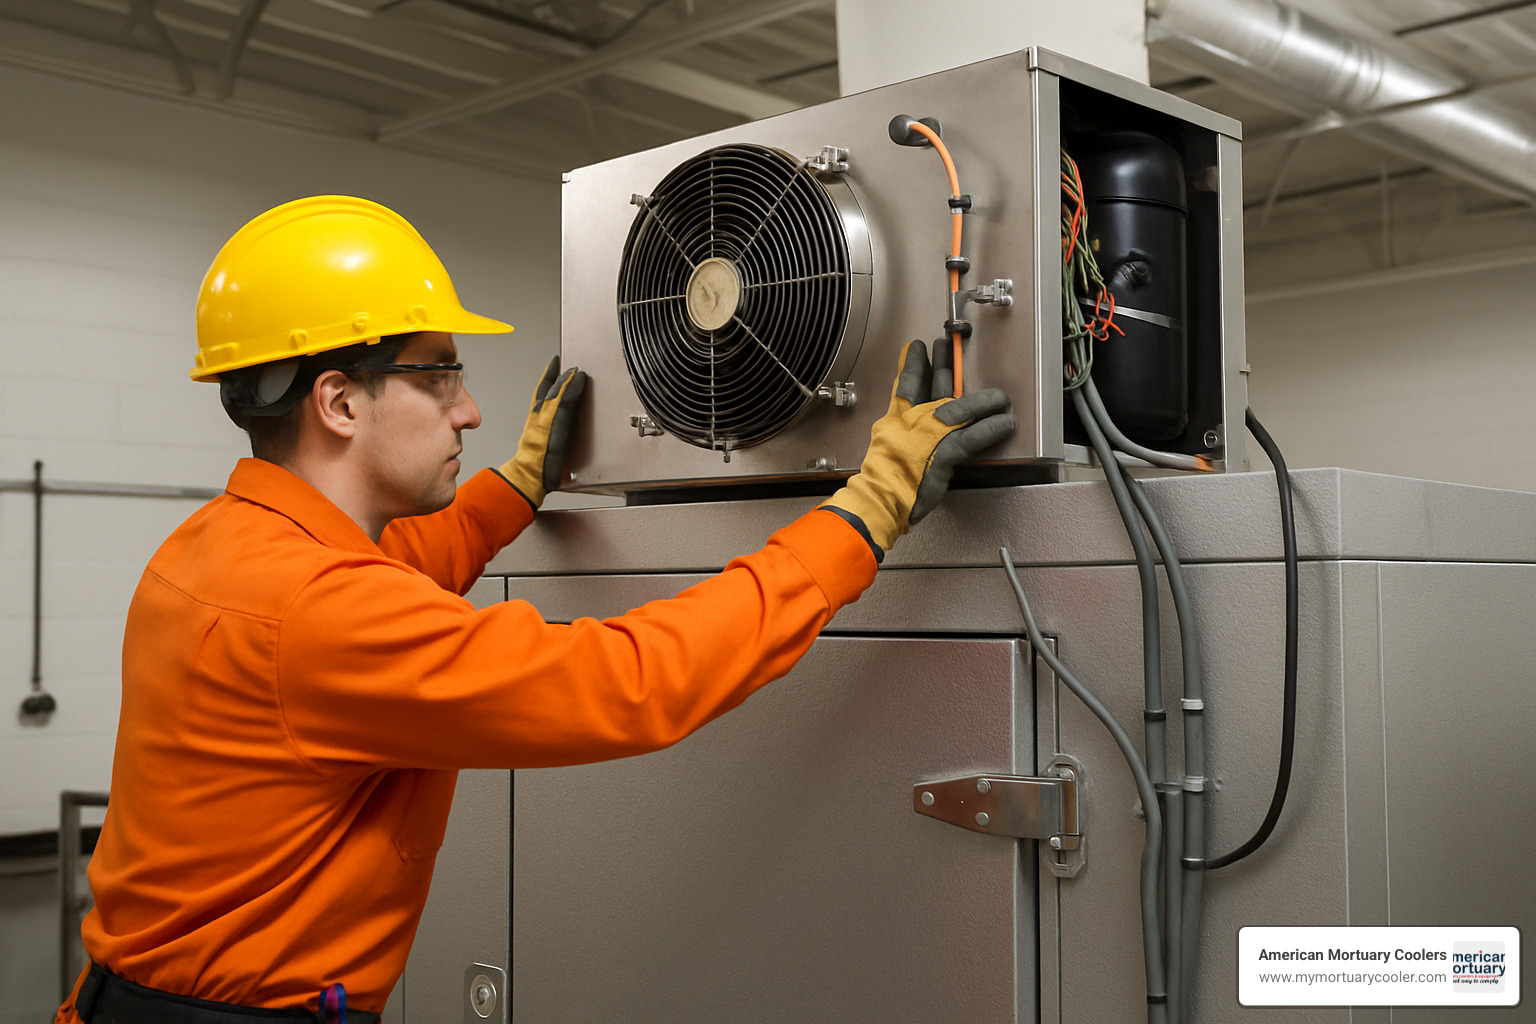
Modern walk in cooler design incorporates digital controls offering precise temperature regulation (±1°F), remote monitoring capabilities, automatic defrost cycles, alarm systems for temperature excursions, and energy usage tracking. At American Mortuary Coolers, we recommend smart controllers for all our installations, as they provide both peace of mind and significant energy savings over the life of your cooler.
For more information about combination units, visit our Ultimate Guide to Walk-In Fridge and Freezer Combos.
Step 5: Install, Seal, Maintain & Future-Proof Your Walk-In Cooler Design
The final step in creating your perfect walk in cooler design involves proper installation, meticulous sealing, and planning for ongoing maintenance and potential future expansion.
Before installation begins, ensure your site is properly prepared. The floor should be level (within ¼" across the entire footprint), with adequate electrical service (typically 208-230V, 3-phase). You'll need proper drainage for condensate and sufficient clearance around the unit for air circulation and service access.
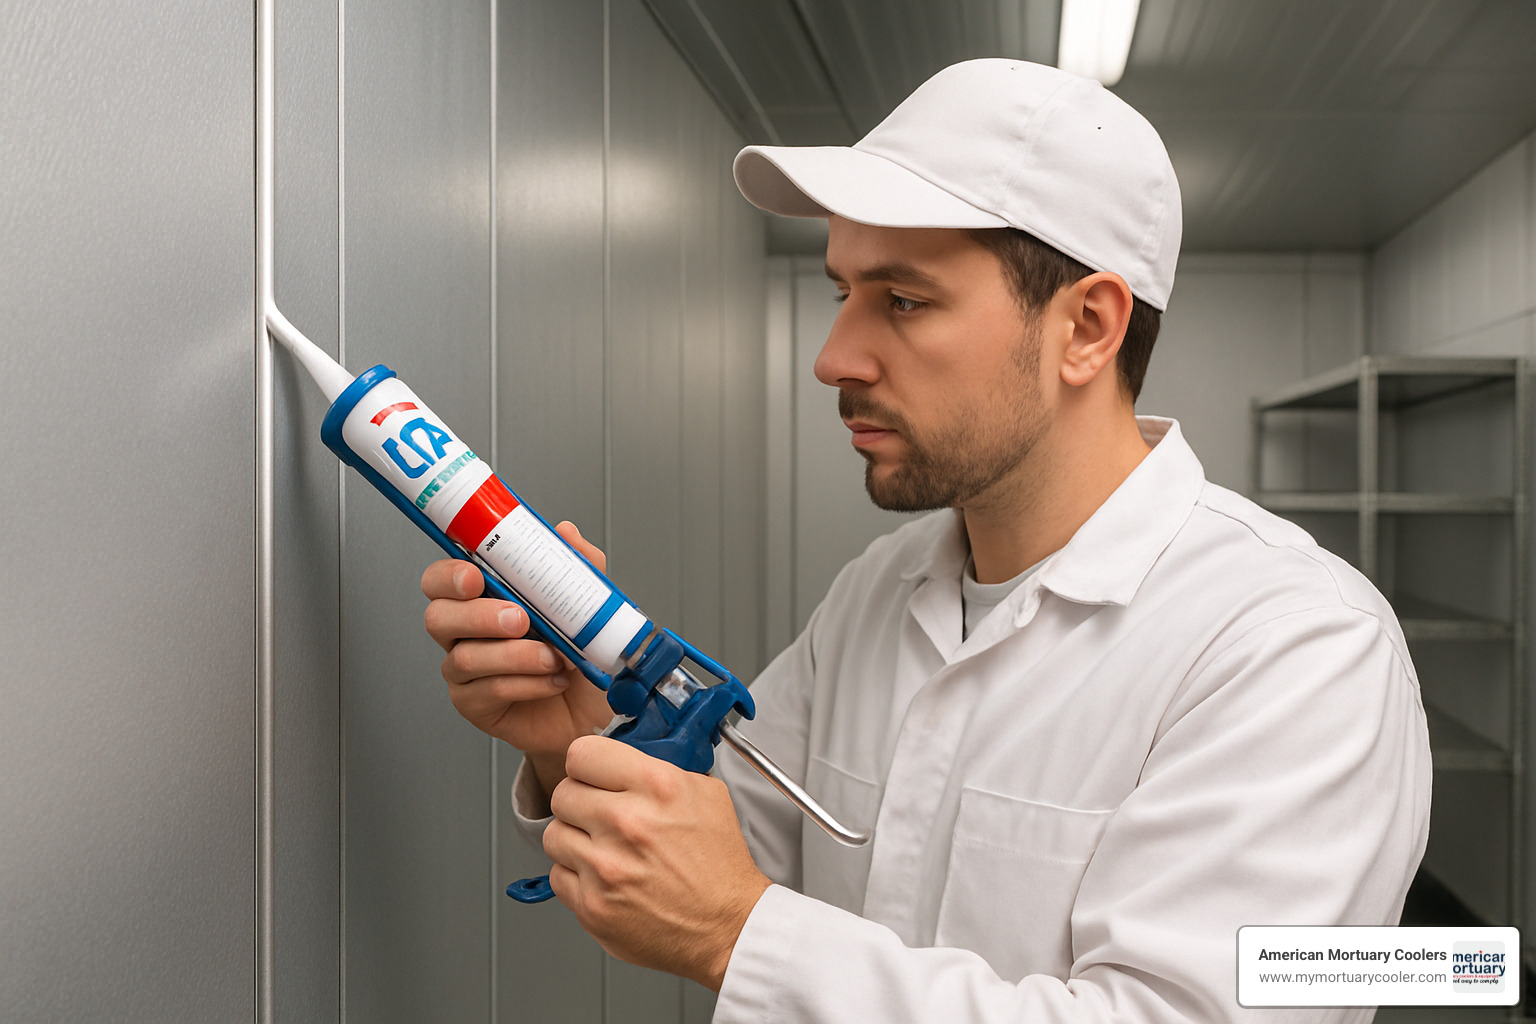
The difference between an average cooler and an exceptional one often comes down to sealing details. Apply NSF-approved silicone caulk to all interior panel joints, install proper vapor barriers to prevent moisture migration, seal all penetrations for electrical and refrigeration lines, and use compression gaskets around door frames and thresholds.
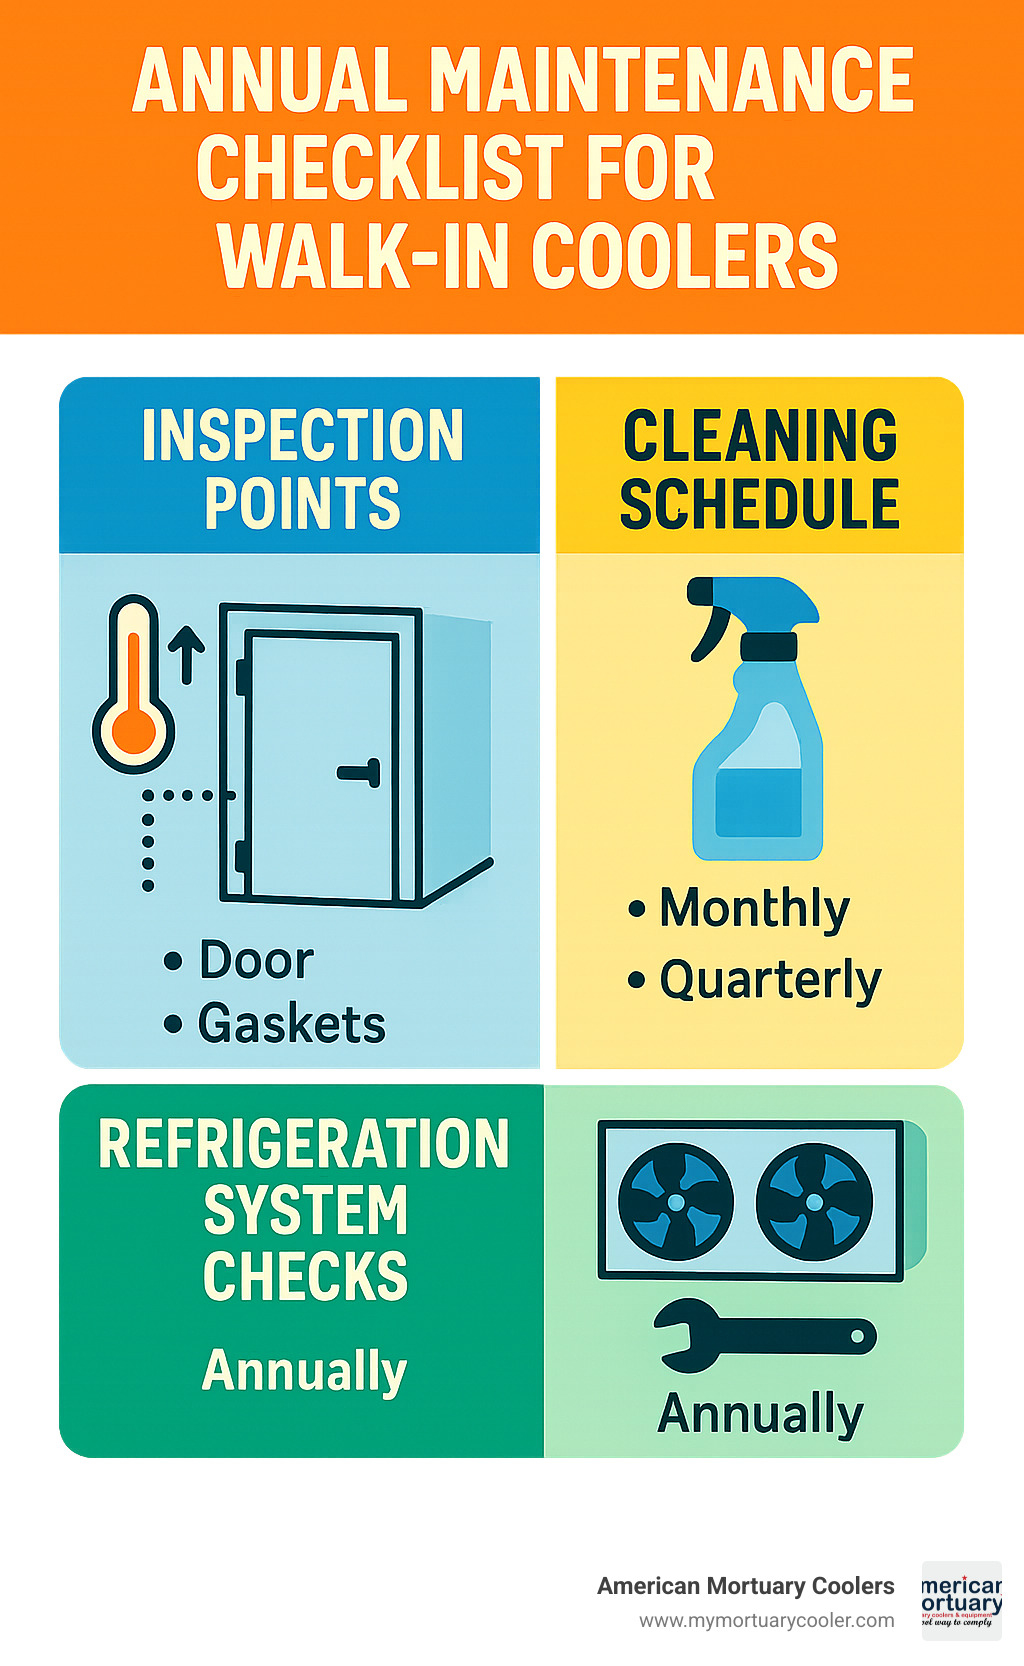
Develop a practical maintenance schedule that includes monthly gasket inspections and cleaning, quarterly condenser coil cleaning, bi-annual evaporator coil cleaning, and annual refrigeration system service. These simple steps can dramatically extend the life of your system while maintaining peak efficiency.
Future-proof your investment by choosing modular panel systems that allow for expansion if needed. Consider installing slightly oversized refrigeration for potential increased loads as your business grows. IoT-enabled monitoring systems can identify efficiency losses before they become problems, and selecting equipment with readily available replacement parts ensures you won't face obsolescence issues down the road.
Quality walk-in coolers typically come with tiered warranties: 25-year warranty on internal foam structure, 10-15 year warranty on panel construction, 5-year warranty on compressors, and 1-year warranty on parts and labor.
At American Mortuary Coolers, we provide comprehensive service plans and direct delivery across all 48 contiguous states, ensuring that your walk-in cooler remains operational and efficient throughout its lifespan. We stand behind our products with industry-leading support that gives you confidence in your investment.
Frequently Asked Questions about Walk-In Cooler Design
What temperature and humidity should my walk-in run for food, beer, or pharmaceuticals?
When it comes to temperature and humidity settings, one size definitely doesn't fit all! Your specific storage needs will determine the ideal environment inside your cooler.
For food storage, you'll want to keep most refrigerated items between 35°F and 38°F with 70-85% relative humidity. But there are important variations—fresh produce generally prefers a slightly warmer 38°F to 45°F with higher humidity (80-95% RH) to maintain crispness and prevent wilting. If you're storing meat and seafood, aim cooler at 30°F to 34°F with 70-85% humidity to maximize freshness without freezing.
Beer enthusiasts, take note! Draft beer should be kept at a consistent 38°F with 60-70% humidity for that perfect pour every time. Wine prefers a bit warmer at 45°F to 55°F (depending on the variety), while soft drinks are happy at standard refrigeration temperatures of 35°F to 40°F without much concern for humidity.
For pharmaceutical storage, the stakes get higher. Standard medications typically need 36°F to 46°F with moderate humidity (30-60% RH). Vaccines require precise temperature control between 35°F and 46°F, with humidity specifications that vary by manufacturer. Biological samples generally need cooler temperatures of 35°F to 40°F with moderate humidity (50-70% RH).
In our specialty area of mortuary applications, proper body preservation typically requires 35°F to 40°F with 60-80% relative humidity, while tissue samples need similar temperatures but slightly lower humidity (50-70% RH).
Pro Tip: If you're storing different products with varying temperature needs, you might want to consider a dual-temperature unit or creating separate compartments within your walk-in cooler design. We've helped many clients find creative solutions for mixed storage requirements.
Do I really need an insulated floor, or can I go floorless on concrete?
This floor question comes up in almost every walk-in cooler design conversation we have, and for good reason—it impacts both your budget and long-term operating costs.
You'll definitely want to consider an insulated floor when your cooler sits on a non-insulated concrete slab, especially one in direct contact with the ground. The earth below acts like a heat sink, constantly pulling cold from your unit. Insulated floors also make perfect sense when your cooler will run below 35°F, when energy efficiency tops your priority list, or when temperature fluctuations could damage the floor beneath.
On the flip side, a floorless design might work well when your concrete slab already has proper insulation underneath (ideally 2" of extruded polystyrene or better). It's also practical when you'll be frequently wheeling heavy carts or equipment in and out, when installing on an upper floor, or when budget constraints are pressing. Just be aware that you'll typically pay a 10-15% energy penalty compared to an insulated floor.
Here's something many vendors won't tell you: even with a floorless design, the concrete should have insulation beneath it. Uninsulated concrete touching the ground creates a significant thermal bridge that not only wastes energy but can cause condensation issues over time.
At American Mortuary Coolers, we typically recommend insulated floors for our mortuary clients. The critical nature of temperature stability in these applications usually justifies the additional upfront investment, especially when weighed against long-term energy savings and performance reliability.
How can I keep energy costs low over the life of my cooler?
Your initial walk-in cooler design choices will have lasting impacts on your energy bills, but how you operate your cooler matters just as much!
When designing your cooler, invest in quality insulation—5" thick polyurethane panels (R-32+) might cost more upfront but will pay dividends for years. Don't overlook practical additions like strip curtains or air curtains on frequently used doors, which dramatically reduce cold air loss. Choose energy-efficient components like ECM (Electronically Commutated Motor) evaporator fans and LED lighting with motion sensors. And remember—a properly sized refrigeration system will be more efficient than an oversized one, which cycles frequently and wastes energy.
Day-to-day practices make a huge difference too. Keep those door gaskets in good shape and replace them when they show wear. Clean your condenser coils regularly—dirty coils can slash efficiency by up to 30%! Set defrost cycles appropriate to your actual usage pattern rather than using factory defaults. Train staff to organize products efficiently to minimize door-open time, and ensure proper air circulation around stored items.
If you already have a cooler that's eating up electricity, consider some smart upgrades. Digital controllers can optimize compressor cycling for significant savings. Door switches that turn off evaporator fans when doors open pay for themselves quickly. For outdoor units, a simple reflective roof coating can reduce heat gain substantially during summer months.
We've seen clients cut their energy usage by 15-40% by implementing these strategies—that's real money back in your pocket month after month. One restaurant owner told me his energy-efficient walk-in cooler design paid for all its premium features in just 14 months of operation!
At American Mortuary Coolers, we believe efficiency isn't just good for your budget—it's good for the planet too. We're always happy to discuss specific energy-saving options for your particular application.
Conclusion
Creating an exceptional walk in cooler design isn't just about following technical specifications—it's about understanding how all the elements work together to create a solution that truly serves your needs. Throughout this guide, we've walked through the five essential steps that transform a basic cooling concept into a high-performing, efficient refrigeration system that will serve you for decades.
When you get the fundamentals right—properly assessing your storage needs, selecting quality panels and doors, performing accurate calculations, choosing efficient refrigeration components, and ensuring meticulous installation—you're setting yourself up for long-term success. The difference between a mediocre cooler and an outstanding one often comes down to these details.
Here at American Mortuary Coolers, we understand the unique challenges facing funeral homes and mortuaries. Your cooling needs aren't just about preservation—they're about dignity, reliability, and peace of mind during difficult times. That's why we've spent years refining our walk in cooler design approach to address the specific requirements of the funeral industry.
Based in Tennessee, our team delivers custom cooling solutions to clients across all 48 contiguous states. We take pride in our direct delivery model, which ensures your carefully designed walk-in cooler arrives ready for installation, backed by our knowledgeable support team every step of the way.
The principles we've shared apply whether you're planning a brand-new facility or upgrading existing equipment. Focus on proper sizing, quality components, energy-efficient refrigeration, and careful installation—and your investment will pay dividends through decades of trouble-free operation.
Ready to create the perfect walk-in cooler for your specific needs? We're here to help! With locations throughout the country—including Johnson City TN, Atlanta GA, Chicago IL, Dallas TX, and Los Angeles—our expertise is never far away. Reach out today for a personalized consultation and quote that addresses your unique requirements.
A thoughtfully designed walk-in cooler isn't just equipment—it's peace of mind. Let us help you build that peace of mind, one panel at a time.


