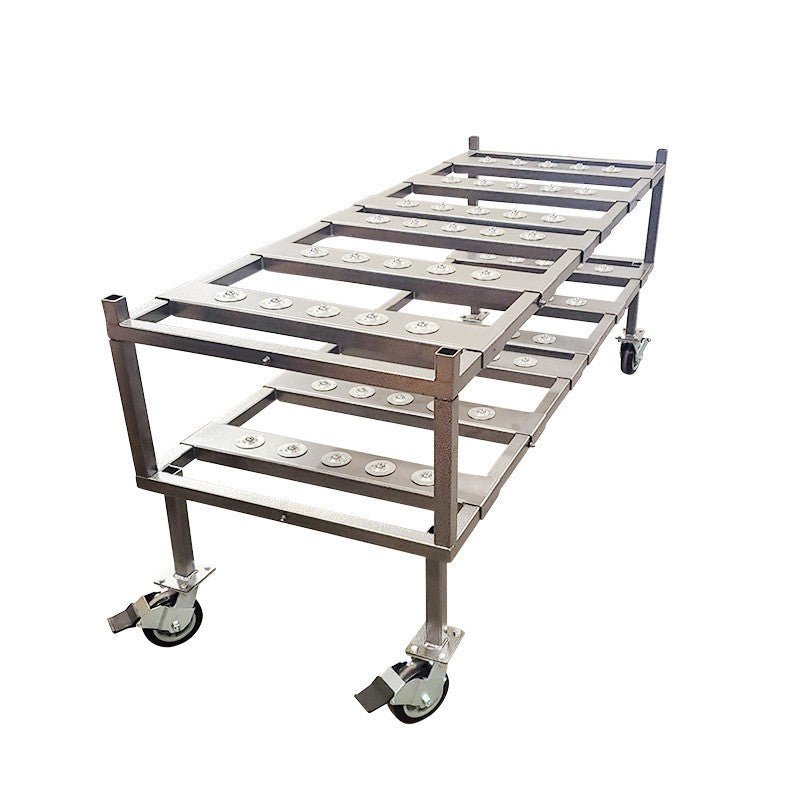
Mastering Diamond Plate Welding
Diamond plate welding is the process of joining textured metal sheets featuring raised diamond patterns using heat and filler material. For those looking for a quick guide:
| Quick Guide to Diamond Plate Welding |
|---|
| 1. Prepare surfaces - Clean thoroughly and work from the smooth backside when possible |
| 2. Choose method - TIG for precision/appearance, MIG for speed/thickness, spot welding for production |
| 3. Set parameters - For 1/4" aluminum: 140-170A with 3/32" tungsten and pure argon at 25 CFH |
| 4. Maintain spacing - Keep wire passes 1/4" apart to prevent hotspots |
| 5. Finish properly - Clean and protect welds to maintain appearance and prevent corrosion |
Diamond plate (also called tread plate or checker plate) presents unique welding challenges due to its raised pattern. The textured surface creates uneven heat distribution and can interfere with proper weld bead formation.
Whether you're working with aluminum diamond plate for lightweight, corrosion-resistant applications or steel for strength and durability, proper technique is essential for creating strong, visually appealing welds.
Many welders find success by working from the smooth backside of the plate when possible. This approach provides a flat, consistent surface for the weld bead while avoiding interference from the raised pattern.
"Welding on the smooth back side of the tread plate can improve bead quality and penetration," notes one experienced fabricator who regularly builds floorboards from diamond plate.
I'm Mortuary Cooler, a national supplier of mortuary coolers with extensive experience implementing diamond plate welding in our American-made units where durability meets functionality.
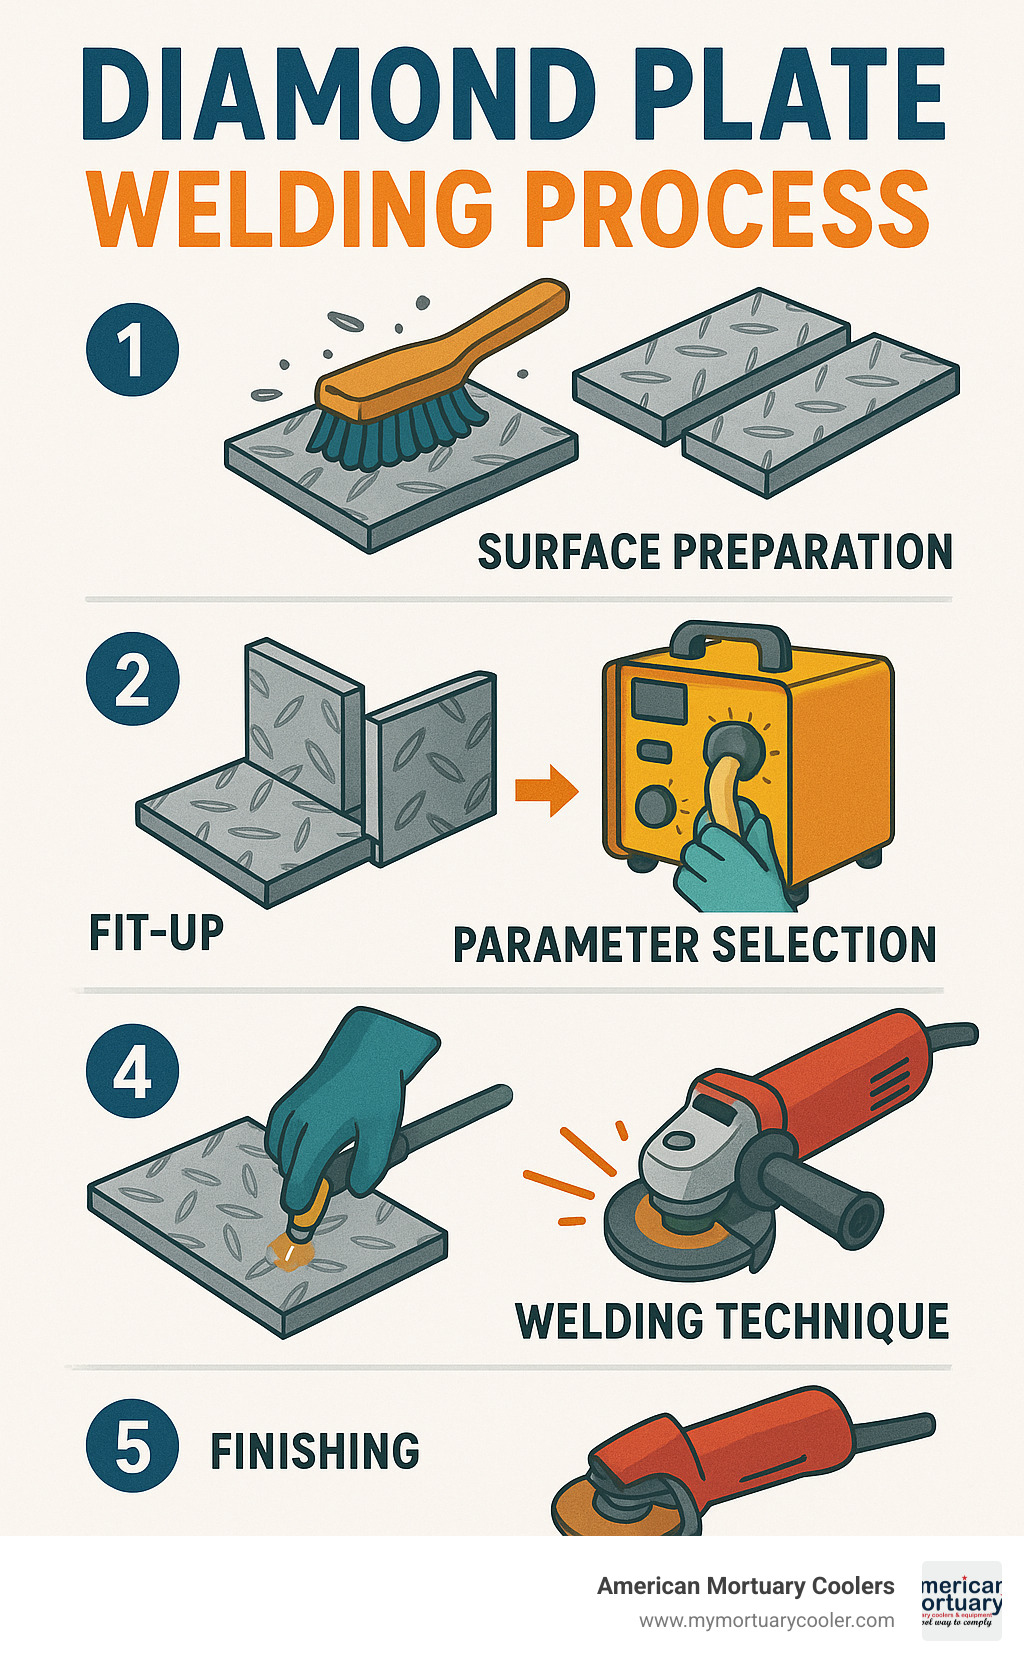
Key diamond plate welding vocabulary:
Why This Guide Matters
Mastering diamond plate welding is about more than just joining metal—it's about ensuring safety, durability, and cosmetic finish in your projects. At American Mortuary Coolers, we understand these priorities because our mortuary equipment must withstand years of use while maintaining a professional appearance.
Properly welded diamond plate provides:
- Improved safety through structural integrity
- Long-term durability in demanding environments
- Professional appearance that inspires confidence
- Maintained slip-resistant properties critical for safety
Understanding Diamond Plate: Materials, Gauges & Uses
Diamond plate (also called tread plate or checker plate) is a specialized metal sheet featuring a raised diamond pattern that provides improved traction and a distinctive appearance. The material comes in various metals, thicknesses, and finishes to suit different applications.
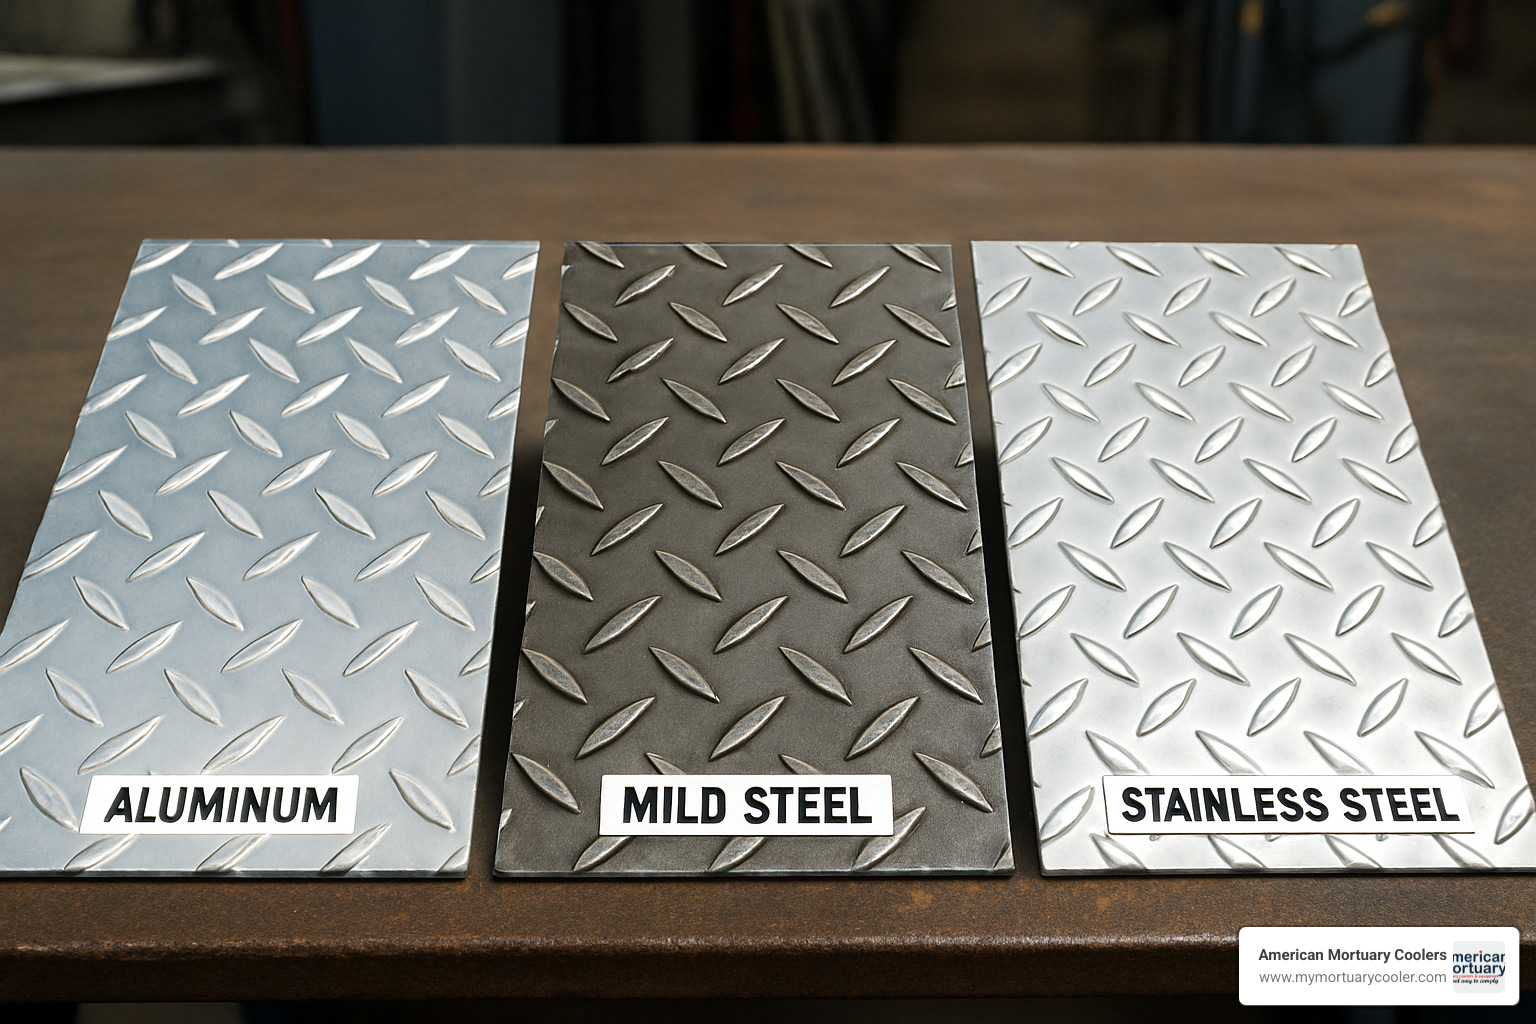
Aluminum diamond plate is the lightweight champion - perfect when you need corrosion resistance without the extra weight. We use this in many of our portable units where weight matters.
Mild steel diamond plate brings strength and affordability to the table. It's the workhorse of the bunch, though it does need some protection against rust.
Stainless steel diamond plate is the premium option with excellent corrosion resistance and a finish that maintains its good looks for years. This is our go-to material for mortuary coolers where cleanliness and durability can't be compromised.
Thickness matters too! The gauge of your diamond plate determines what jobs it can handle. Thin sheets (0.025" to 0.063") work great for decorative touches, while medium thickness (0.080" to 0.125") handles general-purpose applications. For heavy-duty work, we often select heavy gauge (0.188" to 0.250") that can stand up to loaded carts day after day.
If you're wondering which type might be right for your specific project, check out our detailed comparison guide on diamond plate sheets.
How the Pattern Improves Traction
The distinctive raised diamond pattern isn't just about looking tough - it's a smart safety feature! Those little diamonds create more surface area for your feet to grip, with angles that catch in multiple directions. When liquids spill, the pattern creates channels that allow water or other fluids to flow away instead of creating a slipping hazard.
The pattern typically rises about 1/16" to 1/8" above the base - just enough to give you grip without creating trip hazards or making cleaning difficult.
Common Alloys a Welder Meets
When diamond plate welding, knowing your metal makes all the difference. Each alloy has its own personality and demands different approaches.
For aluminum work, you'll likely encounter 3003-H22 with its beautiful polish and easy formability - perfect for decorative applications where looks matter. 5052-H32 brings better corrosion resistance, while 6061-T6 is strong and reliable for structural demands.
Steel diamond plate typically comes as A36 - the friendly, easy-to-weld low-carbon steel that's perfect for most projects. When extra strength is needed, A572 steps up to handle the heavy lifting.
In the stainless family, 304 is versatile with excellent corrosion resistance, good formability, and non-magnetic properties. For environments with harsh chemicals or salt exposure, 316 provides that extra level of protection.
At our Tennessee facility, we primarily use 304 stainless steel diamond plate for our mortuary coolers. The funeral industry demands materials that stay sanitary and look professional for years.
Challenges of Diamond Plate Welding
Diamond plate welding presents unique challenges even for experienced welders. The raised diamond pattern that makes this material so functional is exactly what creates headaches during welding.
"Welding diamond plate is quite tricky if you have never done it before," shared one of our veteran welders. This is especially true with aluminum diamond plate, which combines the challenges of the pattern with aluminum's notorious heat conductivity issues.
The main culprits behind these challenges? First, those raised diamonds create uneven thickness across the plate. When you apply heat, some areas get super hot while others barely warm up.
Second, trying to see what you're doing becomes difficult. The textured surface makes maintaining proper torch angle challenging. And those distinctive diamonds can be easily marred by spatter or too much heat.
Thin diamond plate loves to warp and distort when welded, curling up like a potato chip in the oven. Plus, those little valleys between diamonds are perfect hiding spots for contaminants that lead to porosity - the sworn enemy of quality welds.
Heat Control on Textured Surfaces
Managing heat when diamond plate welding requires finesse and patience. The diamond peaks heat up much faster than the base material between them, and edges burn through faster if you're not careful.
To tackle these thermal challenges, pulsed welding becomes your best friend. By alternating between high and low current (in TIG or advanced MIG), you give those hot spots a chance to cool down. One of our welders at American Mortuary Coolers compares it to "breathing between bites of hot food."
Back purging is another lifesaver, especially with stainless steel. Using copper backing bars with argon purge protects the root side while helping manage heat.
Your travel speed needs to be variable - faster over peaks, slower in valleys. And whenever possible, plan your welds to minimize crossing over those pesky diamond peaks.
Fixturing Around the Diamonds
Holding diamond plate in place for welding is like trying to clamp down a bed of nails - those raised patterns don't cooperate with traditional fixturing!
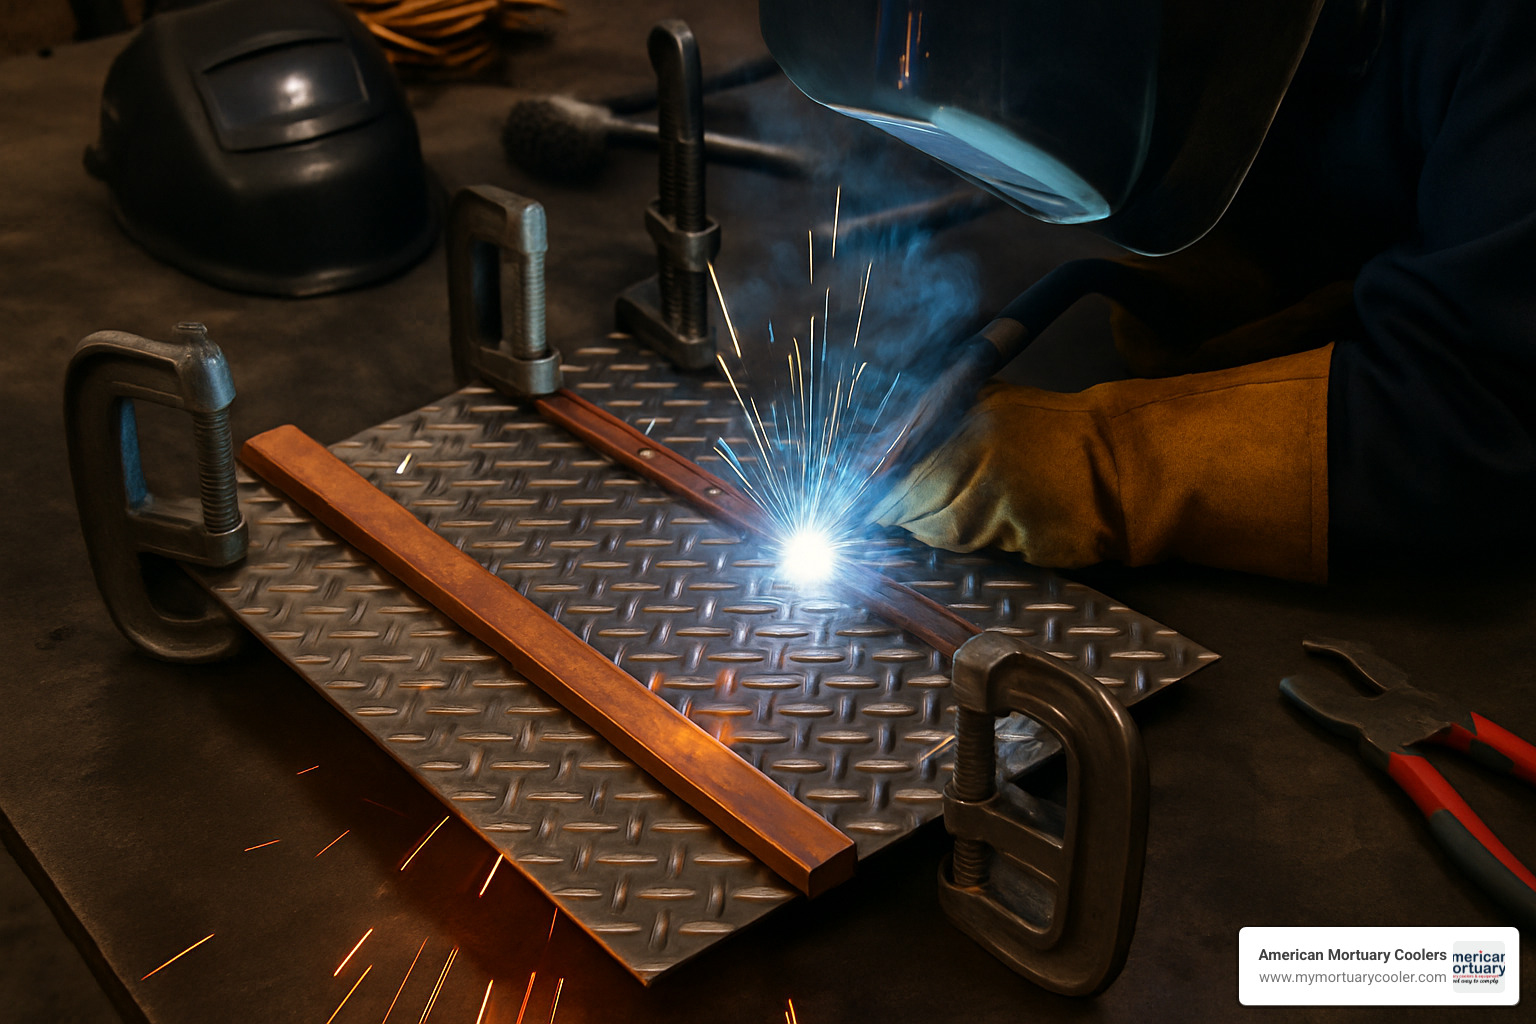
Copper backing bars do double-duty in our shop - they support the weld while acting as heat sinks. As one of our fabricators puts it, "Clamping a copper backer as an argon dam prevents atmosphere mixing" and dramatically improves your weld quality.
We've found that custom shims placed strategically help maintain proper alignment despite the uneven surface.
For steel diamond plate, magnetic fixturing offers a clean way to secure material without cluttering your workspace. And a smart tack welding strategy - placing initial tacks on the smooth backside when possible - helps establish alignment before you commit to the full weld.
In our manufacturing facilities, we've developed specialized fixturing solutions just for diamond plate welding. These custom setups have saved our team countless hours of frustration and rework when building mortuary equipment.
How to Weld Diamond Plate in 5 Simple Steps
Now that we understand the challenges, let's break down the process of diamond plate welding into five manageable steps. Whether you're working on a small repair or fabricating components for a mortuary cooler, these steps will help you create strong, attractive welds that last.
Before we dive in, let's compare the three most common welding methods for diamond plate:
| Method | Best For | Advantages | Limitations |
|---|---|---|---|
| TIG | Aluminum, stainless steel, cosmetic work | Precise heat control, excellent appearance, minimal cleanup | Slower, requires more skill, higher equipment cost |
| MIG | Steel plate, thicker materials, production | Faster deposition, easier to learn, good for thicker materials | More spatter, less precise, potential for burn-through |
| Spot Welding | High-volume production, thin materials | Very fast, consistent results, minimal operator skill | Limited to lap joints, equipment is specialized, limited thickness range |
At American Mortuary Coolers, we primarily use TIG welding for our diamond plate components. The superior finish and precise control are worth the extra time, especially since our customers expect mortuary equipment that looks as professional as it performs.
Step 1 – Surface Prep for Perfect Diamond Plate Welding
The success of your diamond plate welding project begins with thorough cleaning. Those distinctive raised diamonds love to trap contaminants that can ruin your weld.
For aluminum diamond plate, start by degreasing with acetone or a dedicated aluminum cleaner. Next, remove the oxide layer with a stainless steel brush – and I mean stainless steel only! A regular steel brush will contaminate your aluminum and lead to frustrating defects.
Pay special attention to the edges. Using a carbide burr or wood router to clean shear-cut edges makes a night-and-day difference in weld quality.
When working with steel diamond plate, focus on removing mill scale and rust from the weld area with a grinder or wire brush. Follow up with a solvent wipe to eliminate oils, and consider beveling edges on plates thicker than 1/8" for better penetration.
For stainless steel diamond plate, avoid cross-contamination at all costs. Use acetone or alcohol (never chlorinated solvents), and keep dedicated stainless brushes and grinding wheels that never touch carbon steel.
Step 2 – Fit-Up & Tack Strategy
Getting the pieces aligned properly might seem challenging with those raised diamonds in the way, but here's a pro tip: work from the back when possible. The smooth backside gives you a flat, consistent surface for your initial tack welds, which dramatically improves bead quality and penetration.
Proper gap control is crucial for strong welds. For butt joints, I recommend about 1/16" for material up to 1/8" thick, 1/8" for material between 1/8" and 1/4" thick, and 3/16" for anything thicker.
When placing your tack welds, start at the ends, then add one in the middle, and fill in between as needed. Keep your tacks small but strong – they need to hold everything in position without adding excessive heat.
To prevent distortion, try skip tacking by alternating sides on longer joints. Copper heat sinks placed near the weld area can also work wonders for keeping everything straight.
Step 3 – Choosing Parameters for Diamond Plate Welding
Setting up your machine correctly makes all the difference in diamond plate welding. These aren't one-size-fits-all settings, so adjust based on your specific material and thickness.
For TIG welding aluminum diamond plate, a good rule of thumb is 1 amp per 0.001" of thickness. So that 1/8" (0.125") plate would need about 125 amps. Pair that with a 3/32" tungsten for material up to 1/8" thick, or step up to 1/8" tungsten for thicker stock.
I prefer pure tungsten or 2% lanthanated for aluminum work, running AC with balanced or slightly EN-biased settings. For gas, nothing beats 100% argon flowing at 15-25 CFH.
If you're MIG welding steel diamond plate, your wire size should match your material thickness: 0.030" for thin material, 0.035" for medium, and 0.045" for thick plate. Voltage settings follow a similar progression: 18-20V for thin, 20-22V for medium, and 22-26V for thick material.
For gas, 75/25 Ar/CO₂ gives a nice balance of penetration and spatter control for most applications.
Step 4 – Running the Bead: Diamond Plate Welding Techniques
When welding on the smooth backside (which we prefer whenever possible), maintain a consistent torch angle of 15-20° from vertical for TIG or a 5-15° push angle for MIG. Keep a steady travel speed that creates a weld bead approximately 1.5 times the material thickness in width.
For TIG welding, add filler rod at a steady rhythm to build the proper bead profile. Think of it almost like a dance – move, dip, move, dip – keeping the rhythm consistent helps maintain uniform bead appearance.
When you must weld on the patterned side, try to position the joint to run between diamond peaks when possible. You'll need to adjust as you cross patterns, slightly reducing heat when going over raised diamonds to prevent burn-through.
Regardless of which side you're welding, pulsed current (if your machine offers it) can help control heat input, especially important with diamond plate's varying thicknesses.
Step 5 – Post-Weld Finishing & Cosmetic Repairs
The final step might be the most important for diamond plate welding, especially in applications where appearance matters.
For aluminum diamond plate, start by thoroughly cleaning to remove all flux residue (if used) with hot water and a brush. When blending the weld, use a flap disc or sanding pad that conforms to the pattern – going against the diamonds can damage them and ruin the plate's appearance.
Steel diamond plate requires removing slag and spatter with a chipping hammer and wire brush before grinding the weld smooth. Always apply appropriate corrosion protection afterward – paint, powder coat, or another protective finish.
Stainless steel diamond plate needs special attention to maintain its corrosion resistance. Remove any heat tint with pickling paste or mechanical means, then passivate the weld area with citric or nitric acid solutions.
The extra time spent on finishing pays dividends in both appearance and longevity. As we tell our new fabricators at American Mortuary Coolers, "The weld isn't done until it looks like it belongs there."
Troubleshooting, Safety & Maintenance Tips
Even the best welders run into challenges when working with diamond plate. Don't worry—you're not alone, and most problems have straightforward solutions!
When our team encounters porosity in aluminum welds, we first check for contamination. A more aggressive cleaning approach usually solves this issue. Sometimes it's as simple as increasing your gas flow or adjusting your travel speed.
Burn-through happens to everyone, especially on thinner material. If you're seeing holes where there should be welds, try reducing your amperage, picking up your travel speed, or improving your backing support. Copper backing bars work wonders when working with thin diamond plate—they pull away excess heat and prevent frustrating burn-throughs.
Warping and distortion can be tamed with intermittent welds, back-stepping techniques, and proper fixturing. Patience pays off—rushing often leads to more heat and more warping.
Poor fusion often comes down to three culprits: inadequate heat, improper cleaning, or using the wrong filler material.
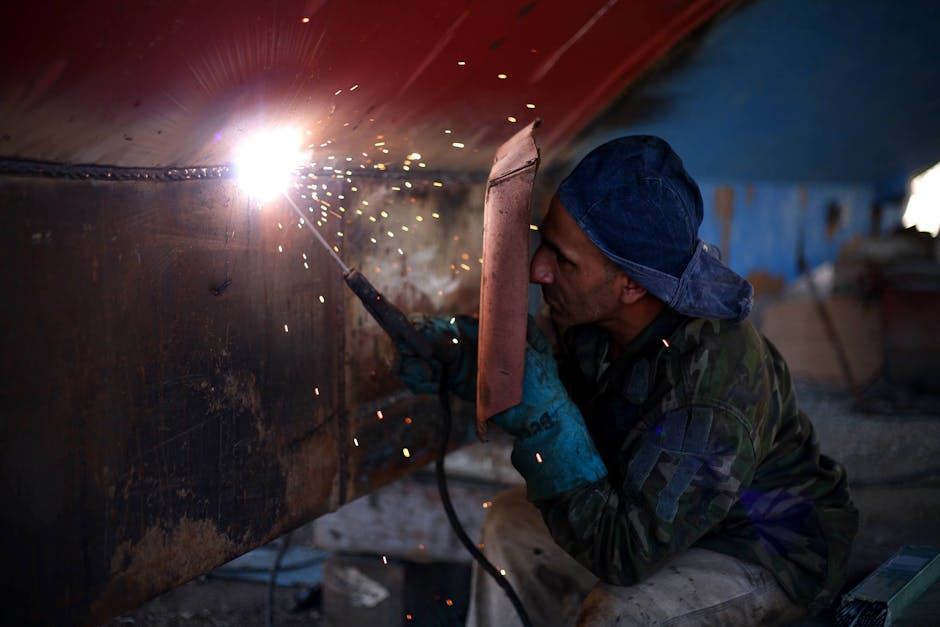
Safety is never optional when welding diamond plate. Our team never starts a project without:
- An auto-darkening welding helmet (shade 10-13 for most processes)
- Flame-resistant clothing that covers all skin
- Leather gloves that extend over the wrists
- Safety glasses for pre/post-weld work
- Appropriate respiratory protection
- Ear protection in noisy environments
- Steel-toed boots with metatarsal guards
One detail many welders overlook: aluminum diamond plate reflects significantly more UV radiation than other materials. This makes proper eye and skin protection even more critical.
For more scientific information on selecting the right amperage for your projects, check out this discussion on amperage selection. And if you're interested in how diamond plate improves safety in our mortuary coolers, we've covered that in our article about diamond plate flooring safety.
Keeping Welds Clean and Shiny
For aluminum, citrus-based cleaners work wonders for removing most contaminants without damaging the finish. Gray or white Scotch-Brite™ pads are gentle enough to clean without scratching, and a good aluminum-safe wax not only protects but improves the appearance.
Steel diamond plate needs different care. We recommend removing surface rust with phosphoric acid-based products before applying a protective coating. Clear enamel or wax works well, and don't hesitate to touch up paint as needed to prevent corrosion from spreading.
For stainless diamond plate, use stainless-specific cleaners for fingerprints and light contamination. Citric acid solutions can remove heat tint from welding, and food-grade mineral oil provides temporary protection for some applications.
Preventing Future Corrosion
Long-term protection of your diamond plate welding projects requires thinking ahead. For stainless steel, proper passivation after welding reforms the protective chromium oxide layer—essential for corrosion resistance.
When joining different metals, watch out for galvanic corrosion. Use appropriate isolation techniques to prevent this accelerated corrosion.
Consider your environment too. In humid areas like our Tennessee facility, we're extra diligent about applying protective coatings to our mortuary cooler components.
Don't underestimate the power of regular inspection. Establishing a schedule to check for early signs of corrosion, particularly in weld areas, can save you from major headaches down the road.
Frequently Asked Questions about Diamond Plate Welding
Can I MIG-weld aluminum diamond plate without a spool gun?
Yes, it's possible to MIG-weld aluminum diamond plate without a spool gun, though it does present some challenges. Many welders have found success by following a few key adjustments to their setup.
First, keep your cable length to a maximum of 6 feet. This significantly reduces the chance of wire feeding issues. Next, install a Teflon liner and U-groove drive rolls specifically designed for aluminum wire. When selecting wire, 4043 aluminum tends to feed more smoothly than 5356 for push-only setups.
One trick is to set your drive tension for slight slippage—just enough to feed consistently without crushing the soft aluminum wire. And always keep that gun cable as straight as possible to prevent the dreaded "bird's nest" tangle of wire inside your machine.
That said, for consistent, professional results on diamond plate welding projects, investing in a spool gun or push-pull system will save you countless headaches.
What filler rod matches 6061 diamond plate?
When welding 6061 aluminum diamond plate, you're typically choosing between two filler rod options, each with distinct advantages depending on your project's needs.
4043 filler rod creates smoother, more fluid welds that flow nicely and are less prone to hot cracking. These welds tend to be softer and more ductile, making them ideal for applications where some flex is beneficial. If you're planning to anodize your project later, keep in mind that 4043 welds will appear darker than the surrounding material.
5356 filler rod produces stronger, more rigid connections with superior corrosion resistance, especially in environments with salt exposure. These welds maintain their strength better at higher temperatures and appear lighter after anodizing. For structural components where maximum strength is the priority, 5356 is our go-to choice.
How do I avoid warping thin tread plate?
Thin diamond plate (under 1/8") loves to warp during welding—it's simply physics at work as heat causes uneven expansion. But there are several proven techniques to keep your project flat and true.
Instead of running continuous beads, try using intermittent welds where your design allows. This distributes heat more evenly across the piece. Many experienced welders also swear by the back-stepping technique, where you weld short segments in the direction opposite to your overall progression.
Proper fixturing makes an enormous difference too. Use more clamping points than you think necessary to hold the material flat, and consider placing copper heat sinks adjacent to your weld area to draw away excess heat.
Managing your heat input is crucial—lower your amperage and increase travel speed to reduce overall heat. Balancing welds by alternating sides of the joint helps distribute heat more symmetrically.
Conclusion
Mastering diamond plate welding takes patience and practice, but the results are worth the effort. Throughout this guide, we've walked through the unique challenges of working with this distinctive material and provided practical solutions that will help you create strong, beautiful welds every time.
At American Mortuary Coolers, we've spent years perfecting these techniques in our Tennessee workshop. Every custom mortuary cooler we build and ship across the country incorporates diamond plate welding that balances functionality with professional appearance.
Think of diamond plate welding as a bit like baking a perfect cake – the ingredients matter, but it's the technique that truly makes it shine. Clean thoroughly, especially with aluminum materials where even invisible oxidation can ruin a weld. Work from the smooth backside whenever you can – this simple change often solves multiple problems at once. Adjust your heat input thoughtfully to account for those raised diamonds that make the material special but challenging. Take your time with finishing to preserve both strength and appearance. And finally, protect your work with proper maintenance to ensure it lasts for years.
Whether you're building a toolbox for your pickup truck, fabricating industrial equipment, or creating specialized applications like our mortuary coolers, these principles will serve you well. Diamond plate welding might present unique challenges, but with the right approach, you'll create joints that are both structurally sound and visually impressive.
American Mortuary Coolers' custom units rely on robust, great-looking diamond-plate joins—master these five steps, then Request a Quote for Custom Diamond Plate Solutions to take your project to the next level.


