Why Finding the Right Swamp Cooler Installation Near Me Matters
Swamp cooler installation near me searches spike every spring as homeowners look for energy-efficient cooling alternatives. Here’s a fast snapshot of what you’re getting into:
Quick Installation Overview:
- Average Cost: $1,200-$3,600 installed (unit + labor)
- Install Time: 3-8 hours depending on unit type
- Best Locations: Roof, ground, or window
- Must-Have: Water line, electrical outlet, proper permits
- Energy Savings: 15-35% less electricity than central AC
A properly installed swamp cooler lasts 10-12 years. Poor installation can cut that lifespan in half, leading to leaks, water damage, and midsummer breakdowns.
Installing one means cutting openings, running water and power, and balancing airflow—work that calls for licensed HVAC pros who understand local codes.
As suppliers of custom commercial cooling solutions, we’ve seen exactly why the five steps in this guide protect both your wallet and your comfort.

Easy swamp cooler installation near me glossary:
1. Calculate Your Cooling Load and Pick the Right Unit
Before any contractor touches your roof, you need to understand exactly what size cooler your space requires. Too small, and you'll never achieve comfortable temperatures. Too large, and you'll waste money on unnecessary equipment and higher operating costs.
Research shows that swamp coolers can reduce indoor temperatures by up to 40°F in dry climates, but only when properly sized.
Sizing Formula Demystified
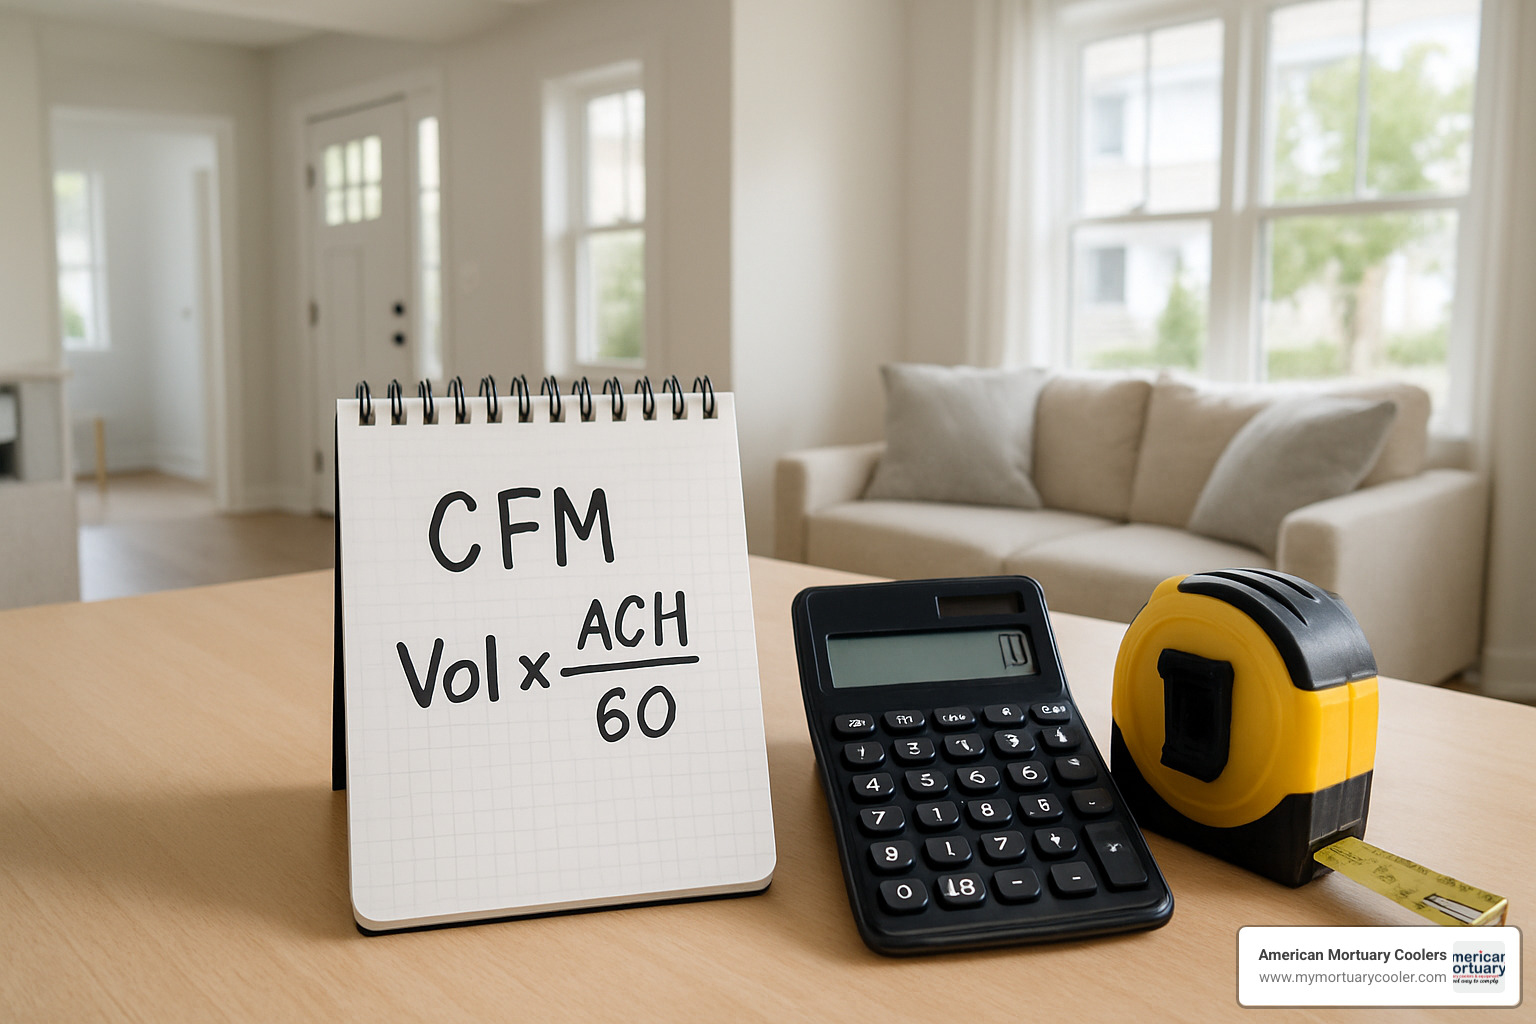
The industry-standard formula is surprisingly simple: CFM = (square footage × ceiling height) ÷ 2
Here's how it works in practice:
- A 2,000 square foot home with 8-foot ceilings needs: (2,000 × 8) ÷ 2 = 8,000 CFM
- The same home with 10-foot ceilings would need: (2,000 × 10) ÷ 2 = 10,000 CFM
Industry experts recommend increasing your CFM by 20% if your home has:
- Significant sun exposure on multiple sides
- High occupancy (more than 4 people regularly)
- Heat-generating appliances in the cooled area
For our 2,000 square foot example with high sun exposure, you'd want: 8,000 CFM × 1.20 = 9,600 CFM
Choosing the Best Cooler Style for Your Space
The type of cooler you choose dramatically affects both installation complexity and long-term performance:
Roof-Mounted Units ($1,300-$3,600 installed)
- Pros: Best whole-house coverage, doesn't take up ground space
- Cons: More complex installation, potential roof leak risks
- Best for: Permanent installations, homes with limited yard space
Ground-Mounted Units ($1,100-$3,300 installed)
- Pros: Easier installation and maintenance access
- Cons: Takes up yard space, may have noise concerns
- Best for: Homes with adequate outdoor space, easier DIY maintenance
Window Units ($350-$1,100)
- Pros: Lowest cost, often DIY-friendly installation
- Cons: Limited cooling capacity, blocks window use
- Best for: Single rooms, rental properties, budget-conscious homeowners
Ducted Systems ($400-$900 additional for ductwork)
- Pros: Even temperature distribution, hidden installation
- Cons: Highest installation cost, requires existing or new ductwork
- Best for: Whole-house cooling with aesthetic concerns
Research indicates that non-metal models like Convair and Breezair may last longer than traditional metal units due to their rust-resistant construction. As our experience with commercial cooling systems has taught us, material choice significantly impacts longevity - similar principles apply whether you're installing a walk-in cooler the right way or a residential swamp cooler.
Mobile Home Considerations: Mobile homes should avoid roof-mounted units due to structural limitations and leak risks. Ground-mounted or large window units typically work best for manufactured homes.
2. Vet Local Pros for Swamp Cooler Installation Near Me
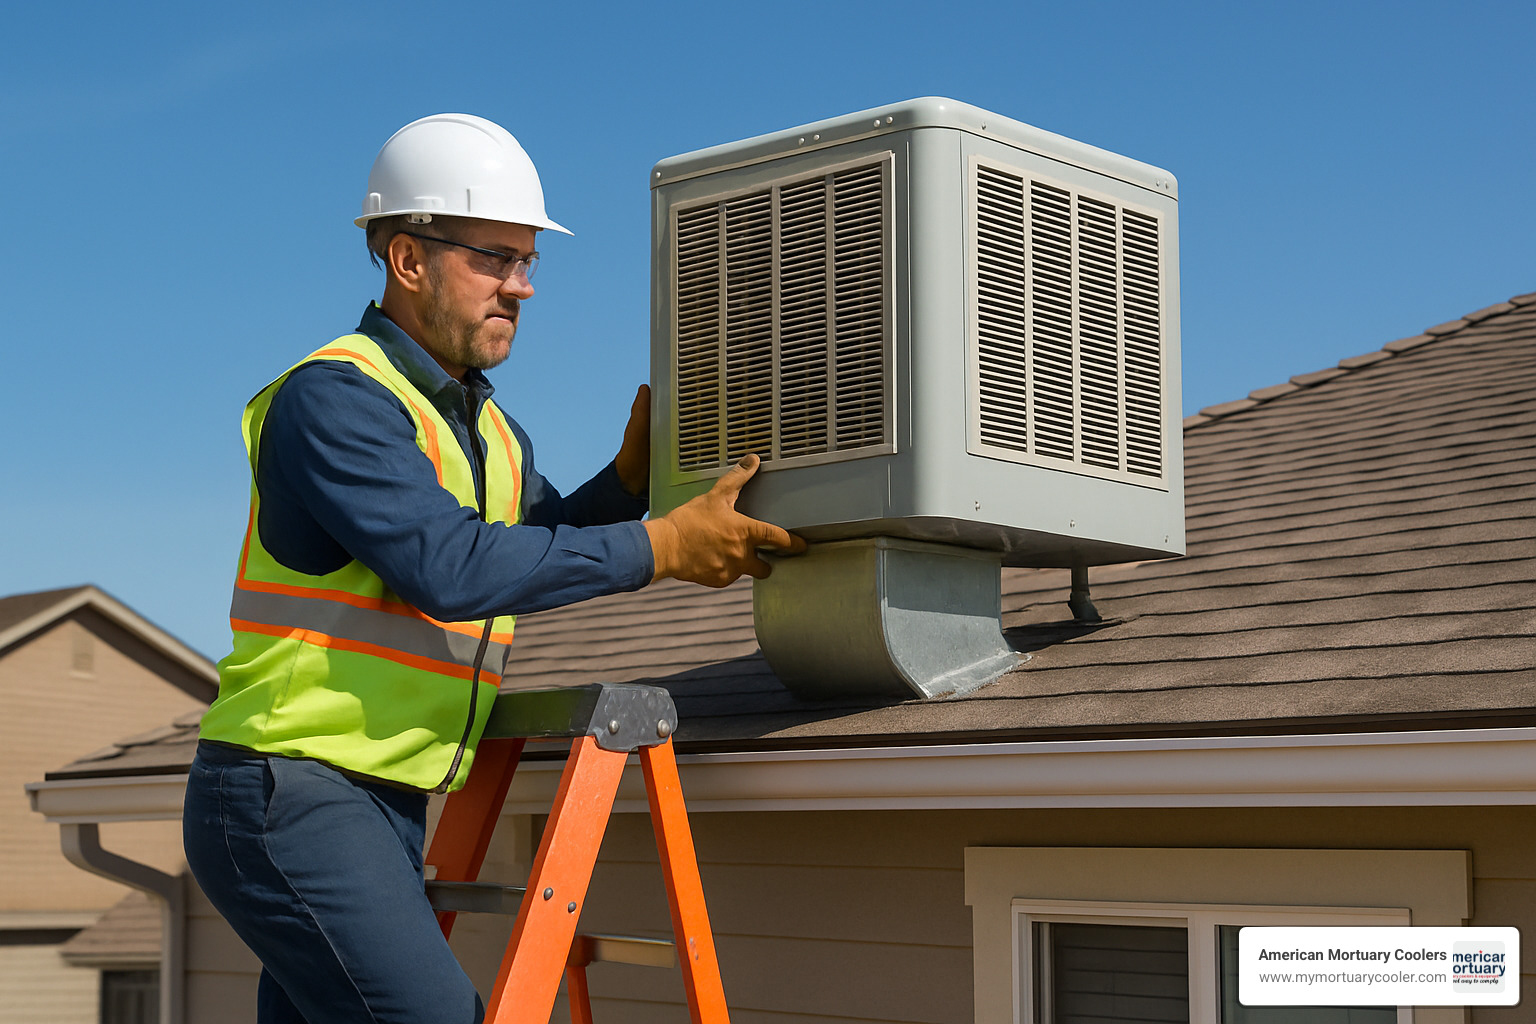
Searching swamp cooler installation near me will produce a long list of companies, but only a few will safeguard your roof, water lines, and warranty. Use the steps below to separate the pros from the amateurs.
Licensed HVAC contractors understand that evaporative coolers combine electrical, plumbing, and sometimes structural work. One wrong cut or an unsealed connection can cost thousands, so start by confirming:
- The company’s state HVAC license number
- Up-to-date general liability and workers’ compensation insurance
- Ability to pull the required permits
Check BBB and Angi reviews for patterns (punctuality, cleanup, follow-up), then collect three detailed estimates so you can compare approaches as well as price. Quick, professional replies show the company will be there when you need service in July.
Checklist for Interviewing Swamp Cooler Installers
- How many swamp coolers have you installed this season?
- Do you hold EPA certification?
- Can I call two recent customers?
- What are your labor and equipment warranties?
- Is old-equipment removal included?
Red Flags
- No instant proof of insurance
- One-line “blanket” quotes
- Unclear use of subcontractors
- High-pressure “sign today” tactics
A little homework here prevents leaky roofs and short-lived equipment later.
3. Compare Detailed Quotes, Costs, and Rebates
Money matters, but the lowest bid isn’t always the best value. Installed systems range from $1,200 to $3,600. Expect:
- Unit: $350-$1,900
- Labor: $750-$1,500 (roof work costs more)
- Materials & permits: $150-$600
- Old-unit removal: $70-$150
Ask every contractor for a line-item proposal listing model numbers, labor hours, materials, permits, and warranty terms. Extras such as duct modifications ($400-$900), smart thermostats, or long water-line runs should be spelled out in advance.
Savings tips:
- Book in early spring or fall when demand is lower (often 10-15% less).
- Check local utility incentives; for example, PNM offers up to $300 back on high-efficiency models.
- Use competing quotes to negotiate or bundle installation with annual maintenance.
DIY window units are possible, but roof-mounted or ducted systems almost always pay off when installed by a pro.
4. Lock In Permits, Warranties, and Maintenance Plans
Once you've chosen your contractor and agreed on costs, it's time to handle the paperwork that protects your investment. Think of permits and warranties as your insurance policy - they might seem like extra steps now, but they'll save you headaches later.
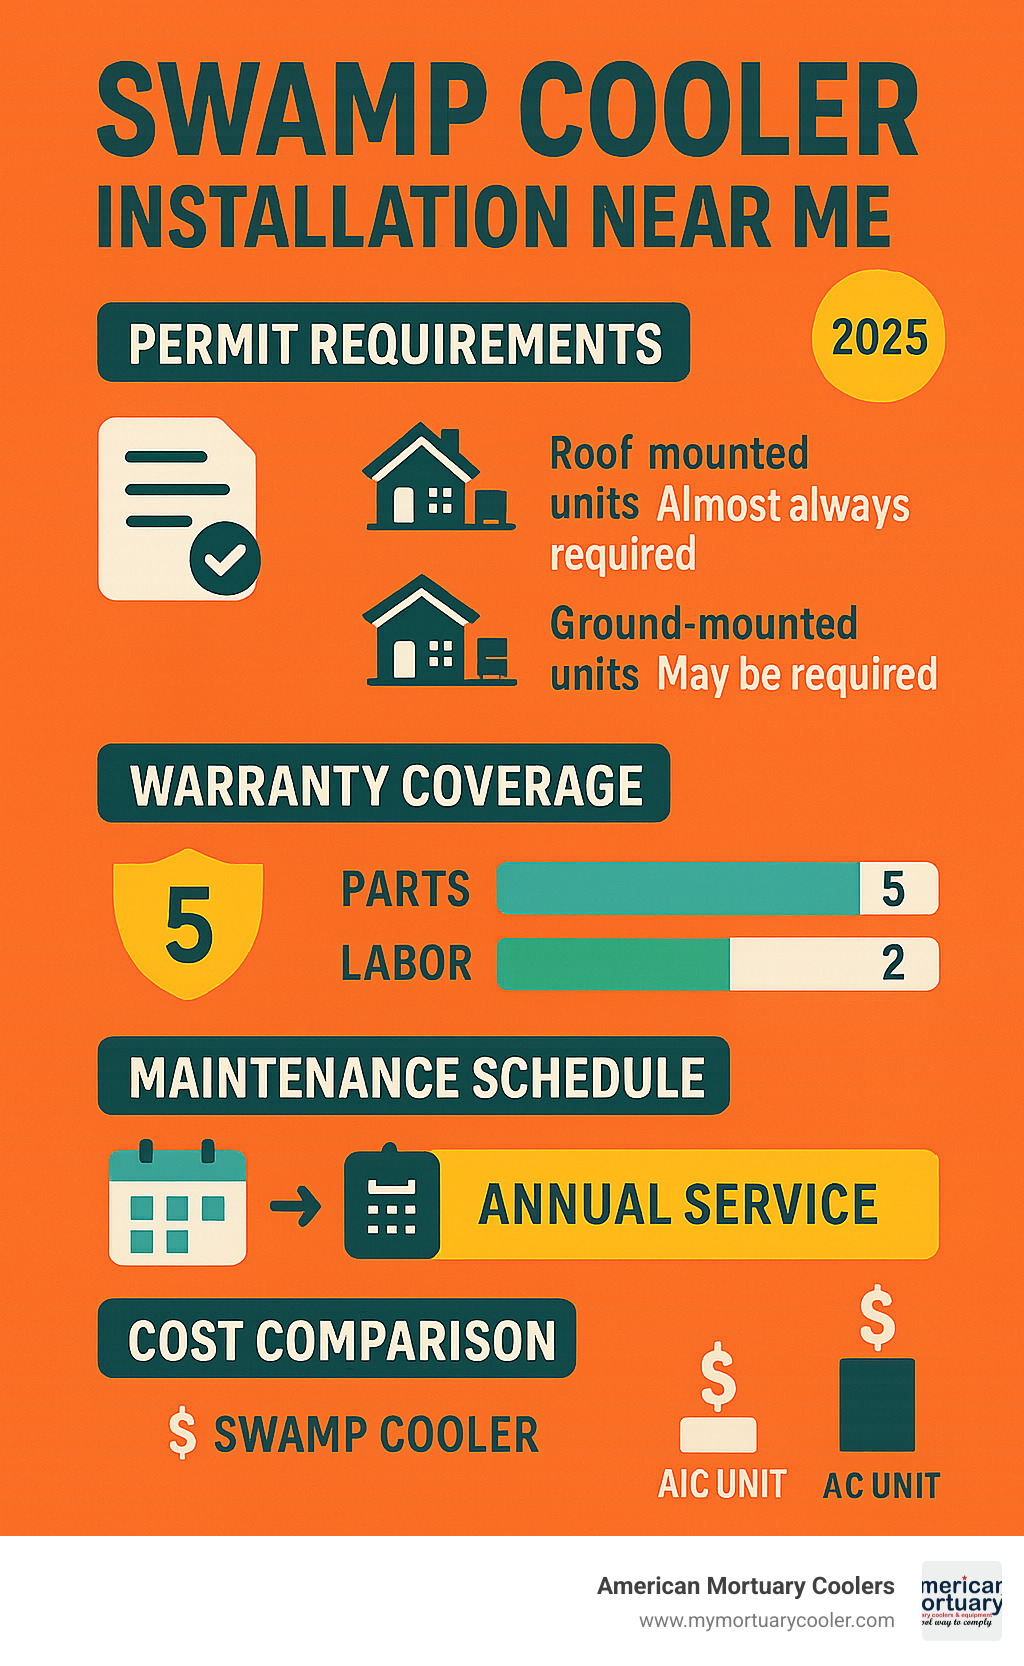
Permit requirements vary dramatically depending on what type of installation you're getting. Roof-mounted units almost always need permits because you're cutting holes and making structural changes. Ground-mounted units might need permits for the electrical and water connections, but the requirements are usually simpler. Window units? You're probably in the clear for basic installations.
The permit process typically takes 2-4 weeks from start to finish. Your contractor should handle the application (it takes 1-3 business days), then wait for city approval (5-14 business days), and finally schedule the inspection after installation (another 2-5 business days). Yes, it adds time to your project, but it ensures everything meets local building codes.
Certain states require engineering documents or wet-stamped plans for installations, especially in areas with high winds, earthquakes, or heavy snow loads. Your contractor should know these requirements - if they seem confused about local codes, that's a red flag.
Warranty coverage is where the rubber meets the road. Premium brands typically offer 20-year coverage on panels and cabinets, 5 years on motors and compressors, and 1-2 years on parts and labor. Installation workmanship should be covered for at least one year. Make sure you understand what's covered and what isn't - normal wear items like pads and belts aren't usually included, and neither is damage from poor maintenance.
The warranty should cover manufacturing defects, installation workmanship issues, and premature component failure under normal use. It won't cover weather damage or problems caused by skipping maintenance - which brings us to the next crucial step.
Scheduling Post-Install Tune-Ups
Annual maintenance runs $80-$180 and can extend your cooler's life by 3-5 years. That's a pretty good return on investment when you consider replacement costs.
Spring startup is your most important service call. This happens in March or April, when your technician cleans and inspects the cooling pads, checks the water pump operation, tests electrical connections, and lubricates the motor. They'll also check belt tension and make sure everything survived the winter shutdown.
Mid-season maintenance in July focuses on replacing worn pads, cleaning mineral buildup from water lines, and checking for proper airflow and temperature drop. This is when you catch small problems before they turn into expensive repairs during the hottest part of summer.
Fall shutdown in October or November is critical if you live where temperatures freeze. The technician drains all water from the system, cleans and dries components, covers the unit, and disconnects the water supply. Skipping this step can lead to burst pipes and damaged components.
Think of maintenance like changing the oil in your car - it seems like an expense until you compare it to the cost of a new engine. Our experience with commercial cooling systems has shown that preventive maintenance always costs less than emergency repairs. The same principles we apply to walk-in cooler service work equally well for residential swamp coolers.
Many contractors offer maintenance contracts that bundle these services at a discount. It's worth considering, especially since regular maintenance is often required to keep your warranty valid.
5. Supervise Installation Day & Post-Install Walk-Through
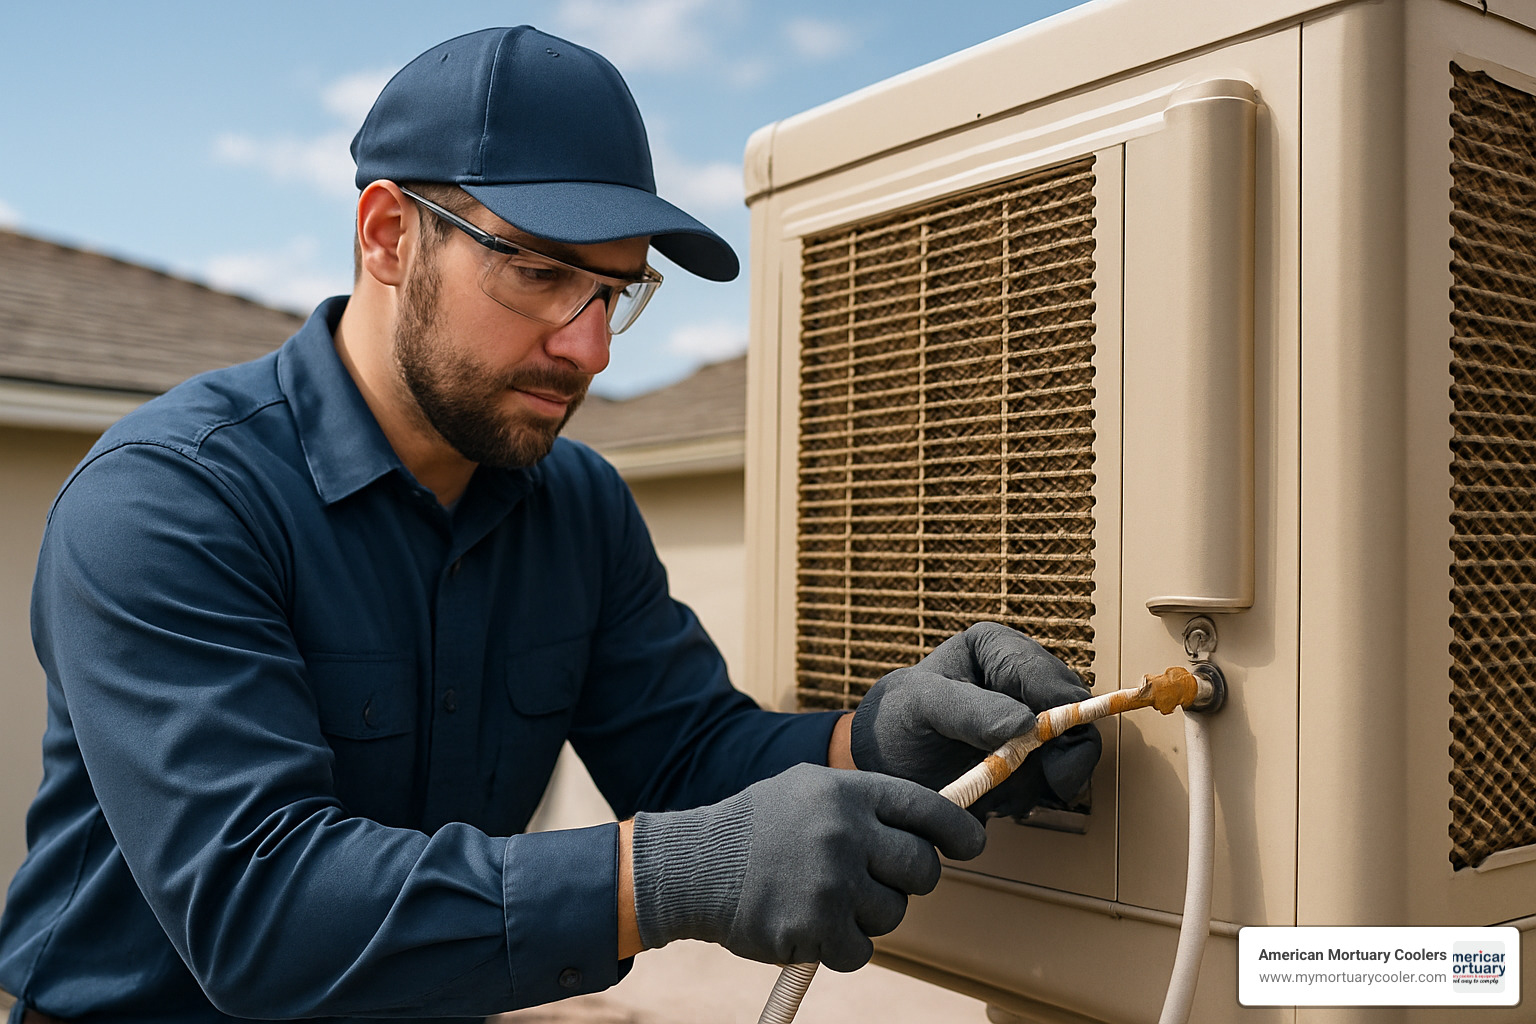
The big day has arrived, and your swamp cooler installation near me search is about to pay off. But don't think your job is done once the crew shows up. Your watchful eye during installation can be the difference between a system that runs flawlessly for years and one that becomes a constant headache.
I've seen too many installations go sideways because homeowners assumed everything would go perfectly without supervision. The truth is, even experienced contractors can make mistakes, and catching them early saves everyone time, money, and frustration.
Before the crew arrives, take a few minutes to prepare. Check that the weather is cooperating - no rain in the forecast and manageable winds for roof work. Make sure your permits are approved and posted where inspectors can see them. Clear any obstacles from the installation path, and have your list of questions ready.
Safety should be your first concern when the installers start working. Professional crews will use proper safety harnesses for any roof work, secure their ladders correctly, and rope off work areas to keep family members and pets safe. If you don't see these precautions, speak up immediately. A reputable contractor won't mind you asking about safety protocols.
Watch the unit placement carefully because getting this wrong causes problems that last for years. The unit must be perfectly level for proper water distribution - even a slight tilt can cause uneven cooling pad wear and poor performance. The mounting brackets should attach to actual structural members, not just surface materials. And there should be enough clearance around the unit for future maintenance access.
Water line installation is where many problems start. The installer should use quality materials like copper or approved plastic tubing, not cheap substitutes that fail within a few years. Every connection needs proper valve installation for seasonal shutoffs, especially if you live where temperatures drop below freezing. Don't let them rush through the leak testing - water damage from poor connections can cost thousands to repair.
Electrical work must follow local codes without exception. Outdoor installations require GFCI protection, and the wire gauge must match the electrical load. All conduit should be securely mounted to prevent damage from vibration. Before they finish, make sure they test every electrical function including all fan speeds and thermostat operation.
System testing is your chance to verify everything works as promised. The water should flow evenly across all cooling pads, and the fan should operate smoothly at every speed setting. Most importantly, measure the actual temperature drop - you should see a 15-40°F reduction in dry climates. If the performance seems off, address it before the crew leaves.
Create a Maintenance Cheat-Sheet Before Crew Leaves
Here's where most homeowners make a critical mistake - they let the installation crew leave without getting essential information. Don't be shy about asking questions and taking notes. You're going to operate this system for the next decade, so understanding it completely is worth a few extra minutes.
Get all the technical details documented while the experts are still there. Write down the exact unit model number and specifications, warranty registration information, and recommended maintenance schedule. Find out exactly which replacement parts you'll need - typically pads annually, belts every few years, and pumps eventually. Get contact numbers for both routine service and emergency repairs.
Have them demonstrate everything before they pack up their tools. Learn the proper startup and shutdown procedures, seasonal maintenance requirements, and warning signs that indicate you need professional help. Ask about typical operating costs - research shows most homeowners spend $20-$60 per month running their swamp coolers, but your actual costs depend on usage patterns and local utility rates.
Document the performance benchmarks they're achieving during testing. Record the temperature drop you're seeing, typical noise levels, and water consumption rates. This baseline helps you recognize when performance starts declining and maintenance is needed.
The installation crew should walk you through every aspect of operation and answer all your questions patiently. If they seem rushed or dismissive about explaining things, that's a red flag about their professionalism. A quality installer wants you to succeed with your new system because satisfied customers lead to referrals and repeat business.
Frequently Asked Questions About Hiring Swamp Cooler Installers
The most common questions I hear about swamp cooler installation near me projects usually revolve around timing, warranties, and whether these systems actually work in less-than-perfect conditions. Let me share what I've learned from years of working with cooling systems across different climates and installation scenarios.
How long does a professional installation take?
The honest answer is "it depends" - but here's what you can realistically expect based on the type of system you're installing.
Window units are your quickest option at just 1-2 hours. Many homeowners tackle these themselves, though having a professional ensure proper sealing and electrical connections is often worth the modest cost.
Ground-mounted units typically take 3-5 hours to install properly. This includes setting up the pad, running water and electrical lines, and testing the system thoroughly. The extra time compared to window units comes from the more complex connections and the need to ensure everything is weatherproofed.
Roof-mounted installations are where things get more involved - expect 6-8 hours for a complete job. The safety setup alone takes time, and working on a roof requires careful attention to detail. Your installer needs to cut openings, secure mounting brackets to structural members, and ensure proper sealing to prevent leaks.
Ducted systems are the most complex, often requiring 8-12 hours or even multiple days. If you're adding ductwork to a home that doesn't have it, or modifying existing ducts, the project becomes significantly more involved.
Weather can throw a wrench in any timeline. I always tell homeowners to plan for potential delays during peak installation season or when storms roll through.
Can I install a swamp cooler myself and still keep the warranty?
This question comes up constantly, and the answer varies quite a bit depending on what you're installing and who made it.
Window-mounted units are generally DIY-friendly without voiding warranties. Most manufacturers expect homeowners to handle these installations, similar to installing a window air conditioner. The key is following the instructions carefully and ensuring proper electrical connections.
Portable units are even simpler - they require no installation at all and maintain full warranty coverage since there's nothing to install incorrectly.
Here's where it gets tricky: roof-mounted and ducted systems almost always require professional installation to maintain warranty coverage. Manufacturers know these installations involve structural modifications, electrical work, and potential safety hazards. They want licensed professionals handling the complex stuff.
The warranty considerations go beyond just the unit itself. Professional installation often provides additional workmanship warranties that cover installation-related issues. If something goes wrong with a DIY installation, you might find yourself paying for repairs that would have been covered under a professional installation warranty.
Will a swamp cooler work if my local humidity spikes above 60%?
This is probably the most important question for anyone considering a swamp cooler, and the answer can make or break your cooling strategy.
Swamp coolers work by evaporating water, and when humidity climbs above 60%, that evaporation process slows dramatically. The result? Minimal cooling effect and potentially uncomfortable conditions.
Here's what you can expect at different humidity levels: Below 30% humidity gives you excellent performance with temperature drops up to 40°F. Between 30-50% humidity, you'll still get good cooling with 20-30°F drops. At 50-60% humidity, performance becomes marginal with only 10-20°F temperature reduction.
Above 60% humidity? You're looking at poor performance with minimal cooling effect.
Geography plays a huge role here. The desert Southwest offers ideal conditions most of the year, while mountain regions are generally suitable with some seasonal variation. Coastal areas might face humidity challenges during certain seasons, and humid climates generally aren't good candidates for swamp coolers as primary cooling.
If you're in a borderline climate zone, consider a two-stage evaporative cooler. These can provide some cooling even in higher humidity conditions, though they're less efficient than in dry climates.
The bottom line? Swamp coolers are fantastic in the right conditions but can be disappointing in humid climates. Understanding your local climate patterns before installation can save you from an expensive mistake.
Conclusion
Finding the right swamp cooler installation near me doesn't have to feel overwhelming when you break it down into manageable steps. The five-step process we've walked through together - from calculating your cooling load to supervising that final installation day - gives you a clear roadmap to success.
Here's what makes this investment worthwhile: swamp coolers deliver 15-35% energy savings compared to traditional air conditioning, with total installation costs typically ranging from $1,200-$3,600. When properly installed and maintained, your system should keep you comfortable for 10-12 years of reliable service.
At American Mortuary Coolers, we've spent years perfecting cooling system installations across completely different applications. While we specialize in custom mortuary coolers and commercial refrigeration solutions, the core principles remain the same whether you're cooling a funeral home or your living room. Proper sizing, quality installation, and ongoing maintenance are what separate systems that last from those that fail.
Our experience delivering durable, custom solutions across the contiguous 48 states has taught us something important: the foundation of any successful cooling system starts long before installation day. It begins with doing your homework, asking the right questions, and staying involved throughout the entire process.
Whether you're dealing with the dry heat of the Southwest or the variable humidity of the Southeast, these five essential steps will guide you toward a successful installation. The contractors who take time to calculate your exact cooling load, explain their process clearly, and walk you through proper maintenance aren't just installing equipment - they're setting you up for years of comfortable, energy-efficient cooling.
Don't rush this decision. Take time to vet your contractors properly, compare detailed quotes, and understand exactly what you're getting. The extra effort you put in now will pay dividends in lower energy bills, fewer repair calls, and consistent comfort throughout those hot summer months.
For more information about expert cooling solutions and the professional installation practices that ensure long-term success, we're here to help. While our focus is on commercial applications, the quality standards and attention to detail we bring to every project can guide your residential swamp cooler installation toward the same level of success.
Your comfort and energy savings depend on getting this installation right the first time. Follow these five steps, stay engaged with your chosen contractor, and you'll be enjoying efficient, reliable cooling for many summers to come.


