Why Understanding Cooler Repair Can Save Your Business Thousands
Cooler repair is essential when your refrigeration unit fails, threatening valuable inventory and business operations. Here's what you need to know:
Most Common Cooler Repair Issues:
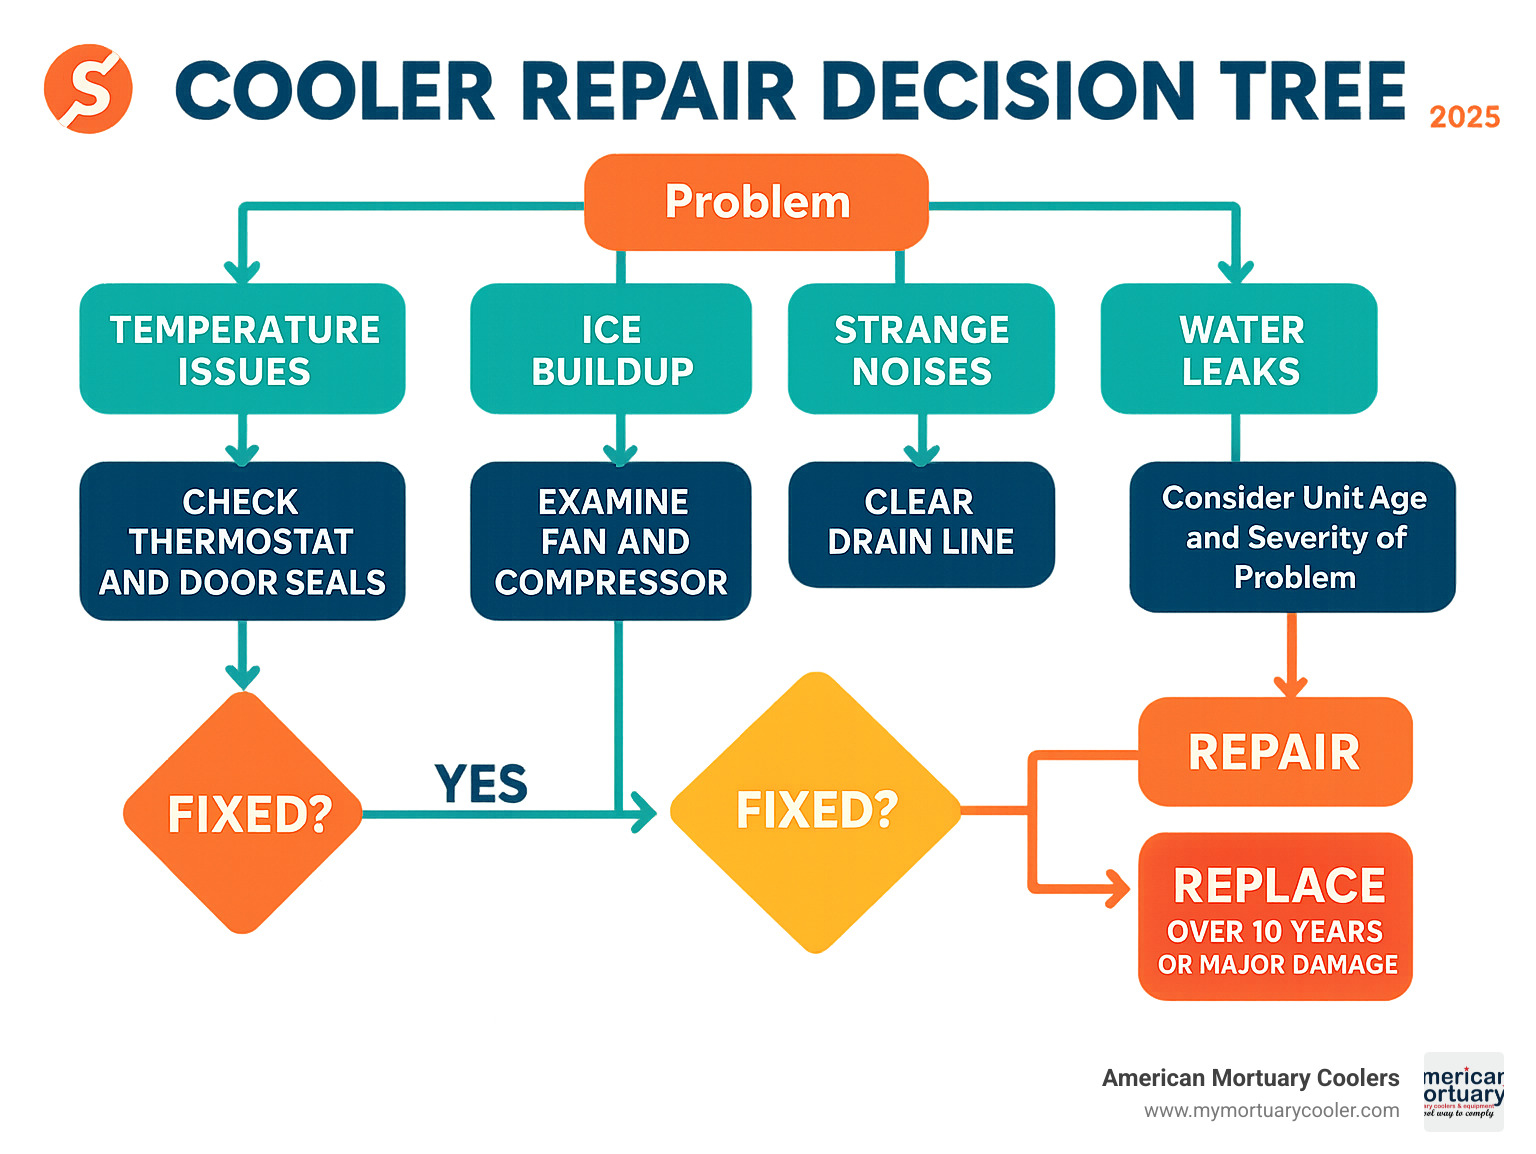
- Temperature fluctuations - Check thermostat and door seals first
- Ice buildup - Usually indicates airflow problems or defrost issues
- Strange noises - Often fan motor or compressor problems
- Water leaks - Typically clogged drain lines or damaged gaskets
- Won't turn on - Check power supply, fuses, and control boards
Quick Decision Guide:
- Repair if: Unit is under 10 years old, holds temperature, minor component damage
- Replace if: Chronic refrigerant leaks, insulation failure, or repair costs exceed 50% of replacement value
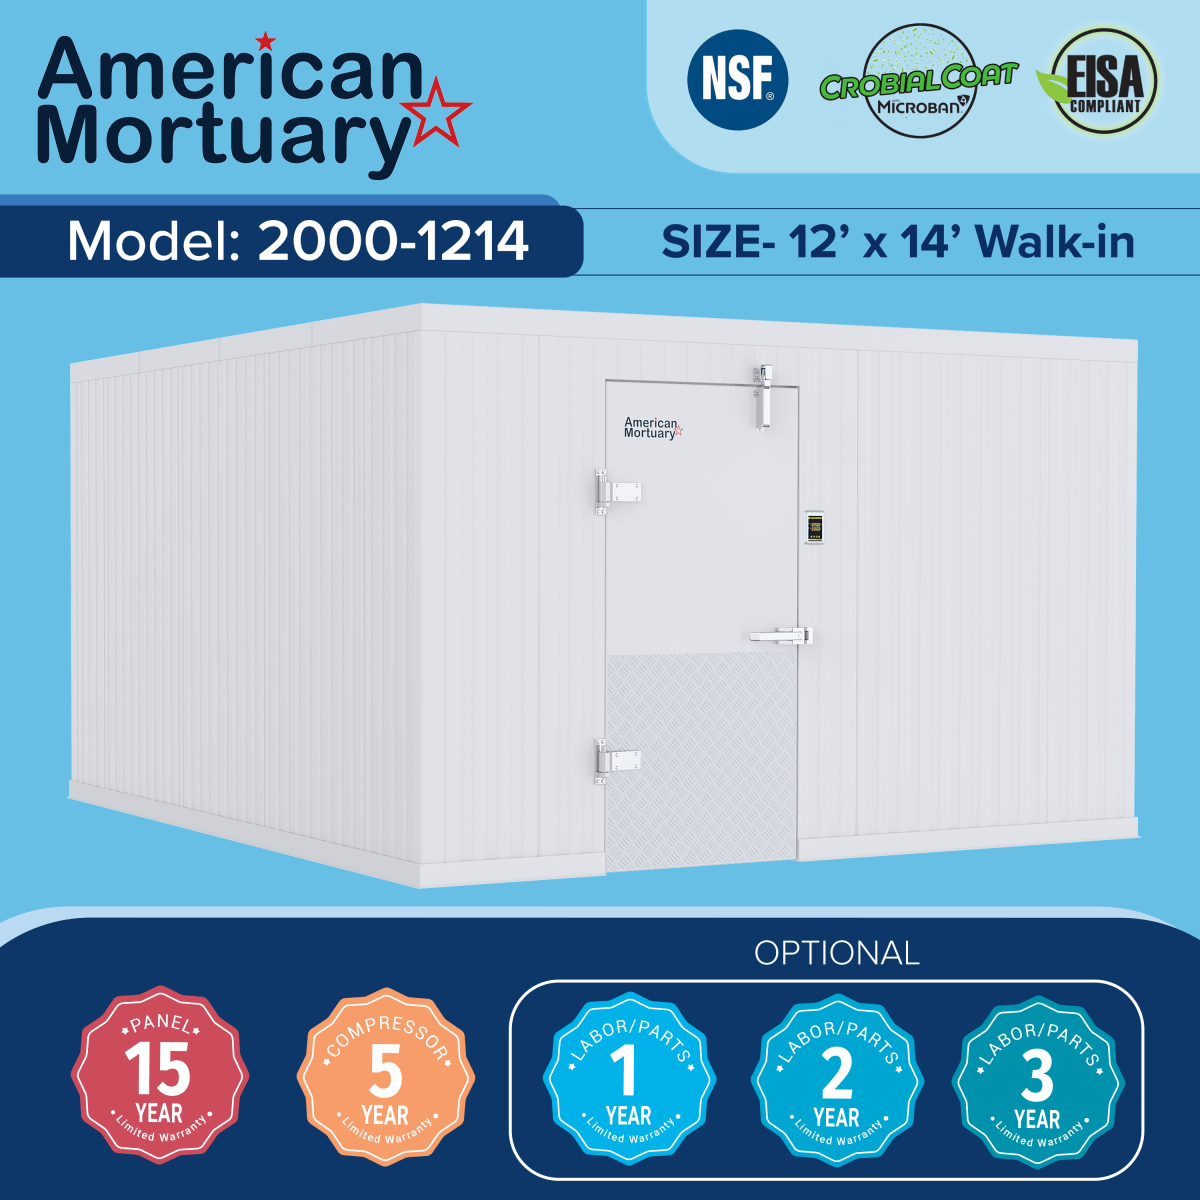
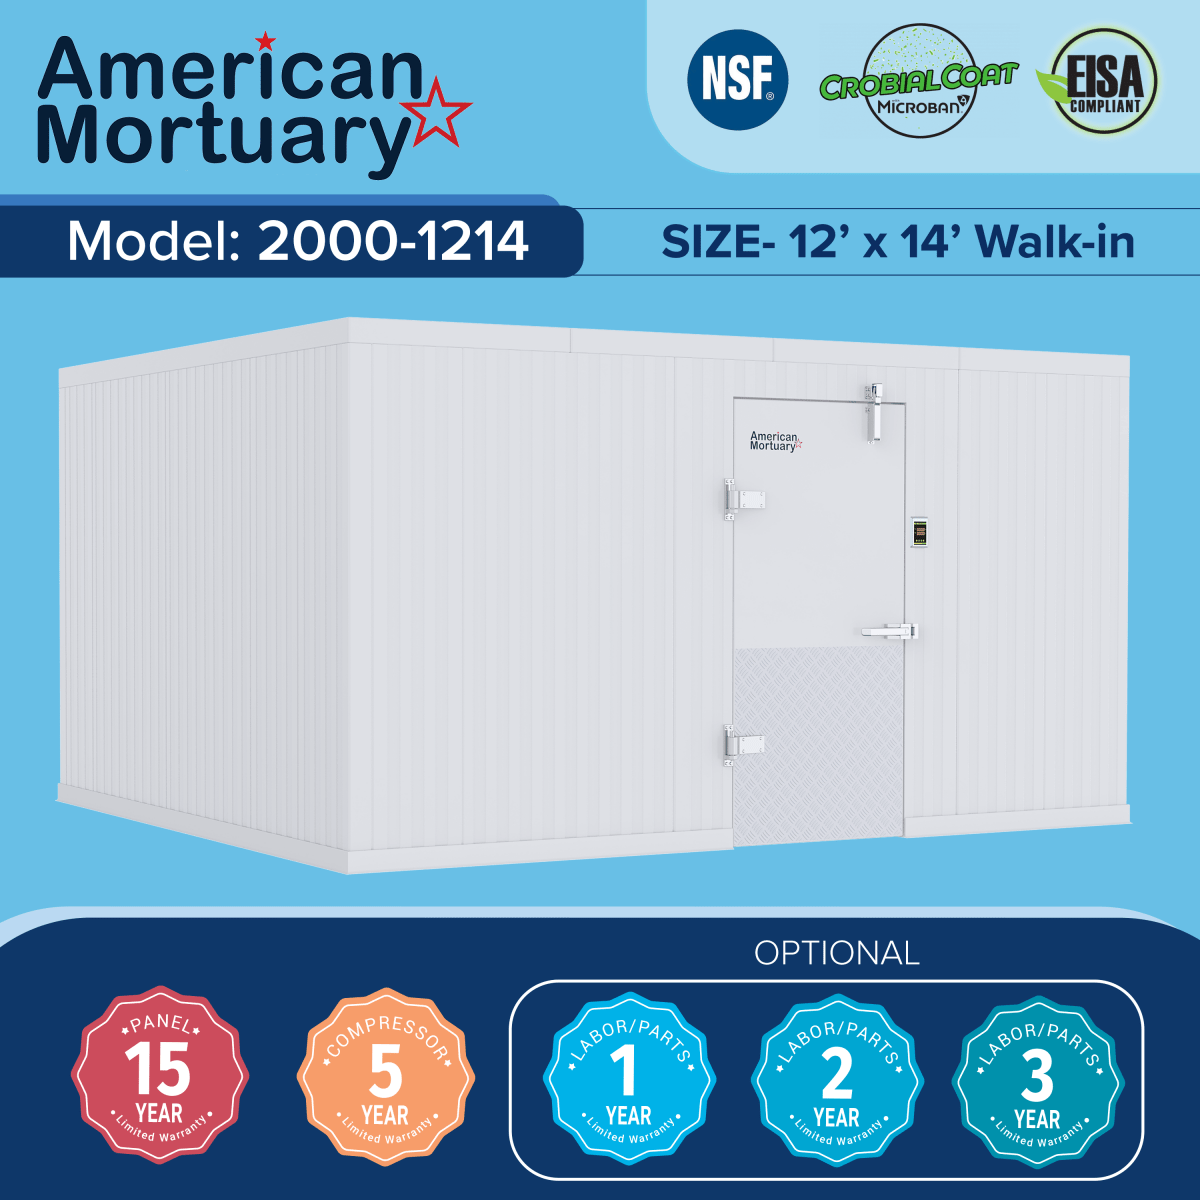
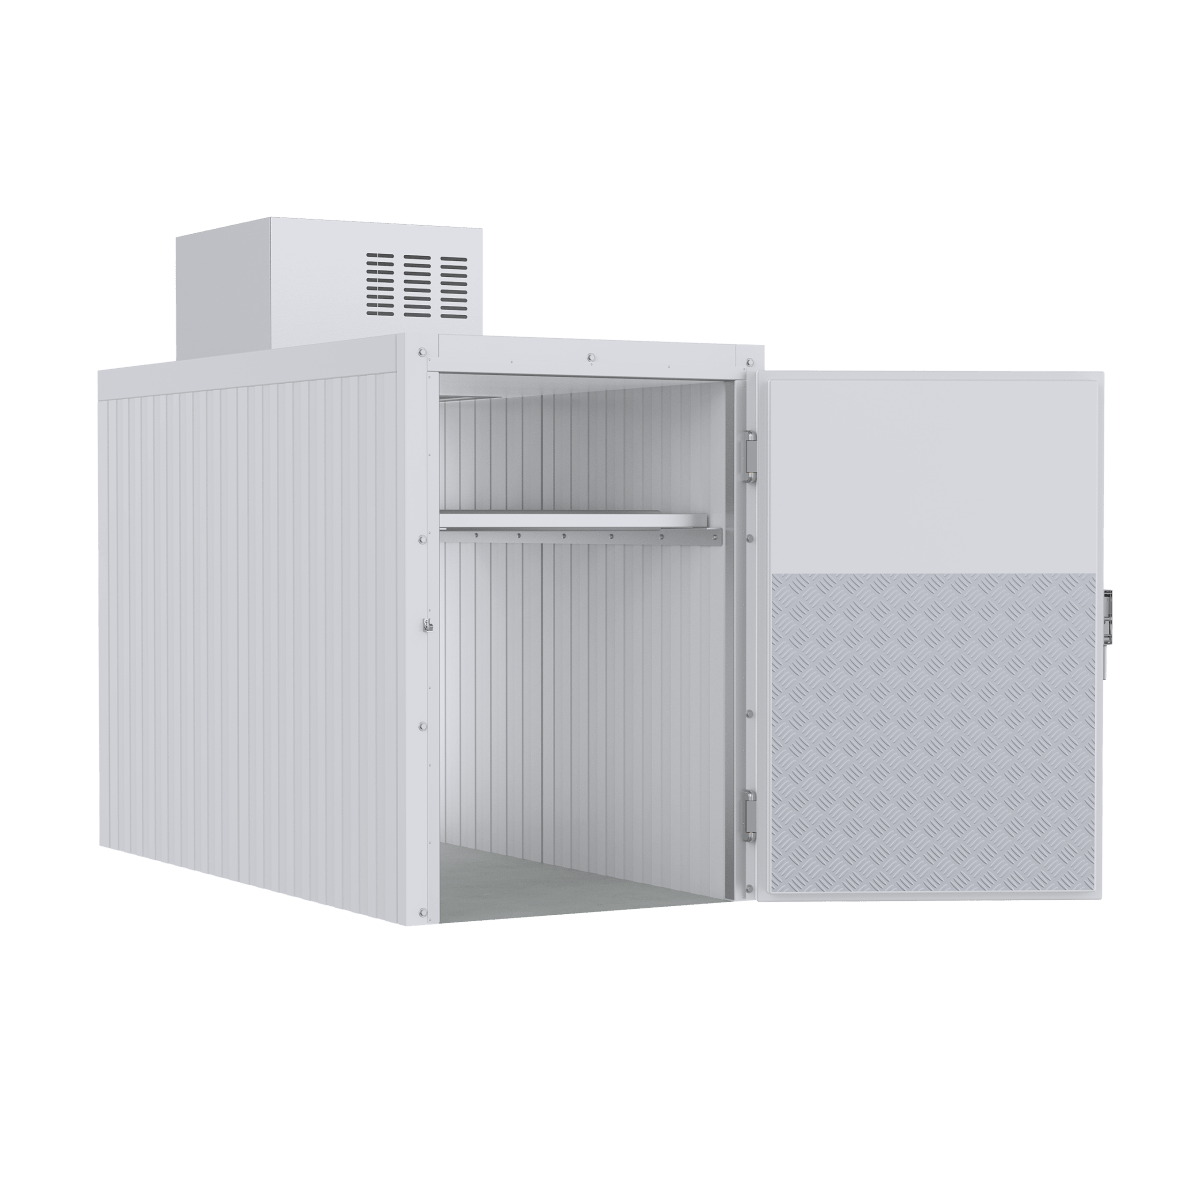
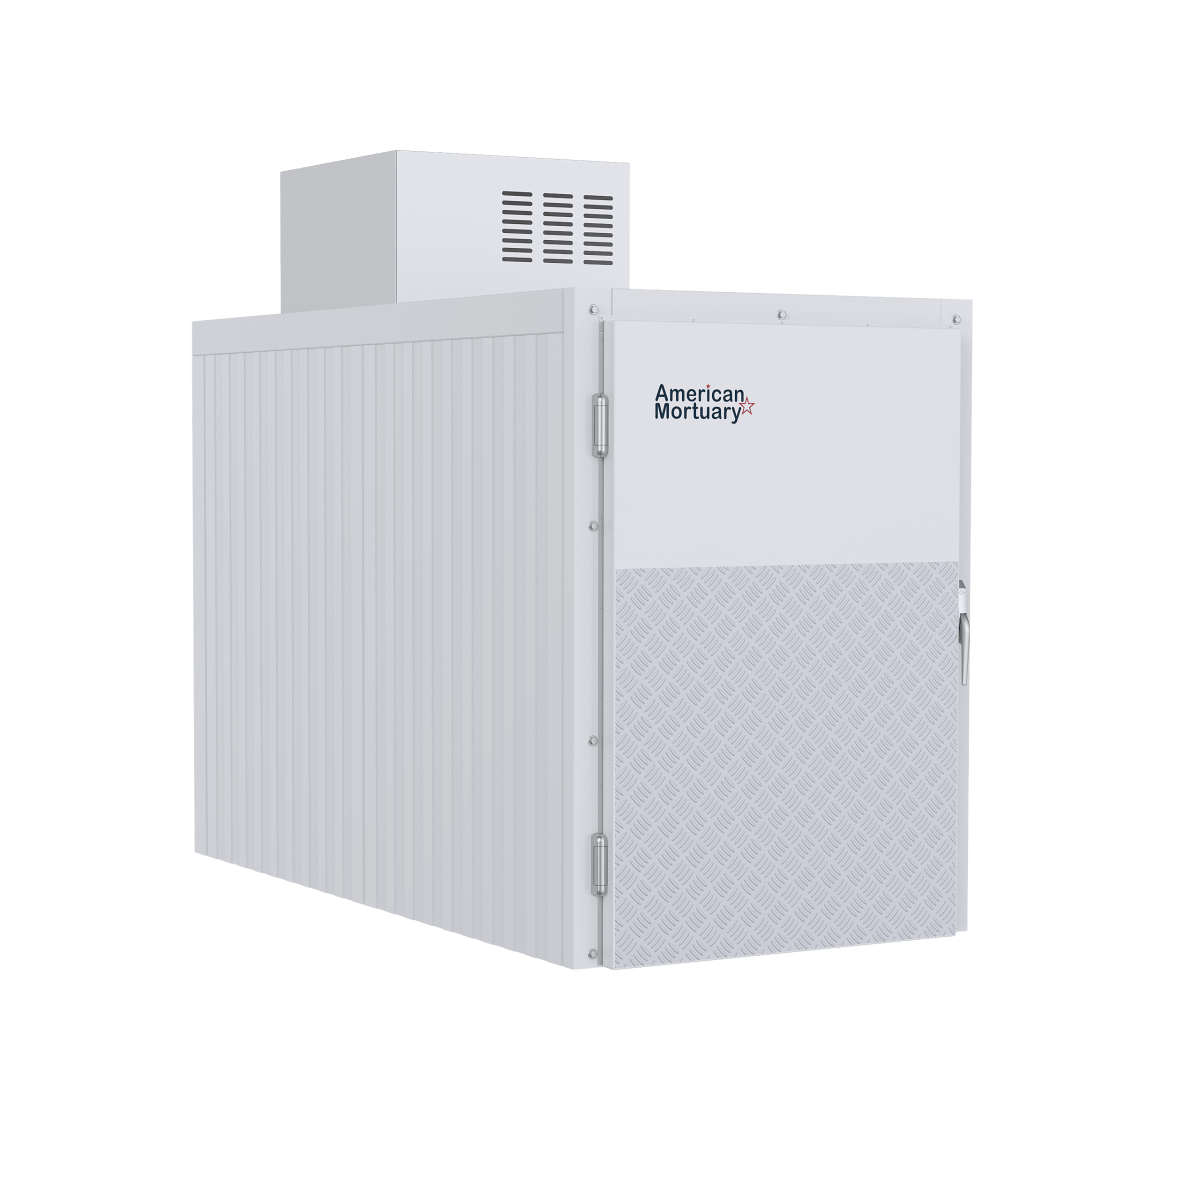
Whether you're dealing with walk-in coolers, wine refrigerators, or specialized mortuary units, most breakdowns stem from preventable maintenance issues. Regular maintenance can reduce unexpected breakdowns by up to 50%.
The good news? Many cooler problems can be fixed with basic tools and knowledge. Simple fixes like cleaning condenser coils, replacing door gaskets, or unclogging drain lines often restore full operation without expensive service calls.
I'm Mortuary Cooler, a national-level mortuary cooler supplier with experience in commercial refrigeration systems. My background in cooler repair spans everything from emergency breakdowns to preventive maintenance programs, helping funeral homes and businesses maintain reliable refrigeration nationwide.
Know your cooler repair terms:
Step 1: Assess the Damage – Cooler Repair Begins With Diagnosis
Cooler repair diagnosis is like being a detective – your refrigeration unit is trying to tell you what's wrong through various symptoms.
Start by checking your temperature logs for patterns. Wild fluctuations usually point to thermostat issues, door seal problems, or failing components that can't maintain consistent cooling.
Listen for strange noises. A grinding sound from the compressor could mean internal damage, while a squealing fan motor often just needs replacement. These sounds are your early warning system.
Frost build-up on evaporator coils typically means your defrost cycle isn't working properly or airflow is restricted. Either way, your system is working harder than it should.
Check for energy spikes on your utility bills. If electricity costs have suddenly jumped, your cooler might be the culprit. We've helped customers find that a failing door seal was costing them hundreds monthly.
Always wear safety gloves during inspection. Refrigeration equipment has sharp edges, electrical components, and moving parts that can cause serious injuries.
Cooler Repair Red Flags
Door-seal gaps demand immediate attention. Even tiny openings let warm, humid air sneak in, forcing the system to work overtime. Try the dollar bill test – close a bill in the door seal and pull it out. If it slides out easily, those gaskets need replacing.
An iced evaporator coil stops heat exchange from working properly. Your compressor runs constantly, driving up energy costs and wearing out faster.
Short cycling – when your compressor turns on and off repeatedly in short bursts – signals trouble with electrical components, refrigerant levels, or thermostat calibration.
Puddles around your cooler indicate clogged drains or failing gaskets, creating perfect conditions for bacteria and mold growth.
Strange odors, especially anything that smells like ammonia, mean refrigerant leaks. If you notice chemical smells, stop using the unit immediately and call for professional help.
DIY Cooler Repair Safety Checklist
Safety isn't negotiable. Start with power isolation – always disconnect electrical power before touching anything inside your unit. Use a multimeter to verify the power is actually off.
Your PPE should include safety glasses, insulated gloves, and non-slip shoes. Refrigerant handling requires special attention and certification. EPA rules strictly govern how refrigerants must be recovered and disposed of.
Keep a fire extinguisher within reach when working around electrical components.
When dealing with complex problems or feeling unsure about safety procedures, don't risk it. More info about expert help can connect you with qualified specialists.
Step 2: Gather Your Toolkit & Replacement Parts
Smart preparation saves the day. Your basic toolkit needs screwdrivers in multiple sizes, a digital multimeter for electrical troubleshooting, and cleaning essentials.
A good coil brush tackles dusty condenser and evaporator coils that cause half of all cooling problems. Pair it with a fin comb to straighten bent coil fins that block airflow.
For replacement parts, stock up on door gaskets, fan motors, and thermostats. These components fail at the worst possible moments. Having them on hand means your cooler gets back to work fast.
A refrigerant leak detector spots problems before they become disasters. Always choose OEM parts when possible – generic alternatives often cause more problems than they solve.
Essential Parts for Fast Cooler Repair
Compressor relays control your compressor's operation and burn out regularly. These inexpensive electrical switches are critical – when they fail, your whole system stops working.
Evaporator fans keep air moving through your cooler and work hard every day. Defrost timers control automatic defrost cycles that prevent ice buildup, while drain heaters stop drain lines from freezing.
Keep gasket tape handy for emergency repairs. It's not permanent, but it'll seal minor gaps while you order proper replacements.
Door problems happen frequently. Our Step-by-Step Guide to Replacing a Walk-In Cooler Handle walks you through common handle and latch issues.
Door gaskets aren't universal. Each cooler uses specific gasket profiles, and the wrong one creates air leaks that waste energy. Measure existing gaskets carefully before ordering replacements.
Step 3: The Five Simple Fixes Every Owner Can Try
Most cooler repair problems aren't as complicated as they seem. About 70% of cooling issues can be fixed with basic tools and know-how.
Time vs. Cost Comparison:
- Coil cleaning: 30 minutes, $0-15 in supplies
- Drain clearing: 15 minutes, $5-10 in materials
- Gasket replacement: 45 minutes, $25-75 per gasket
- Control reset: 10 minutes, free
- Refrigerant service: 2+ hours, requires professional help
Fix #1 – Clean Coils & Fans
Dirty coils make your cooler work overtime. When dust and debris coat your condenser coils, they act like insulation. Clean coils can boost efficiency by 15-30%.
Start with your coil brush and work gently. Vacuum up loose debris as you go. For stubborn buildup, use approved coil cleaner. Never use household cleaners – they'll eat through coil material and create expensive leaks.
Check how freely your fans spin. They should rotate smoothly without wobbling or grinding noises. Use your multimeter to check amp draw on fan motors and compare to nameplate ratings.
Fix #2 – Unclog & Sanitize Drain Lines
Clogged drains cause ice buildup, water damage, and musty smells. Most blockages come from algae growth and debris accumulation.
Start with a warm water flush. If water backs up or drains slowly, you've got a clog. A small PVC snake works for stubborn blockages.
Algae tablets prevent future problems. Drop one in your drain pan monthly to keep algae and bacteria from taking over.
Fix #3 – Replace Door Gaskets & Hardware
Door seals are critical for efficiency. The dollar-bill test tells you gasket condition – a good gasket grips firmly when you try to pull out a closed dollar bill.
Modern gaskets offer peel-and-stick installation. Clean the gasket channel thoroughly first, then press the new one firmly into place.
Check door hardware during gasket replacement. Worn hinges let doors sag, preventing proper seal contact. Hinge shims can fix minor alignment issues.
Fix #4 – Reset Controls & Calibrate Thermostat
Sometimes the simplest fix is most effective. Many repair calls could be avoided with a basic control system reset.
Dual-zone wine coolers need special attention. White wines need 45-50°F storage, while reds prefer 50-65°F. Around 55°F works as a compromise temperature.
Keep digital probe placement away from doors, lights, and air discharge points. Always verify thermostat accuracy with an independent thermometer.
Fix #5 – Recharge or Repair Refrigerant Circuit
While you need EPA certification to handle refrigerants legally, you can identify refrigerant problems and prepare for professional service.
R-290 refrigerant (propane) requires special handling and certified technicians. Pressure gauges help diagnose issues when used properly.
Look for oil stains around fittings – oil follows refrigerant, indicating leak locations. Before any refrigerant work, systems need evacuation with a vacuum pump.
For specialized applications, scientific research on lab chillers demonstrates the importance of proper maintenance and professional service.
Step 4: When Repair Isn't Enough – Decide to Repair or Replace
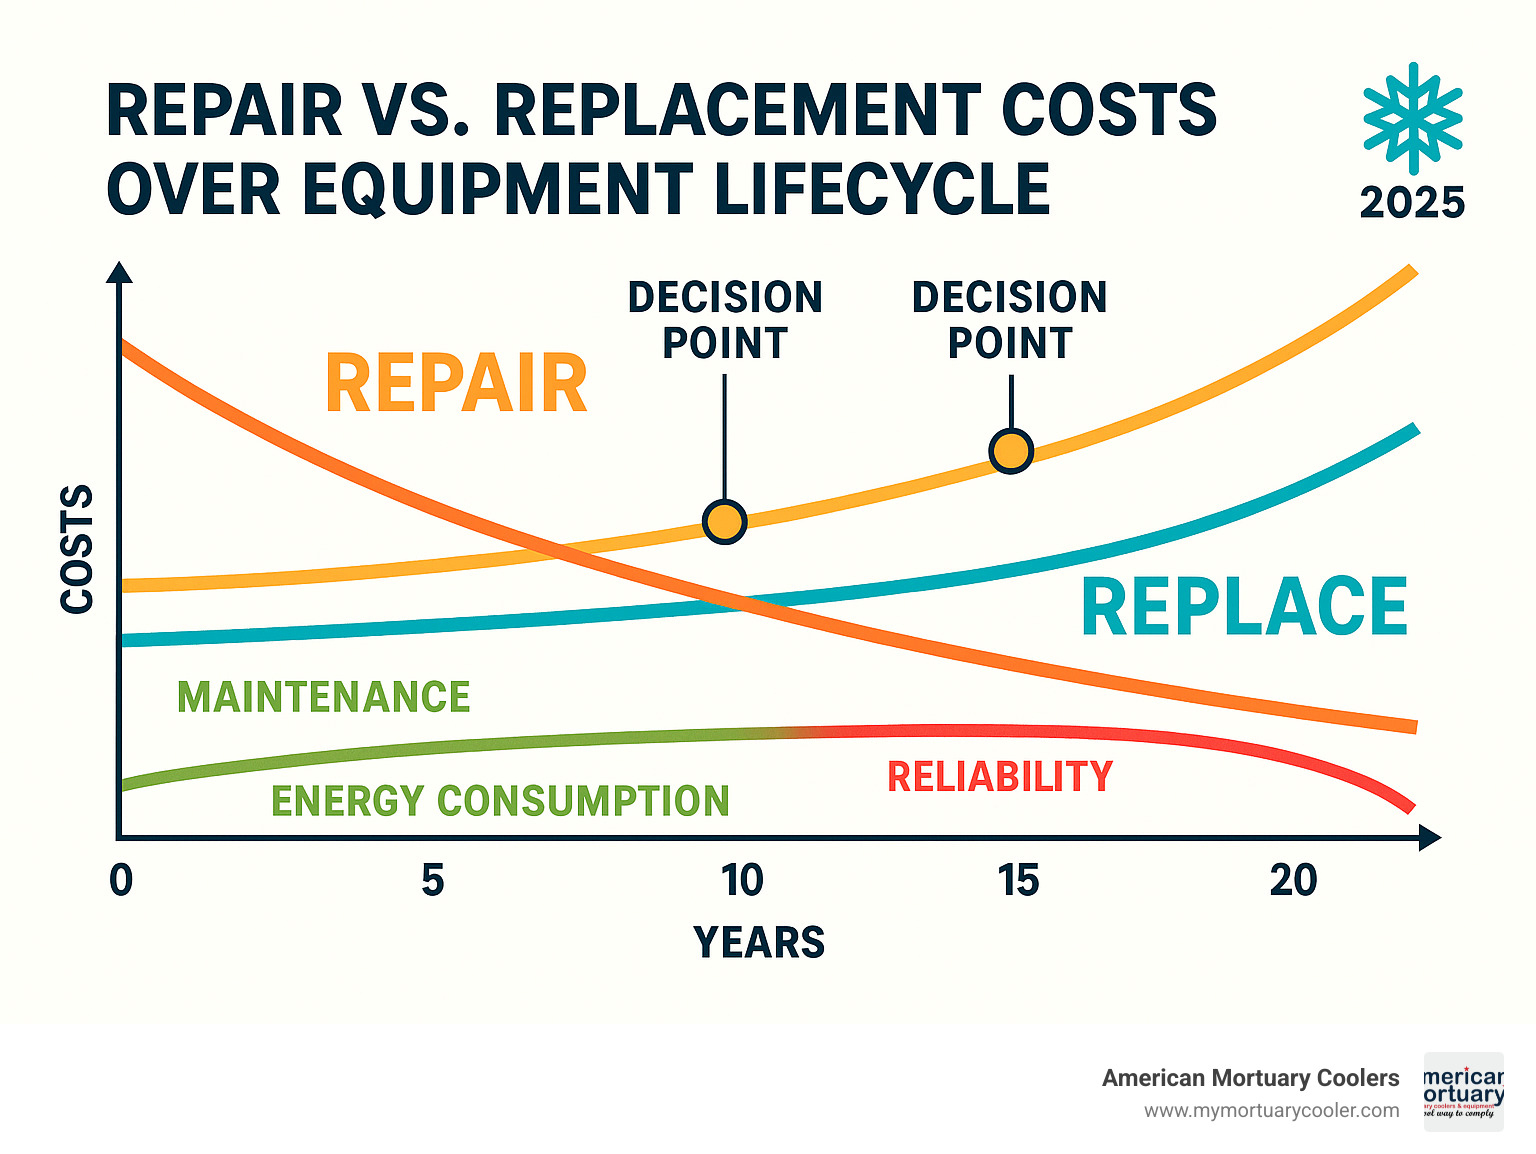
Sometimes throwing good money after bad isn't smart business. That $800 repair might seem cheaper than a $4,000 replacement, but what if you need another $600 repair next month?
Life-cycle cost analysis takes the guesswork out of these decisions. Look beyond immediate repair costs to ongoing maintenance expenses, rising energy bills, and the cost of product loss when your cooler fails.
Downtime risk affects different businesses differently. A mortuary cooler failure is a crisis affecting families during difficult times. Restaurant walk-in coolers that fail during dinner rush can cost thousands in spoiled food.
Modern coolers are 20-40% more energy efficient than units from 10-15 years ago. Those energy savings can pay for replacement over time.
Don't forget warranty status. For out-of-warranty equipment, you're weighing repair costs against peace of mind from a new unit with fresh warranty coverage.
Cooler Repair vs. Replacement Decision Matrix
Repair makes sense when your unit is less than 10 years old and damage is contained to one or two components. If your cooler holds temperature consistently and repair costs stay under 50% of replacement value, fixing usually wins.
Replacement becomes smarter when dealing with chronic refrigerant leaks, insulation failure (sweating on exterior panels), or multiple major components failing in sequence.
Walk-in coolers typically serve 10-15 years with proper maintenance, while smaller wine fridges usually last 4-8 years. Age matters, but maintenance history is equally important.
Consider upgrade opportunities during replacement decisions. Modern units offer better temperature control, smart monitoring, and energy efficiency that can improve operations while reducing long-term costs.
Step 5: Test, Monitor & Maintain for Long-Term Reliability
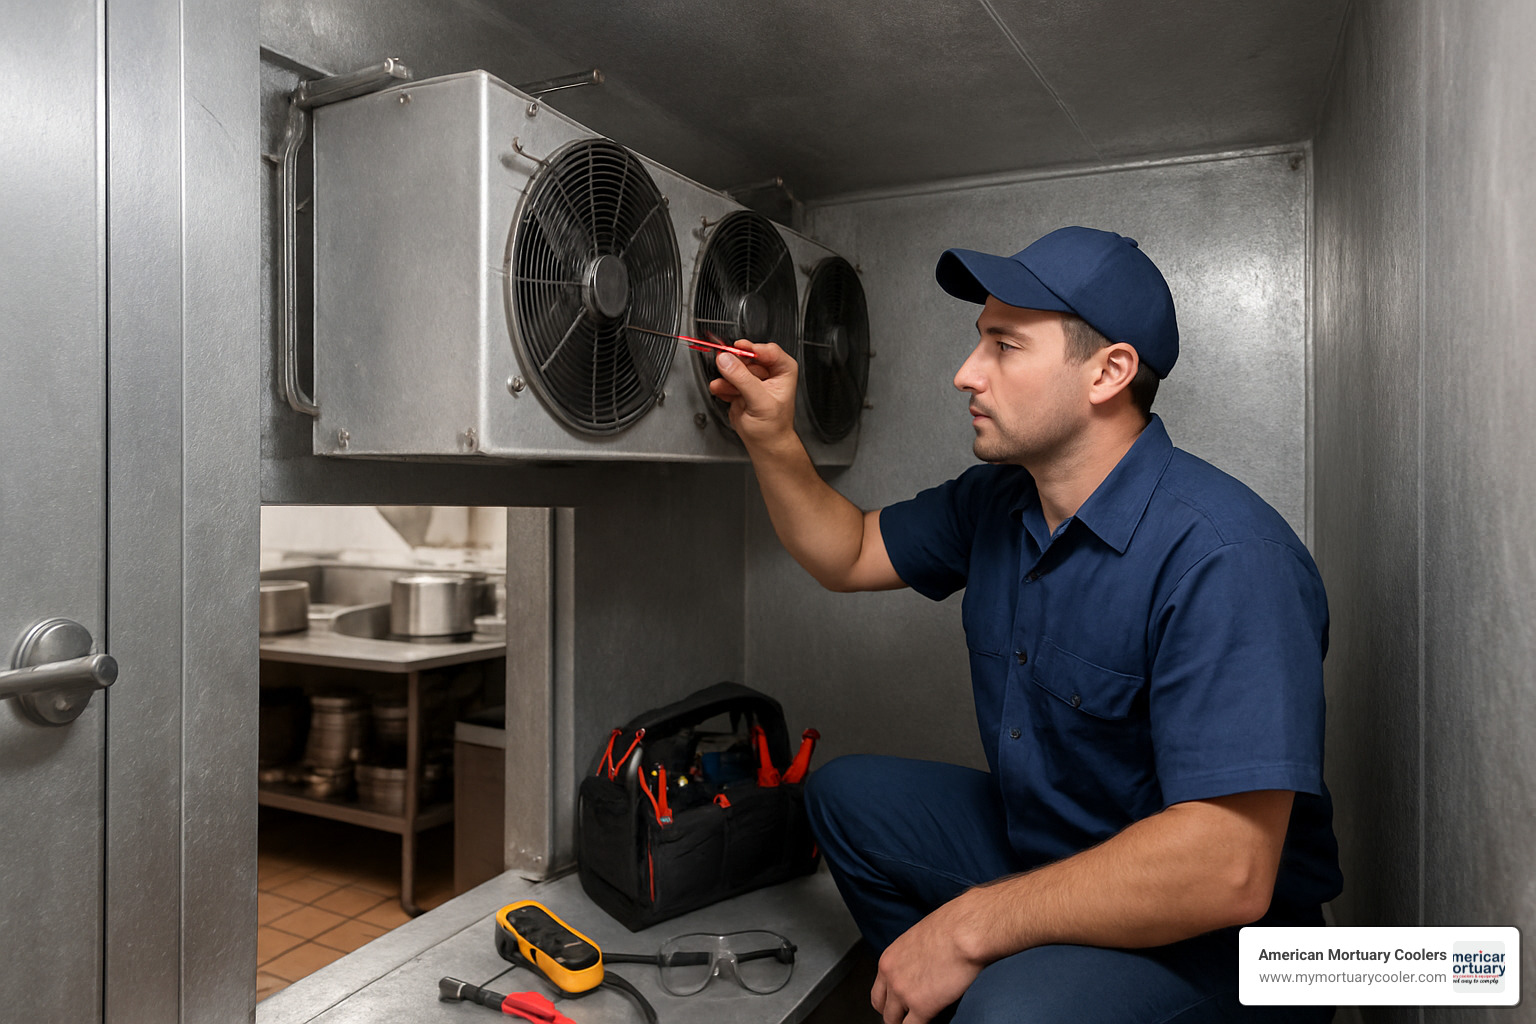
Your cooler repair work isn't finished once everything's running again. Proper testing and maintenance prevent 3 AM emergency calls.
Data loggers monitor your system 24/7, recording temperature and humidity patterns that reveal problems before they become disasters.
Humidity control matters more than most realize. Maintain 50-60% relative humidity in cooled spaces. Too much causes excessive ice buildup; too little can damage stored products.
Quarterly inspections catch small problems when they're still cheap to fix. Keep notes during each inspection – these records help you spot patterns and predict when components need attention.
For businesses that can't afford downtime, service contracts with qualified technicians provide professional maintenance plus priority service.
Our How to Maintain Your Walk-In Cooler guide walks you through specific maintenance schedules that keep equipment running smoothly.
Pro Tips to Prevent the Next Breakdown
Strip curtains at cooler entrances reduce energy waste, especially valuable in busy kitchens where doors open constantly.
Load management affects performance. Keep units 75-90% full for best results – enough thermal mass to stabilize temperatures while allowing proper airflow.
Schedule bi-annual professional tune-ups before busy seasons. Spring and fall maintenance catches issues before summer heat stress or winter problems shut you down.
Follow manufacturer maintenance checklists from companies like Heatcraft. These schedules are based on real-world experience with thousands of units.
Remote alarm systems send alerts straight to your phone, so you know about problems immediately instead of finding them Monday morning.
At American Mortuary Coolers, we understand that reliable refrigeration protects what matters most to your business. Whether maintaining an existing unit or considering an upgrade, proper testing and maintenance keep your operation running smoothly for years to come.
Frequently Asked Questions about Cooler Repair
How do I know if my cooler needs professional service?
Call the pros if you smell ammonia (refrigerant leaking), see sparks from electrical components, or hear grinding noises from the compressor. Temperature swings greater than 5°F usually mean something seriously wrong that needs expert diagnosis.
Complex systems like dual-zone wine coolers often have intricate controls requiring specialized knowledge. If you lack EPA certification for refrigerant work, that's another clear sign to call professionals.
What is the typical cost range for cooler repair?
Simple fixes like cleaning coils or replacing door gaskets run $150-400. Fan motor replacements fall in the $300-600 range. Compressor replacement costs $800-2000 or more for walk-in units.
Emergency calls always cost more – the same repair can cost twice as much on weekends or holidays. That's why preventive maintenance is so valuable.
How long should a commercial cooler last with proper maintenance?
Most walk-in coolers last 10-15 years, while smaller wine fridges typically run 4-8 years. Regular professional service can cut unexpected breakdowns in half. We've seen well-maintained units run 20+ years, while neglected ones fail after just 5-6 years.
Your operating environment makes a huge difference. A cooler in a clean office kitchen will outlast one in a dusty warehouse or greasy restaurant kitchen.
Conclusion
Understanding cooler repair fundamentals can save your business thousands in emergency service calls and prevent costly product losses. The five-step approach – assess, gather tools, perform simple fixes, decide repair vs. replacement, and maintain – gives you a clear roadmap for handling most cooling problems.
We've covered everything from diagnosing strange noises to replacing door gaskets, and helped you figure out when it's time to replace an old unit. Most cooling problems aren't as scary as they first appear. With the right tools and systematic approach, you can tackle many repairs yourself.
At American Mortuary Coolers, we've seen how proper maintenance and timely repairs make all the difference. Our custom mortuary coolers are built tough and delivered nationwide across the contiguous 48 states, but even the most durable equipment needs care to keep running smoothly.
Safety always comes first with cooler repair. When dealing with electrical components, refrigerants, or anything that makes you uncomfortable, don't hesitate to call professionals. It's better to spend money on expert help than risk injury or create bigger problems.
Regular maintenance is your secret weapon against expensive breakdowns. Schedule professional service twice a year, do basic maintenance every quarter, and jump on problems as soon as you notice them.
When you need professional help, our guide on How to Find Walk-In Cooler Repair Fast by Using Local Experts connects you with qualified technicians who understand commercial refrigeration.
Whether you're keeping a restaurant running, preserving fine wines, or maintaining specialized mortuary equipment, these repair principles work across the board. Invest in proper maintenance today, and you'll sleep better knowing you won't face expensive emergencies tomorrow.
Every minute your cooler is down costs money. But with the knowledge you've gained here, you're ready to tackle problems quickly and keep your operation running smoothly.


